Blog Archives
Simple is Best: Caprese Salad
One of my favorite summer salads is Caprese Salad. It sounds fancier than it is. All you need to make it: fresh ripe tomatoes, fresh basil, fresh mozzarella, olive oil, balsamic vinegar, and a bit of salt and pepper.
Some people marinate the tomatoes and cheese, but past experience has taught me that marinating it can make even the freshest tomatoes turn a bit mushy.
I just slice a tomato and layer it with slices of fresh mozzarella and chopped basil, then drizzle with a little olive oil, some balsamic vinegar, then sprinkle with salt and pepper to taste.

This salad was made with fresh basil and a delicious Black Japanese Trifele Heirloom Tomato picked fresh from my tiny kitchen garden.
Admittedly, the caprese salad pictured here has a bit more cheese than tomato, but this was the last of the fresh mozzarella, so…why not?
For the super lazy cooks among us, this non-recipe recipe can be made even easier by using pre-sliced fresh mozzarella and not chopping the basil.
I’ve also seen caprese kabobs where cherry tomatoes and small balls of fresh mozzarella are skewered along with fresh basil leaves, then drizzled in olive oil and balsamic vinegar.
Honestly, with these ingredients, it’s impossible to go wrong.
What’s your favorite summer salad?
Simmering Stock
My love of making something out of virtually nothing isn’t new. It was already well-ingrained in me by high school when my Botany teacher explained how you can turn old bits of vegetables into soup stock and still have something left for the compost heap.
That’s when I started saving and freezing scraps. I put some onion skins and tomato cores in a gallon-size zip bag and popped it in the freezer. Every time I used fresh vegetables, I’d add any trimmings or peels to that bag. Over the course of a few months it began to grow. My dad noticed and asked why there was garbage in the freezer. “It’s for vegetable stock,” I said. That’s when he started calling it Garbage Soup.
Not the most appetizing label. But it is made of random bits of produce that would otherwise have wound up in the trash.
I still save scraps. And when the bag is full, I simmer up some savory stock.
I wish I’d thought to take a photo of the over-stuffed zip bag of random vegetable bits, but I didn’t think about it until I’d popped everything into a stockpot and covered it with water.

You can see there are bits and pieces of all kinds of vegetables, including one of those bite-sized sweet peppers that was starting to wilt. Not fresh enough for a salad, but fine for soup stock.
I simply empty my frozen veggie scraps into a 6-quart stockpot and top it off with water. I typically toss in a few peppercorns and a bay leaf and turn the heat up to high. It can take a while for the water to heat up, but thawing the veggie bits overnight in the refrigerator speeds it up a little. Just before it begins to boil, I reduce the heat to simmer and partially cover the stockpot, then simmer for about 30-45 minutes, until the largest vegetable bits are good and tender. If you want to salt your stock, wait until it’s finished cooking.

Next, I use a large slotted spoon or “spider” to remove the veggie bits from the pot and into a colander placed over a large bowl to collect any runoff, which I pour back into the stockpot.

After that, I ladle or pour the stock through a finer sieve and into a bowl to trap pesky pepper seeds and tiny leaves. Ideally, I’d line the sieve with a layer or two of cheesecloth to reduce the amount of sediment in the stock, but I discovered I was out of cheesecloth.

I wound up with about 4 quarts of gorgeous, healthful, and flavorful vegetable stock. Here’s a peek at the final result:

I cool it in the refrigerator overnight, then freeze the stock in 1-cup, 2-cup or even 1-quart containers. You could freeze it in ice-cube trays it you like.
My favorite way to use the stock is in vegetarian risotto, but I also add it to cream-based soups or use it in recipes calling for chicken or beef stock.
You can make stock from just about any vegetable trimmings you want. That said, I’d advise against adding too much of any strongly-flavored things. One year I tossed in a few too many dried up bits of fresh ginger root, another year, too many tough asparagus ends. (I was able to mix that broth with a different batch to even out the flavors a bit.)
Here’s a fairly comprehensive list of what went into this year’s broth: kale, spinach, sweet peppers, stem ends of a couple hot peppers, asparagus, cauliflower, broccoli, turnip, red and yellow onions, garlic, tomato, green beans, snow peas, zucchini, green and red cabbage, summer squash, celery, carrots, scallions, swiss chard, ginger, parsley, and butternut squash. This year I even found a few artichoke leaves and the leftover ends of a couple potatoes that I’d grated.
Leeks are a good addition, as are parsnips, corn, and beets—but go easy on the beets unless you want really red stock. Lettuce, mushrooms, eggplant, and cucumbers don’t add much to the party, but sometimes I’ll toss those in, too.
Homemade vegetable stock is a great way to use scraps you’d normally discard, like the tough stems from cauliflower and broccoli, seed cores from sweet peppers, dried ends of celery, and the crowns of root vegetables.
Less than an hour after making this year’s vegetable stock, my new zip bag was already starting to fill up.

Simple Roasted Tomatoes
Pretty much every grocery store has a reduced-for-quick-sale section. Ever wonder what to do with large quantities of over-ripe produce like these tomatoes I bought for under three dollars?
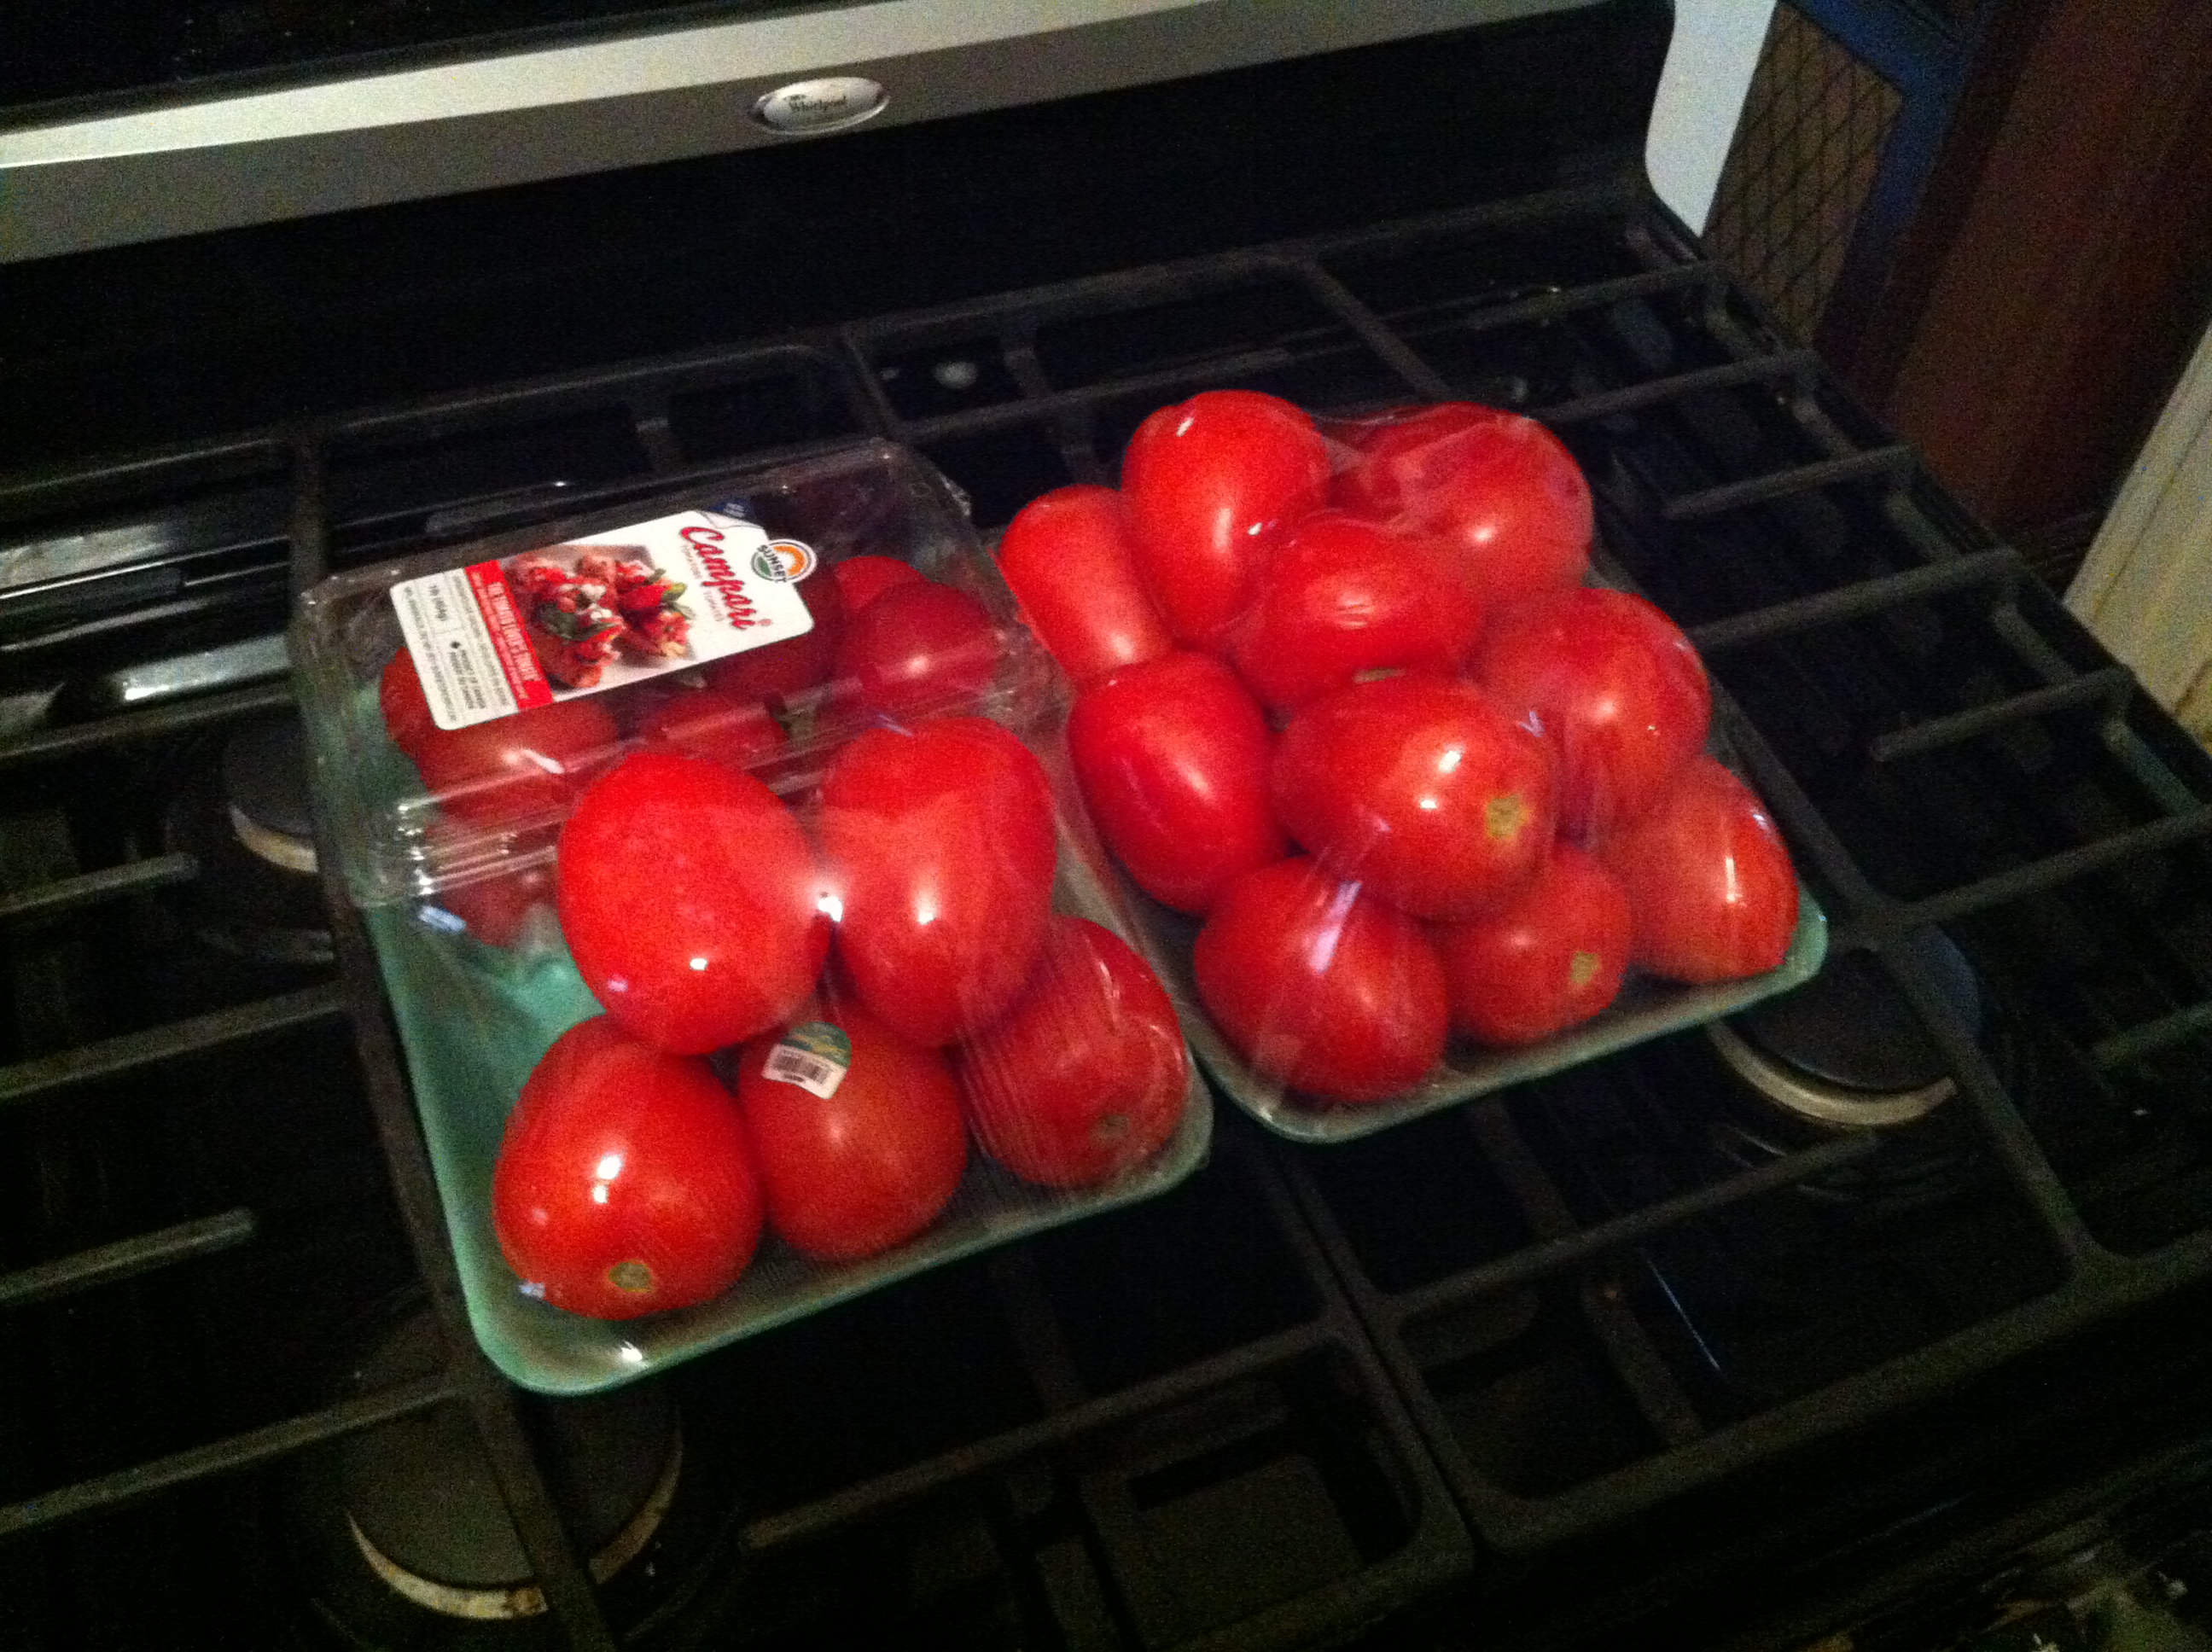
Whenever I see decent reduced-price tomatoes, I feel compelled to try to replicate my friend Meetal’s ridiculously delicious roasted tomatoes. I’ve never quite matched her results, but I keep trying.
The first time I tasted them was a couple years ago when Meetal, our sisters, and I went to a big flea market and Meetal volunteered to bring lunch. She sliced a loaf of ciabatta bread into two layers, pulled out some of the bread-y bits to make more space for filling and loaded it up with roasted tomatoes, arugula, and fresh mozzarella. She cut the overflowing loaf into four sections and individually wrapped them for us to enjoy while wandering through the flea market.
I’m not sure if it was our reaction to how delicious the sandwiches were, or just how good they looked, but a couple passersby asked where we bought them. Boy, were they disappointed to found out Meetal made the sandwiches!
Separately, each ingredient was good. Combined, they were even better. But the richness of the roasted tomatoes was by far the star ingredient.
That day, Meetal told me how she slow roasts the tomatoes and finishes them off by adding fresh basil and a dash of balsamic vinegar.
I can never remember the specifics of her recipe, so if I’m wrong I hope she’ll chime in and correct me. (Then again, she might not want any of us knowing her secret for perfect roasted tomatoes.) The truth is, as long as you slow roast the tomatoes it’s hard to go wrong.
I started by washing the tomatoes and removing any bad spots. Then I splashed some olive oil in the bottom of two shallow baking pans. I cut the tomatoes into large chunks and tossed in a few whole, peeled, cloves of garlic and a few chunks of onion. (One time I put in a little red bell pepper, too, which lent a nice hint of sweetness.)
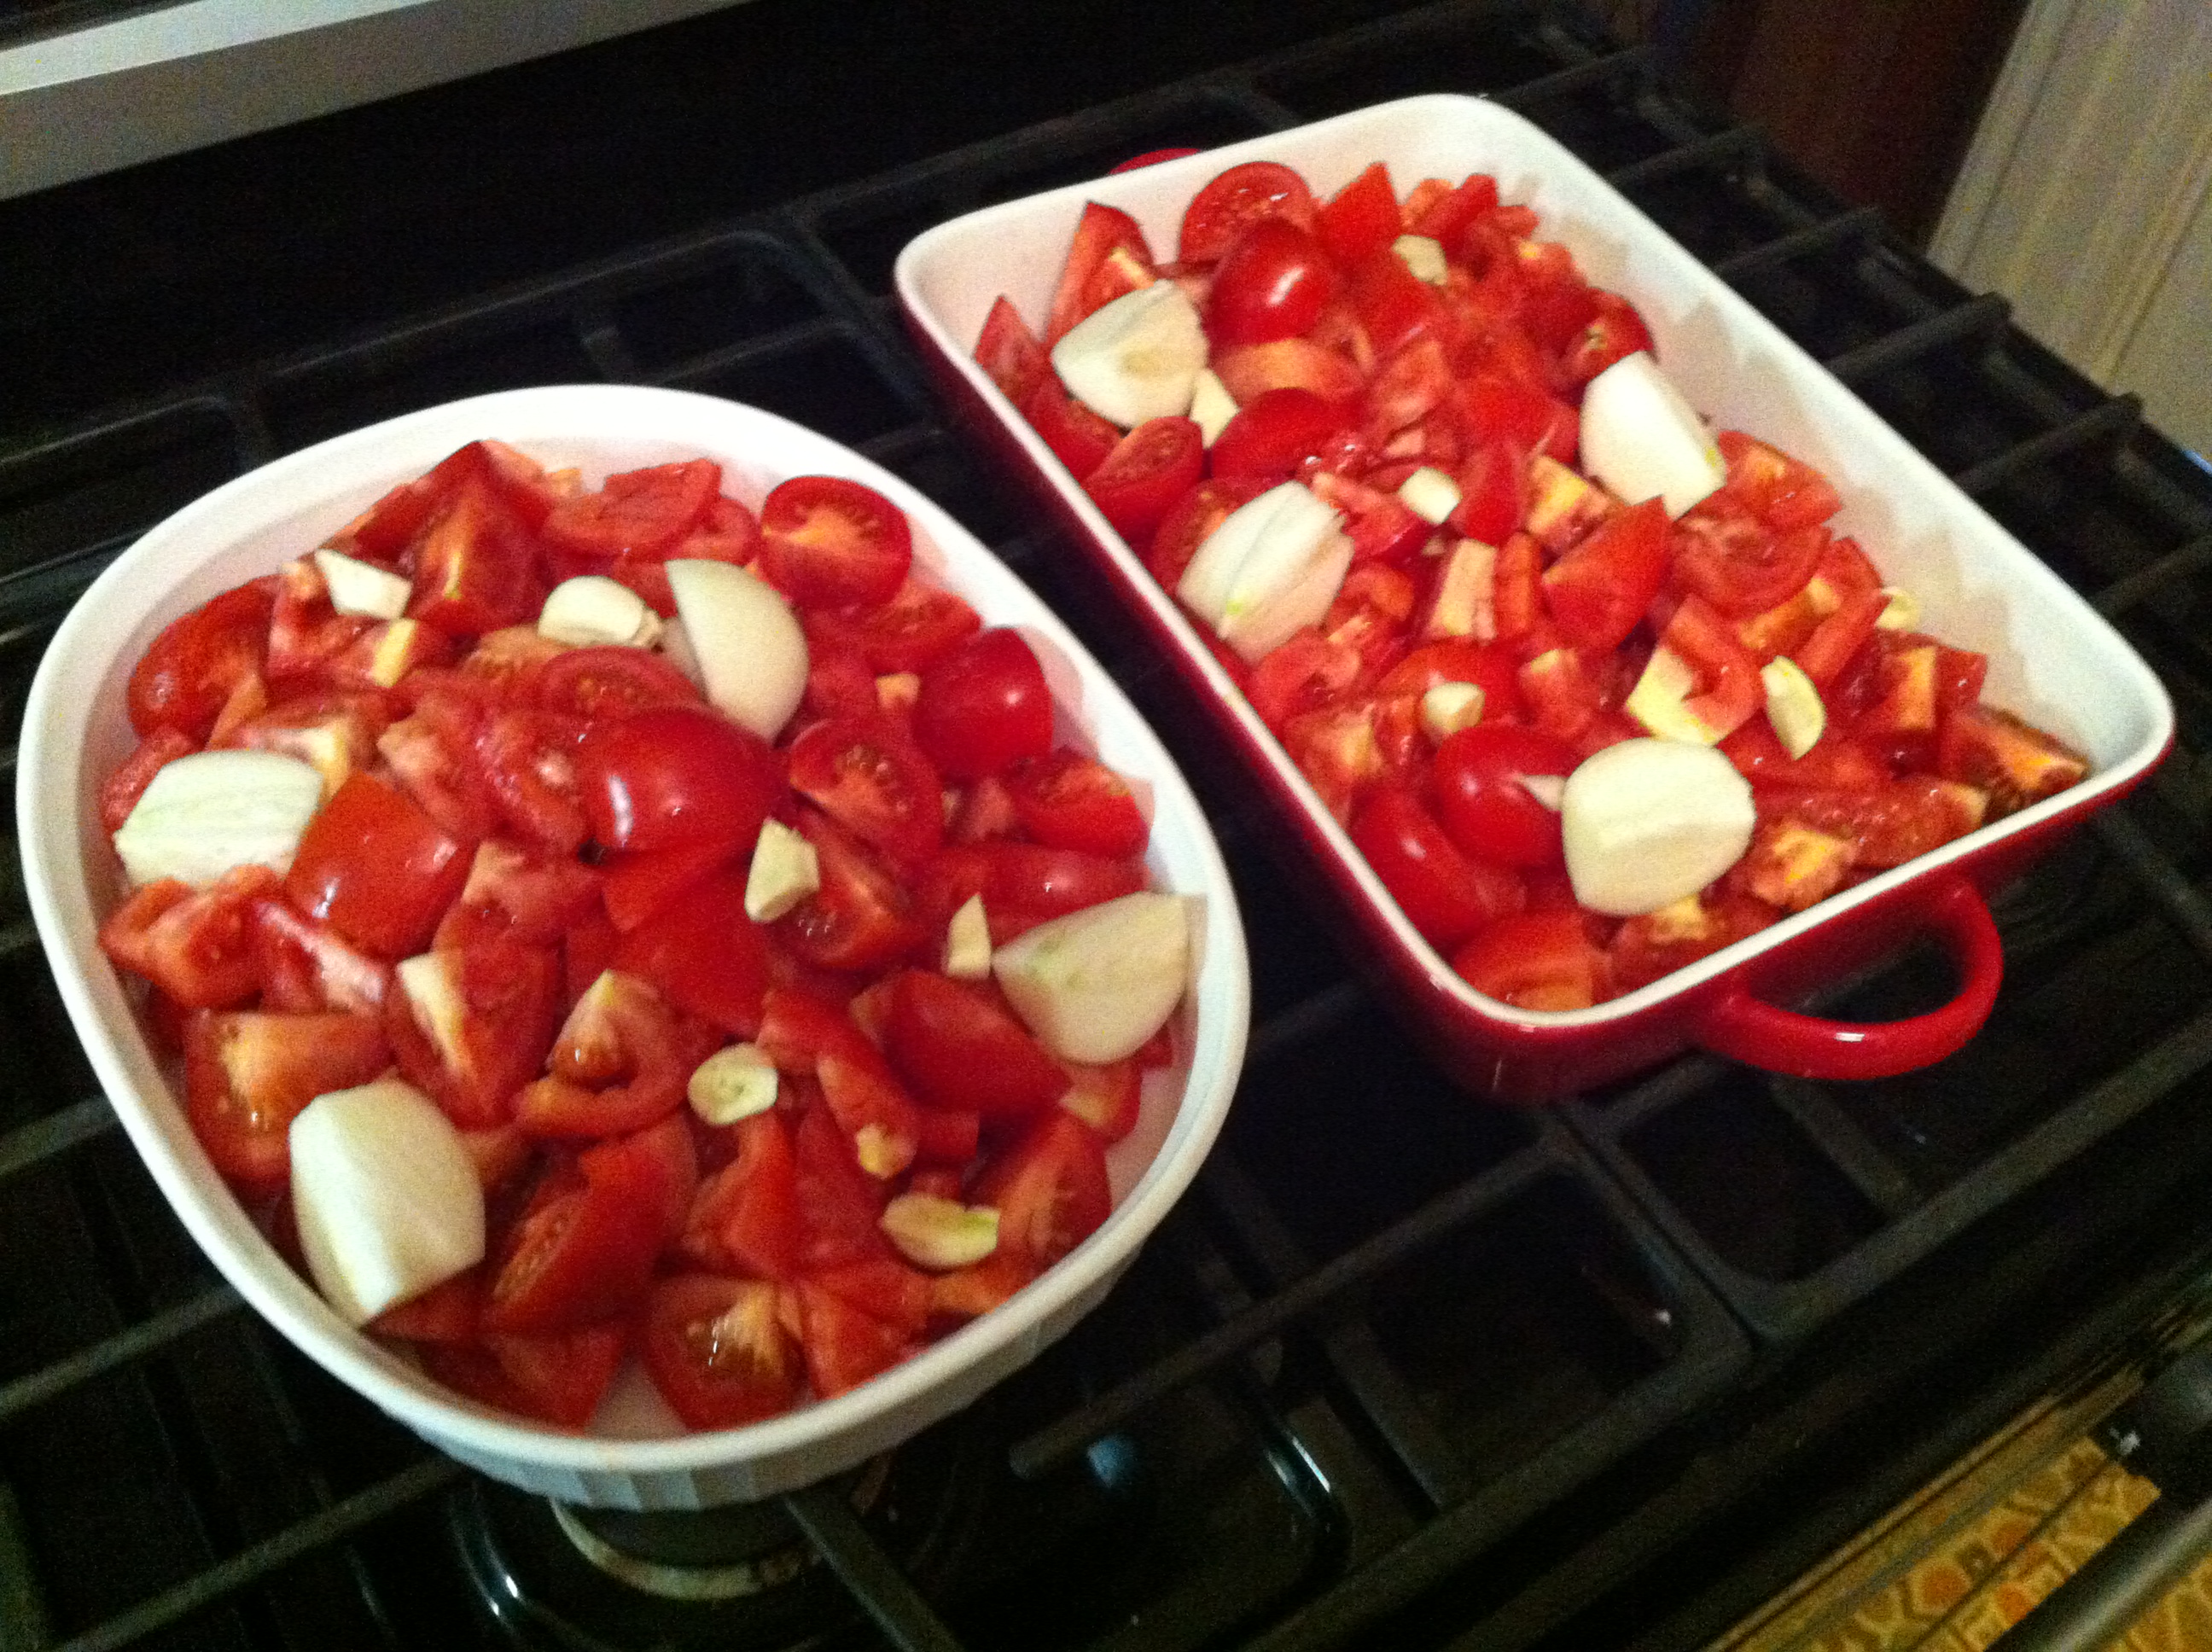
Although I couldn’t remember the temperature Meetal uses, I knew it was low. So I set the oven at 300F degrees.
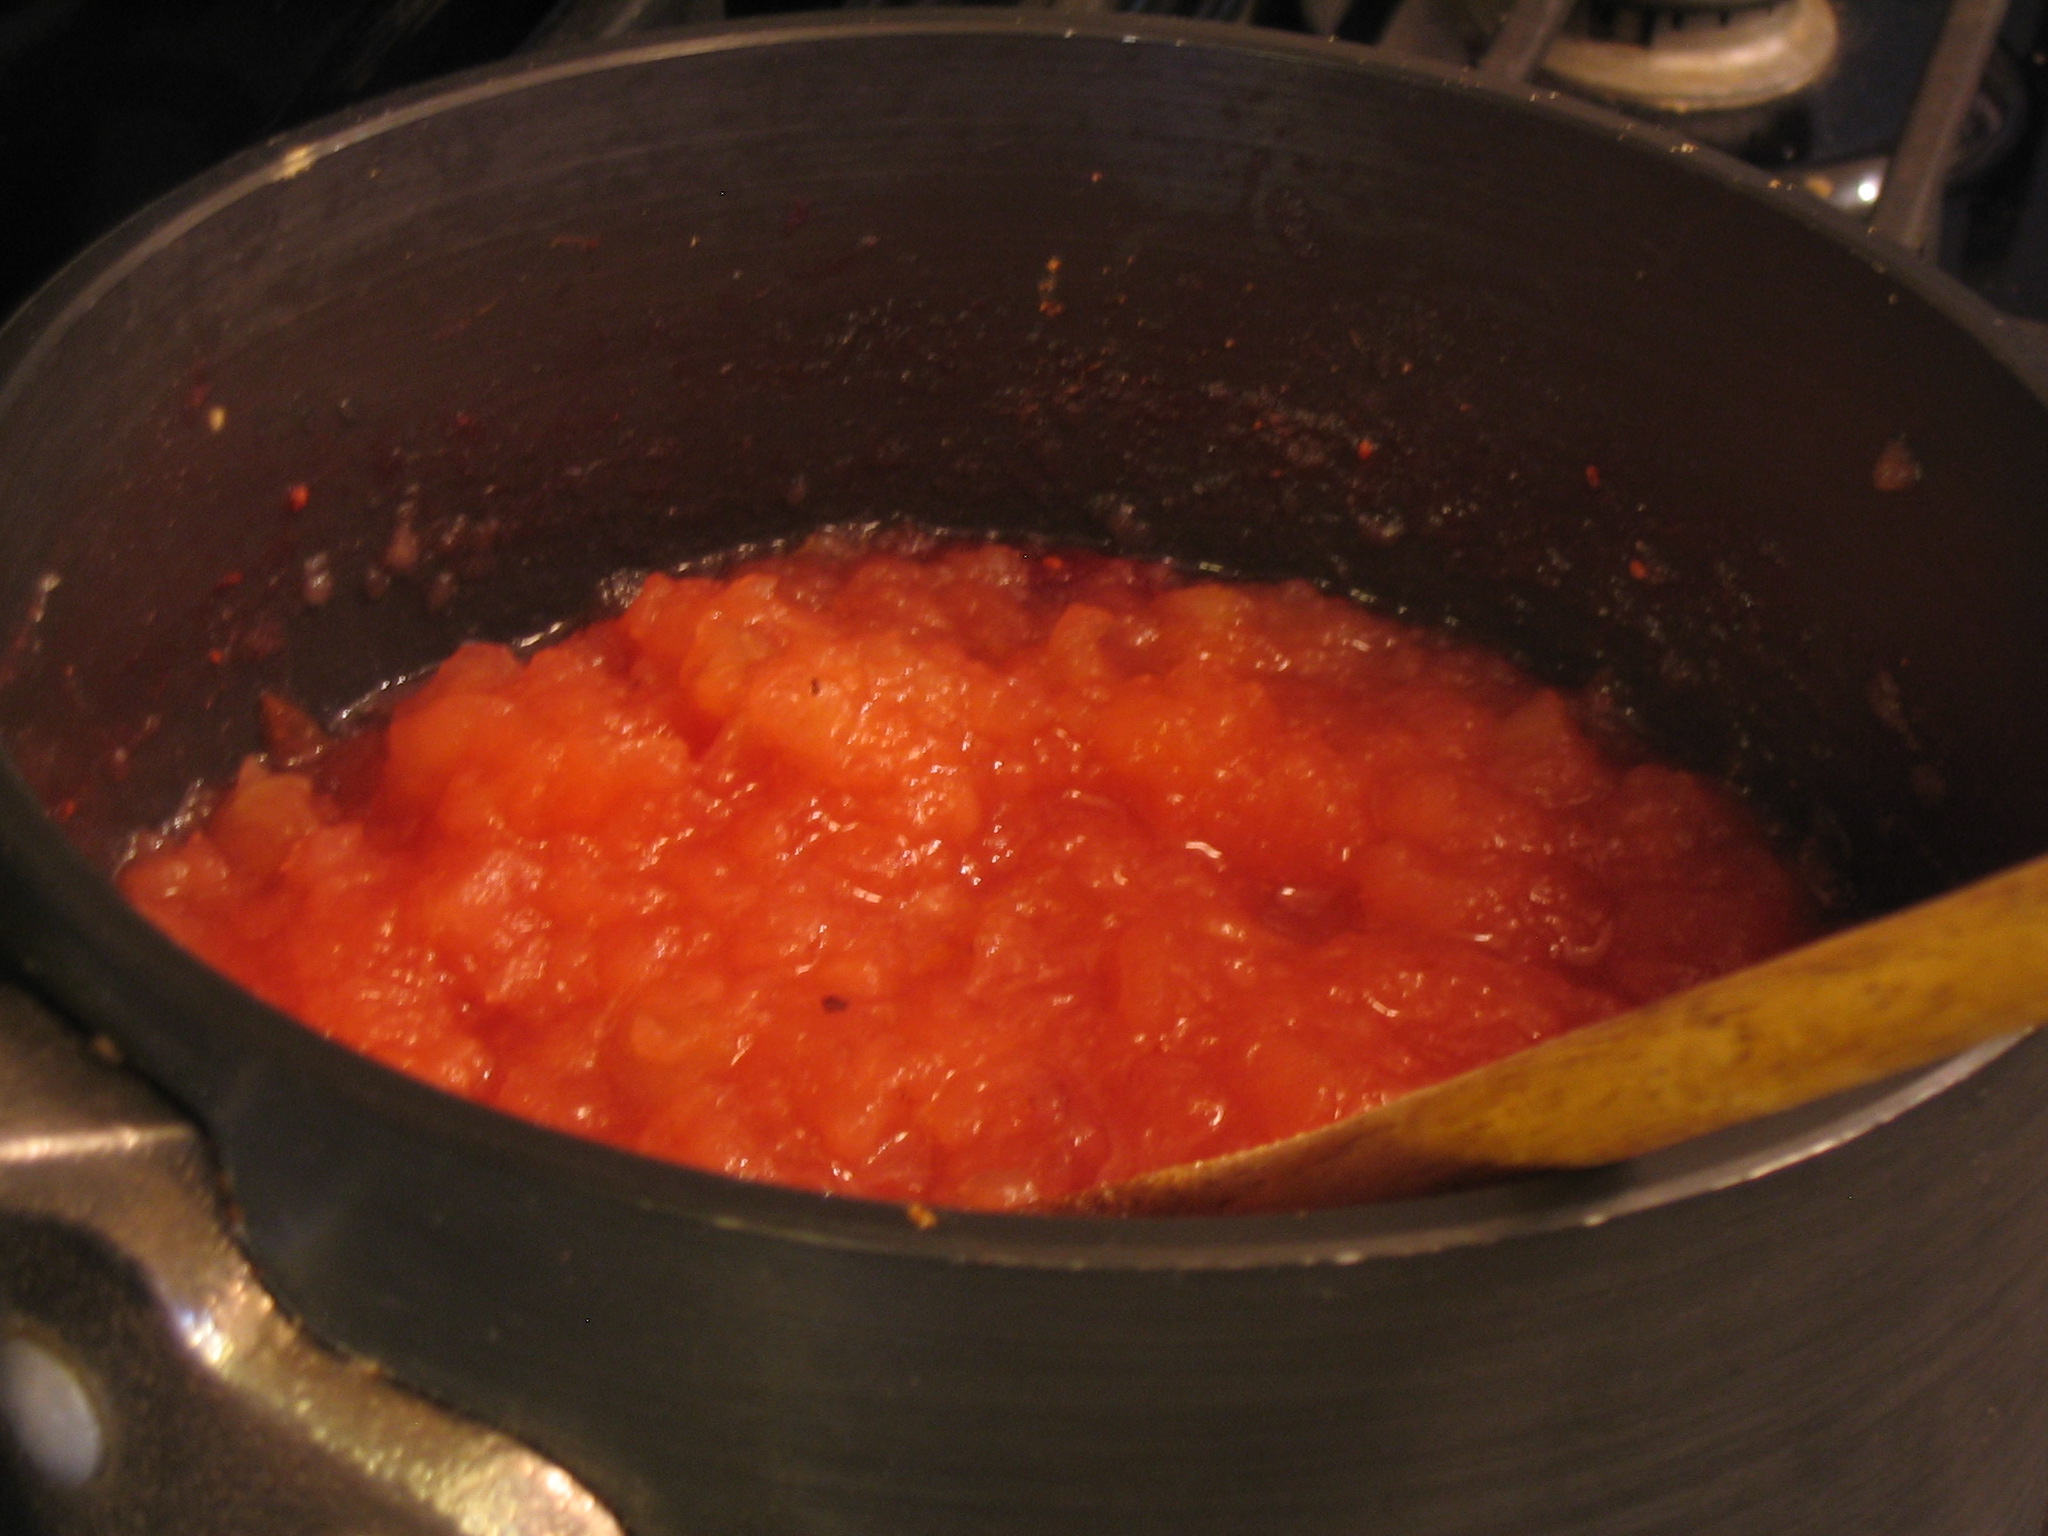
The hard part comes next. Waiting. Because these are slow roasted, expect to wait at least five or six hours before it even starts to look like this:
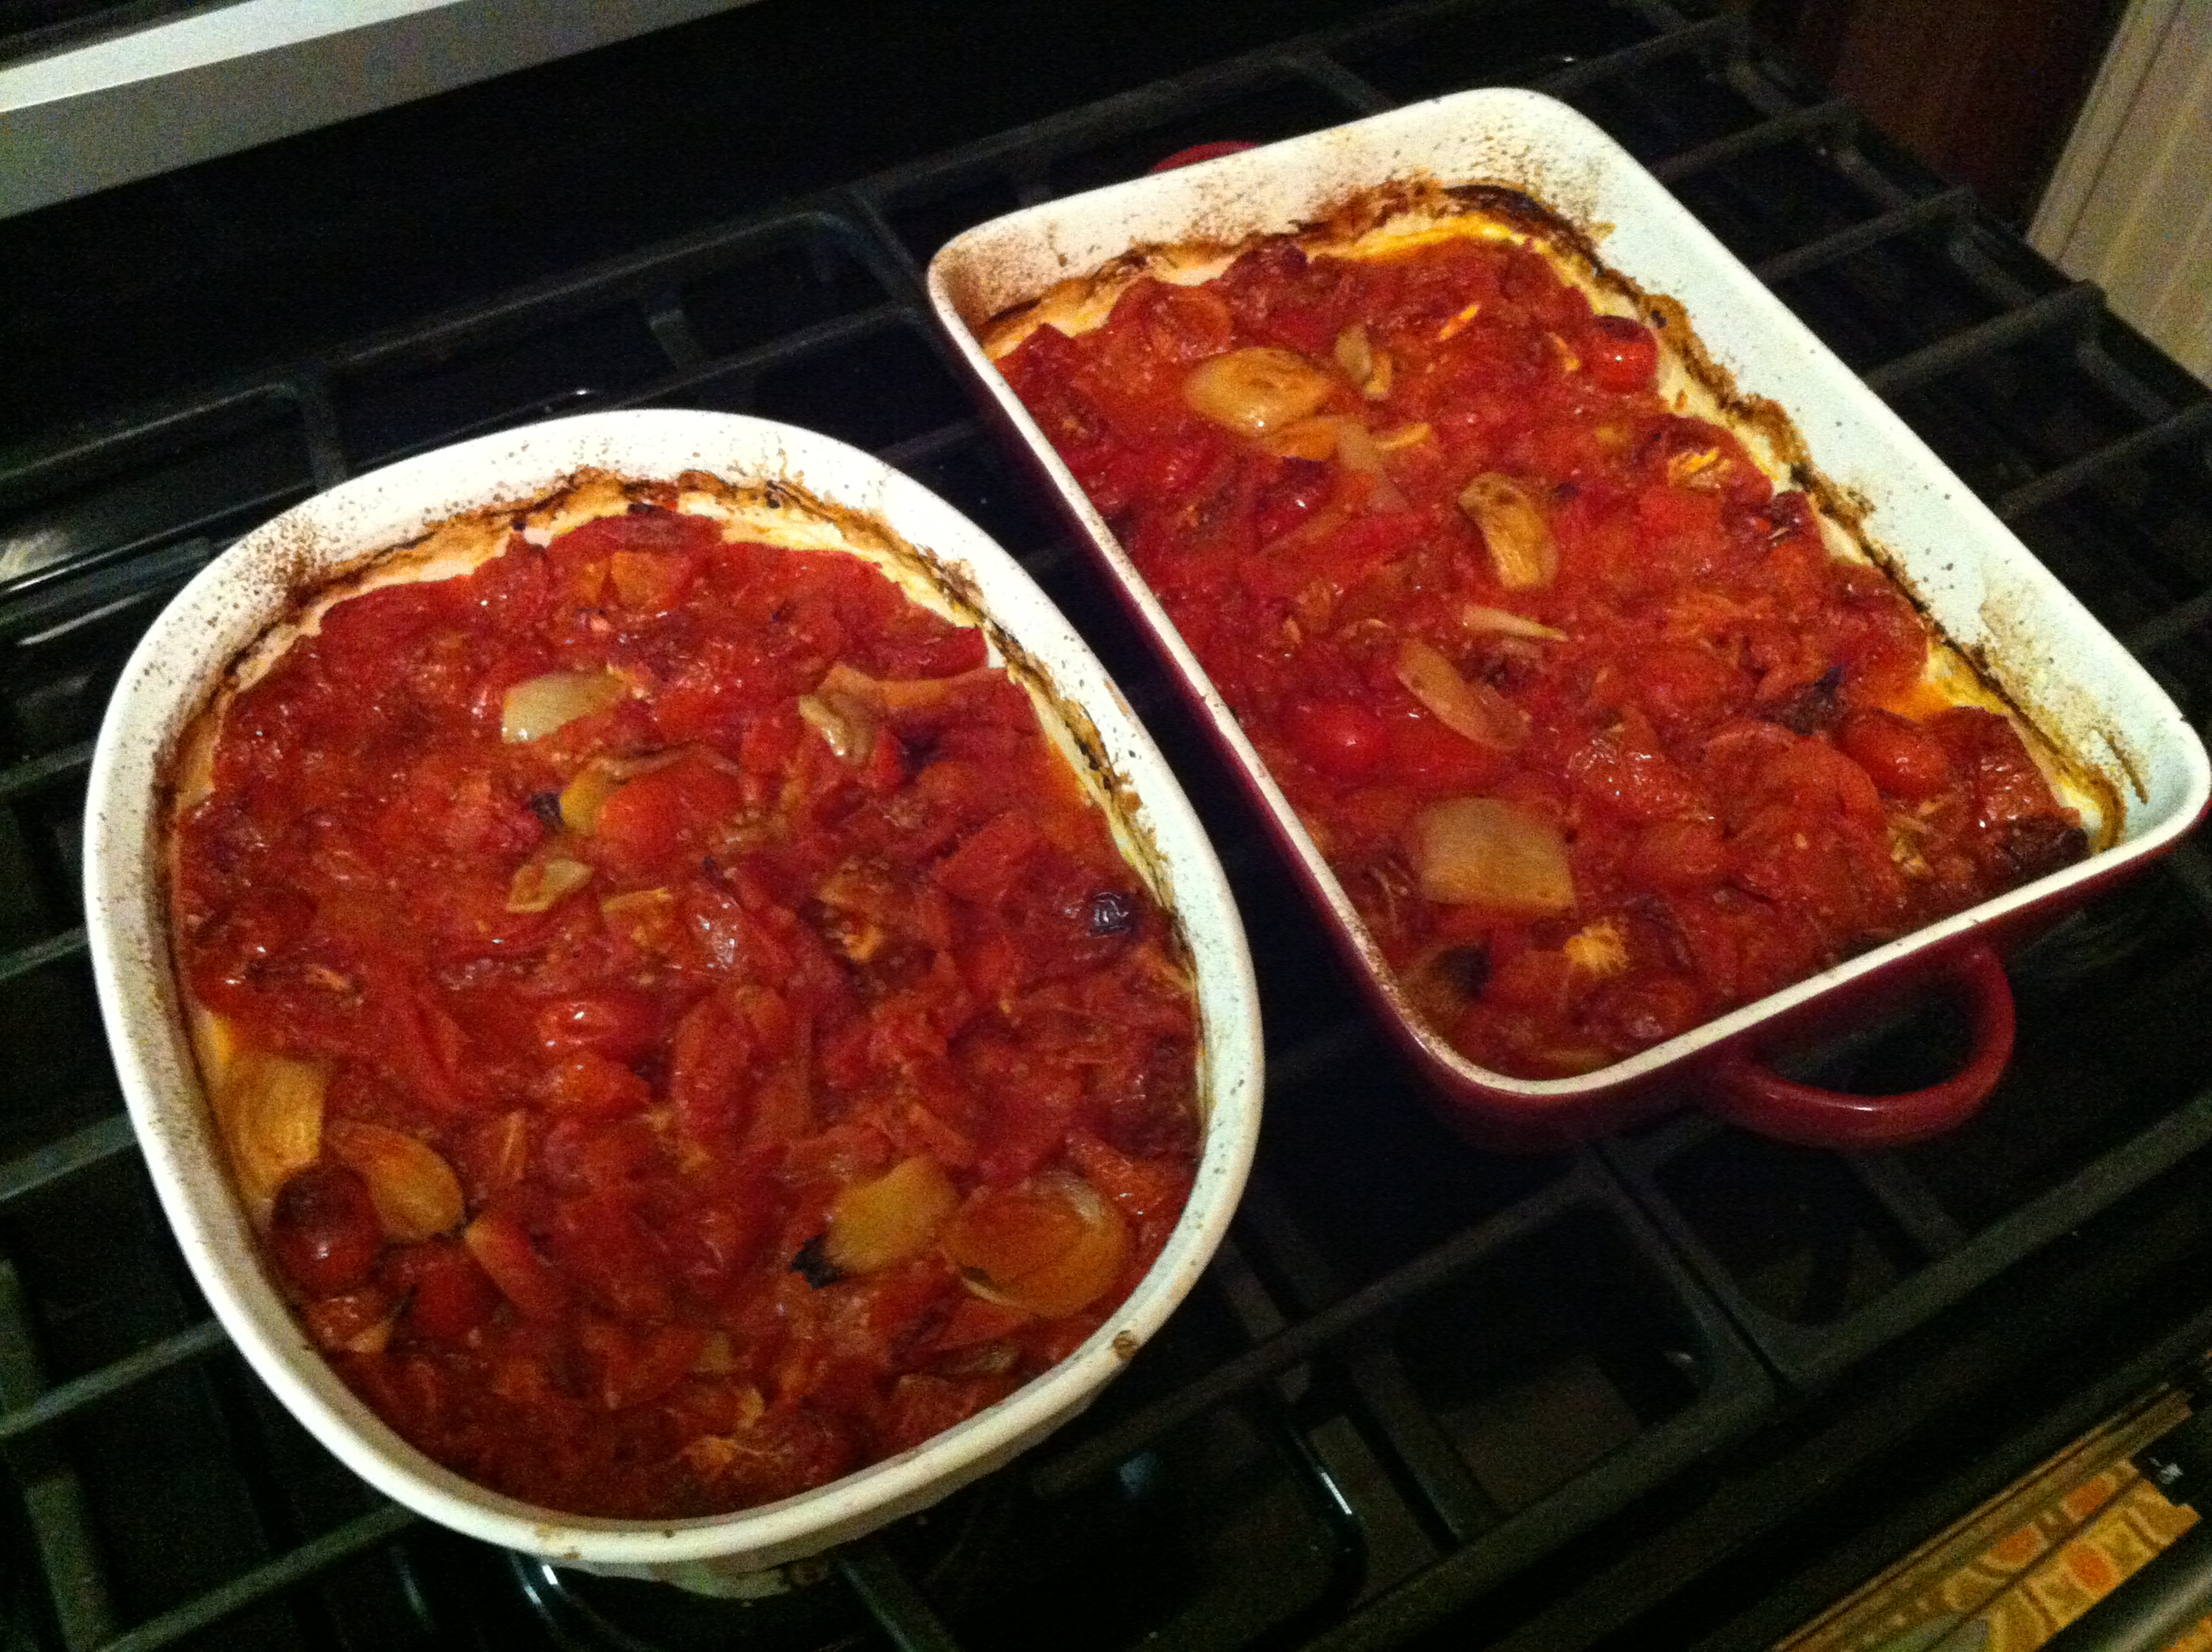
It’s more than worth the wait, though, since the flavor intensifies as the moisture evaporates and the ingredients caramelize.
At this point, you can use a fork to peel off and pick out tomato skins if you like. I picked some of the larger skins out then used a potato masher to work the mixture into a chunky sauce.
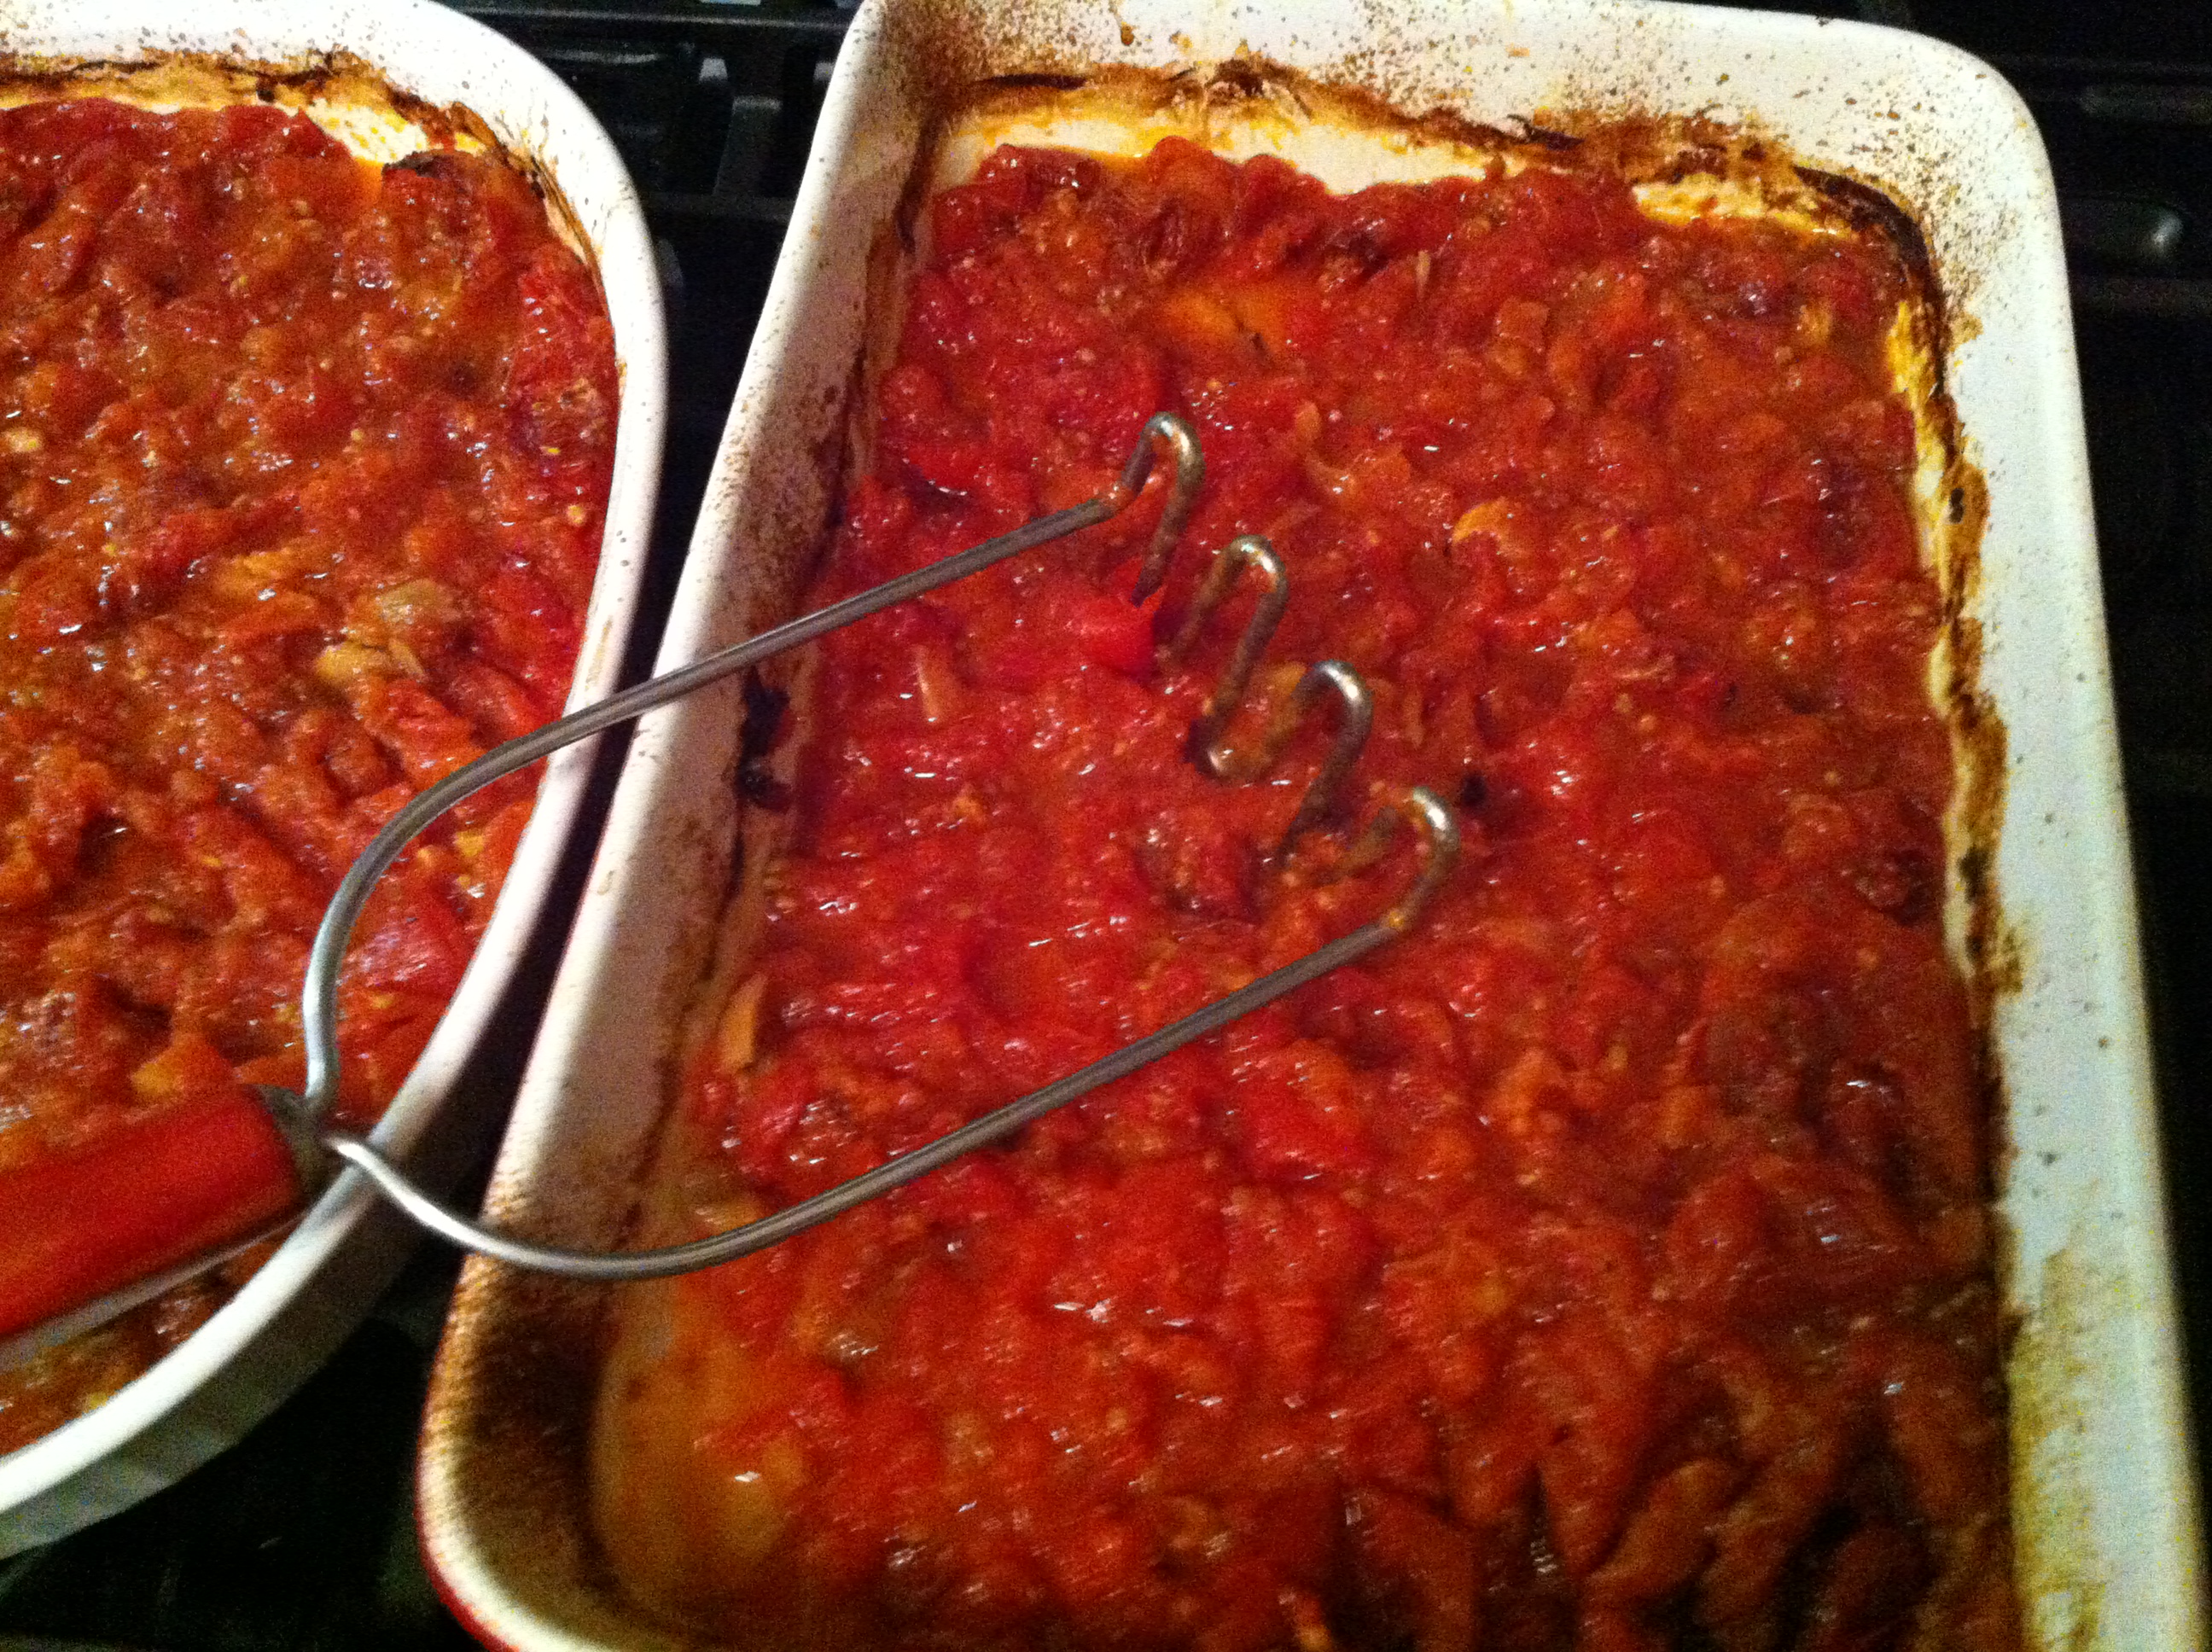
Next I added some basil (sadly it was dried, not fresh), a splash or two of balsamic vinegar and salt and pepper to taste.
If you don’t like chunky sauce, let it cool a bit and pop it into a food processor or use an immersion blender to achieve the consistency you prefer.
While I didn’t have ciabatta bread, fresh mozzarella, or arugula on hand, I had some gnocchi in the freezer so I made this:
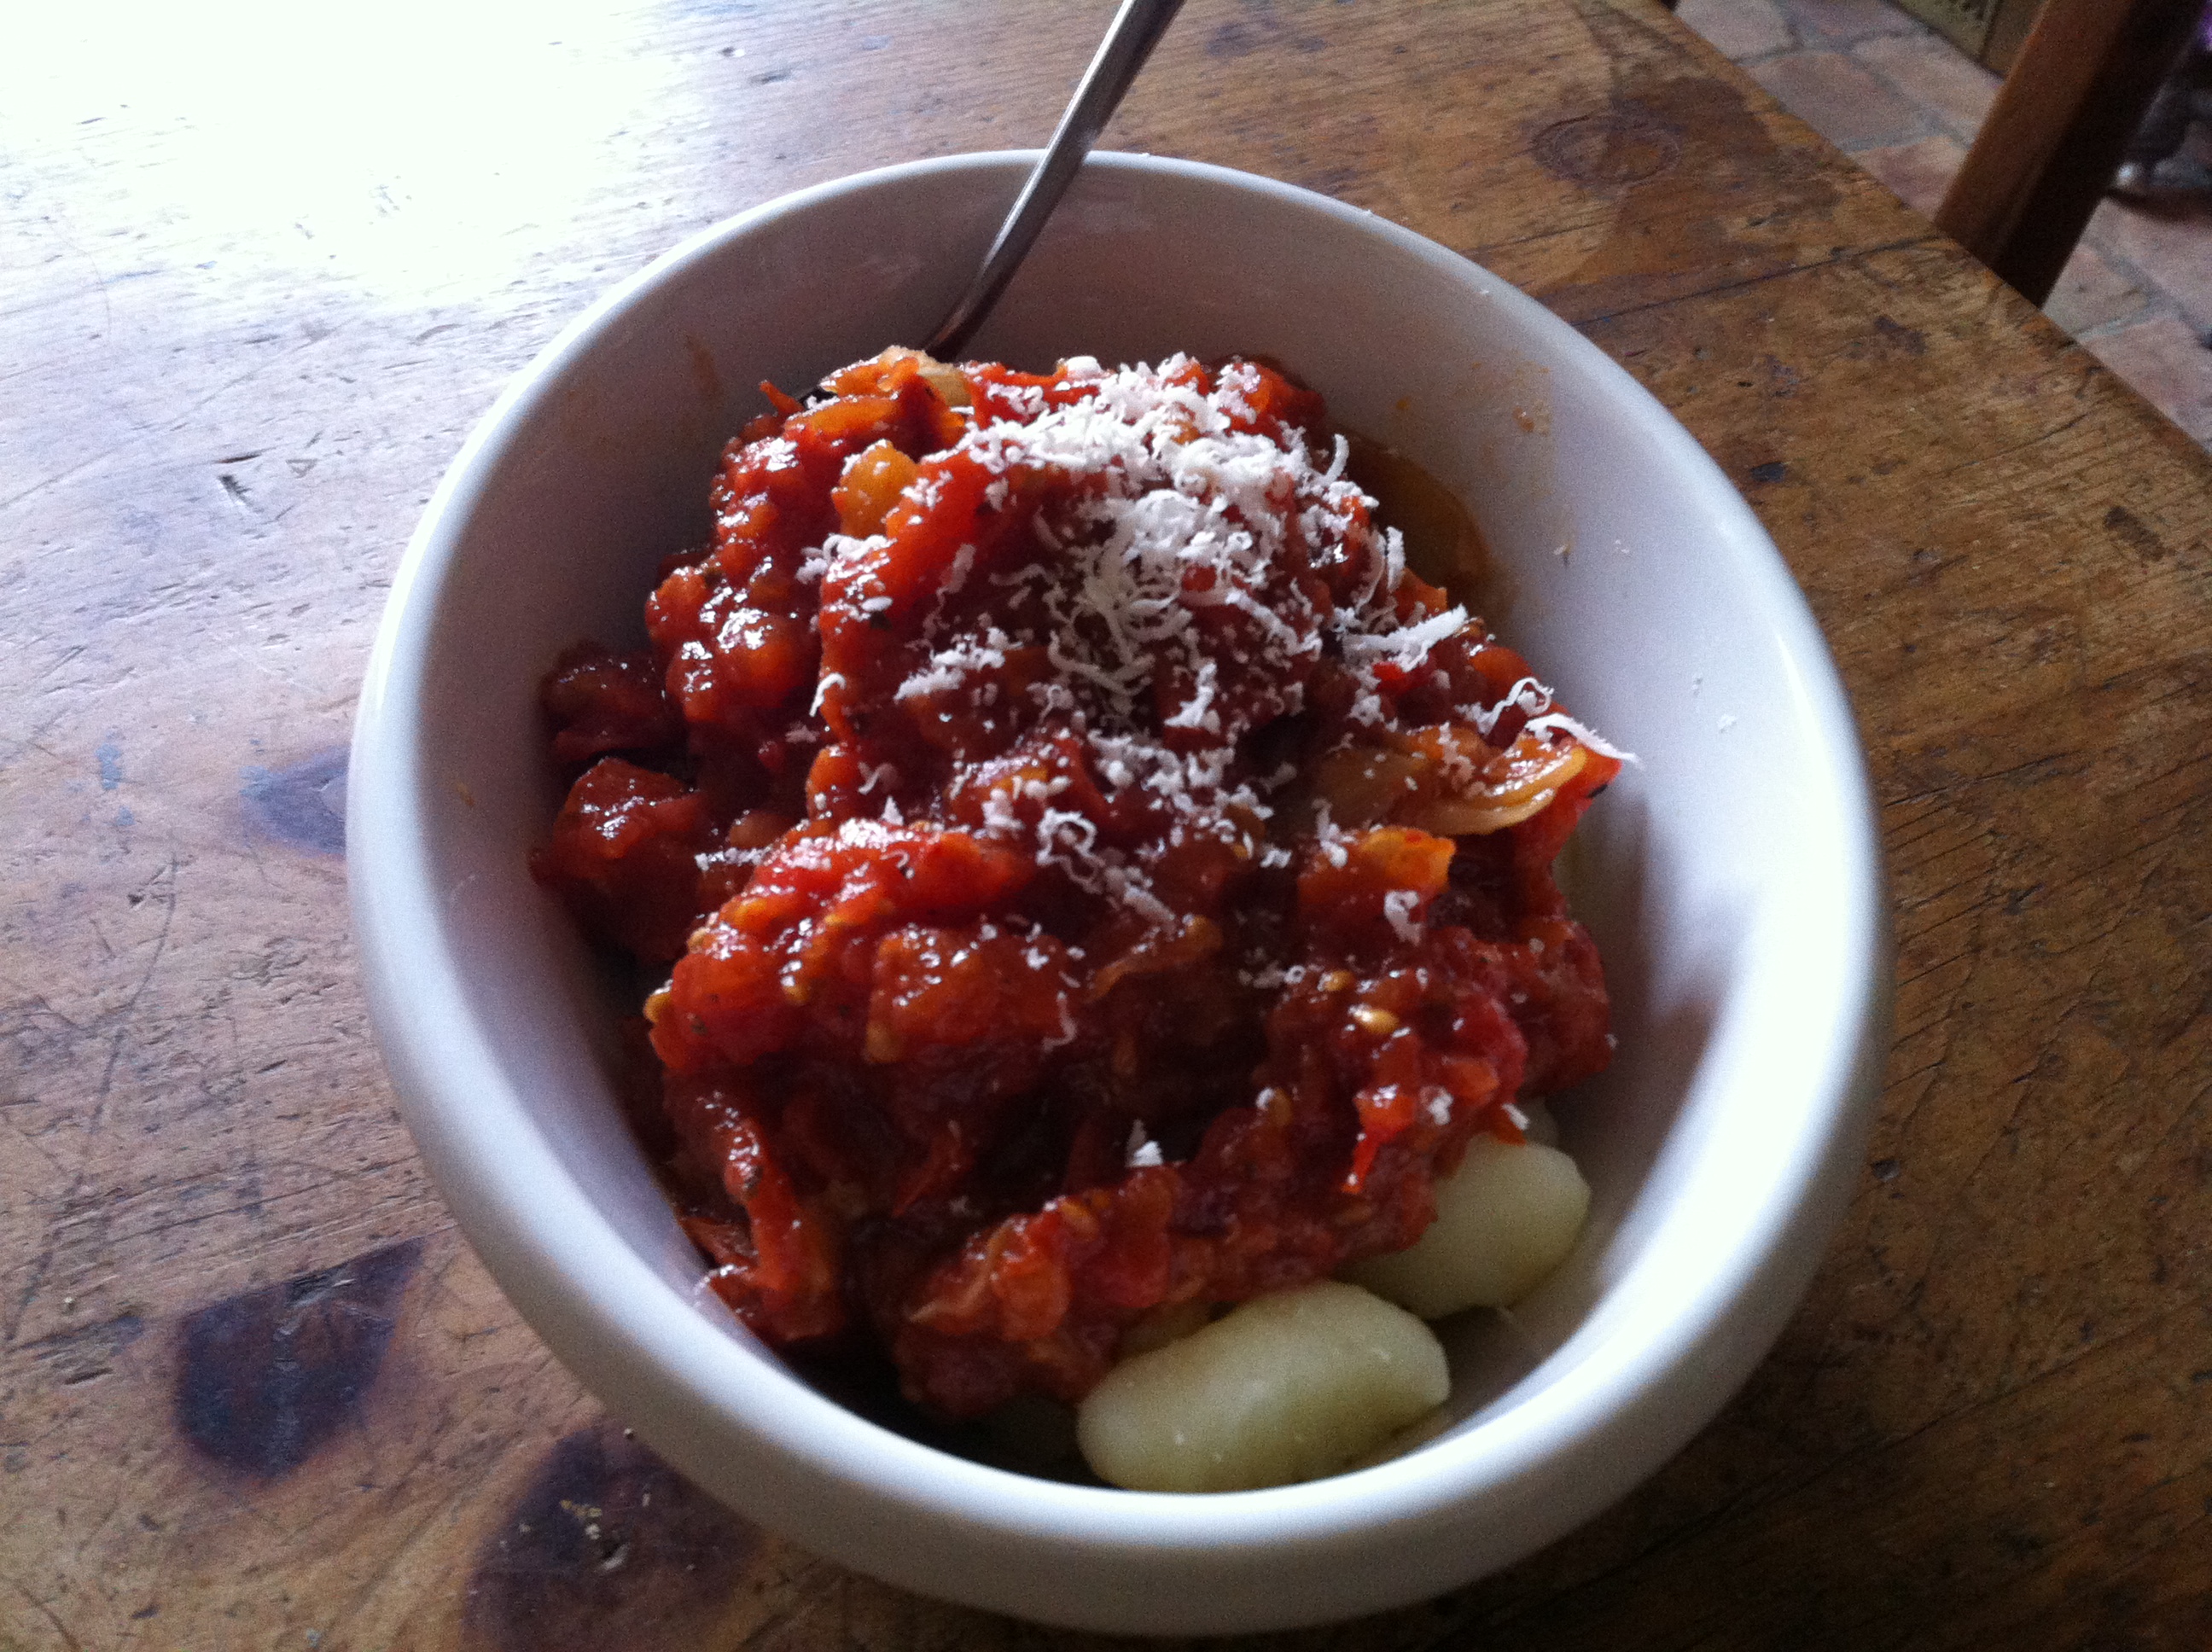
There’s still a lot of roasted tomatoes leftover, so I might yet make the sandwiches. You can uses this sauce with almost any pasta or just dip some nice rustic bread in and enjoy. It would probably make a great pizza sauce, too.
Have you ever bought bulk quantities of over-ripe produce? What did you make with it?
Throw Together Some Hot & Sour Soup
Freelancers don’t get sick days, so we tend to find creative ways to pamper ourselves while still getting our jobs done. I’m not letting this annoying cold stop me from meeting deadlines, even if every time I take my dog out in the unseasonably frigid air I have a coughing fit.

Hot and sour soup always eases cold symptoms for me. I know that sounds strange coming from someone who doesn’t eat meat, but when I’m sick enough I’ll gladly pick the pork out of the soup.
My cold symptoms had me craving hot and sour soup today, but I didn’t have all of the ingredients. I did, however, have enough things to cobble together a respectable — and delicious — near-vegetarian version. (The only reason it’s not vegetarian is because I threw in a handful of pre-cooked frozen salad shrimp at the end.)
Instead of measuring, I just added a bit of this and a pinch of that.
- About 2 cups of my homemade veggie stock
- Two huge cloves of garlic
- Lots of thinly slivered ginger
- Two super hot Thai chilis, sliced open
- Juice of half a lime
- Dash of rice vinegar
- Pinch of sugar
- Sliced onion
- A bit of chopped red pepper
- One chopped carrot
- One stalk of celery, sliced
- Handful of frozen peas
- Soy sauce
- A few whole coriander seeds
- Salt
- Pepper
Unless you love really hot food, remove thai chilis when the vegetables are cooked.
Stir into soup:
- Cornstarch/water slurry – just enough to thicken the soup
- One beaten egg
- Handful of thawed salad shrimp, if desired
The final result is spicy and gingery enough to clear out your sinuses, but not so spicy that you can’t enjoy it. Would I prefer it with tofu strips and green onions? Yes. But under the circumstances, this is pretty darn good. I’m starting to feel better already.
What are your favorite home remedies for colds and flu?
I Scream, You Scream…
I remember when my dad bought an electric ice-cream maker, the kind with a metal canister that rotates inside a bucket filled with ice and salt. The ice cream he made was good, but the mess wasn’t. Let’s just say it wasn’t used very often. After a while he sold it at a garage sale.
Thankfully today’s ice cream makers have self-contained coolants. No ice or salt to mess with. Just pop the chilling bowl into the freezer for a day or so, and you’re ready to go.
For my birthday this year, my brother and sister-in-law gave me an ice cream maker attachment for my Kitchen Aid. Now that the summer heat is upon us, I’m experimenting. My first attempt was Mint Chocolate Chip ice cream. So good, so rich, so creamy. Then I tried slightly healthier ice milk. Decent flavor, but it had a grainy texture. My most recent attempt? Chocolate Frozen Yogurt.
I found a recipe on line, and just so happened to have all of the ingredients on hand. It used a technique similar to some ice cream and frozen custard recipes that involve cooking part of the mixture.

I was using Greek yogurt and was able to skip the cornstarch. The mixture didn’t thicken much, but as the recipe said: don’t worry. After the mixture cooled, I transferred it to a mixing bowl (with a handy pouring spout!) and added the Greek yogurt. That’s when I worried because the yogurt didn’t stir in well, so I switched from a wooden spoon to a whisk.
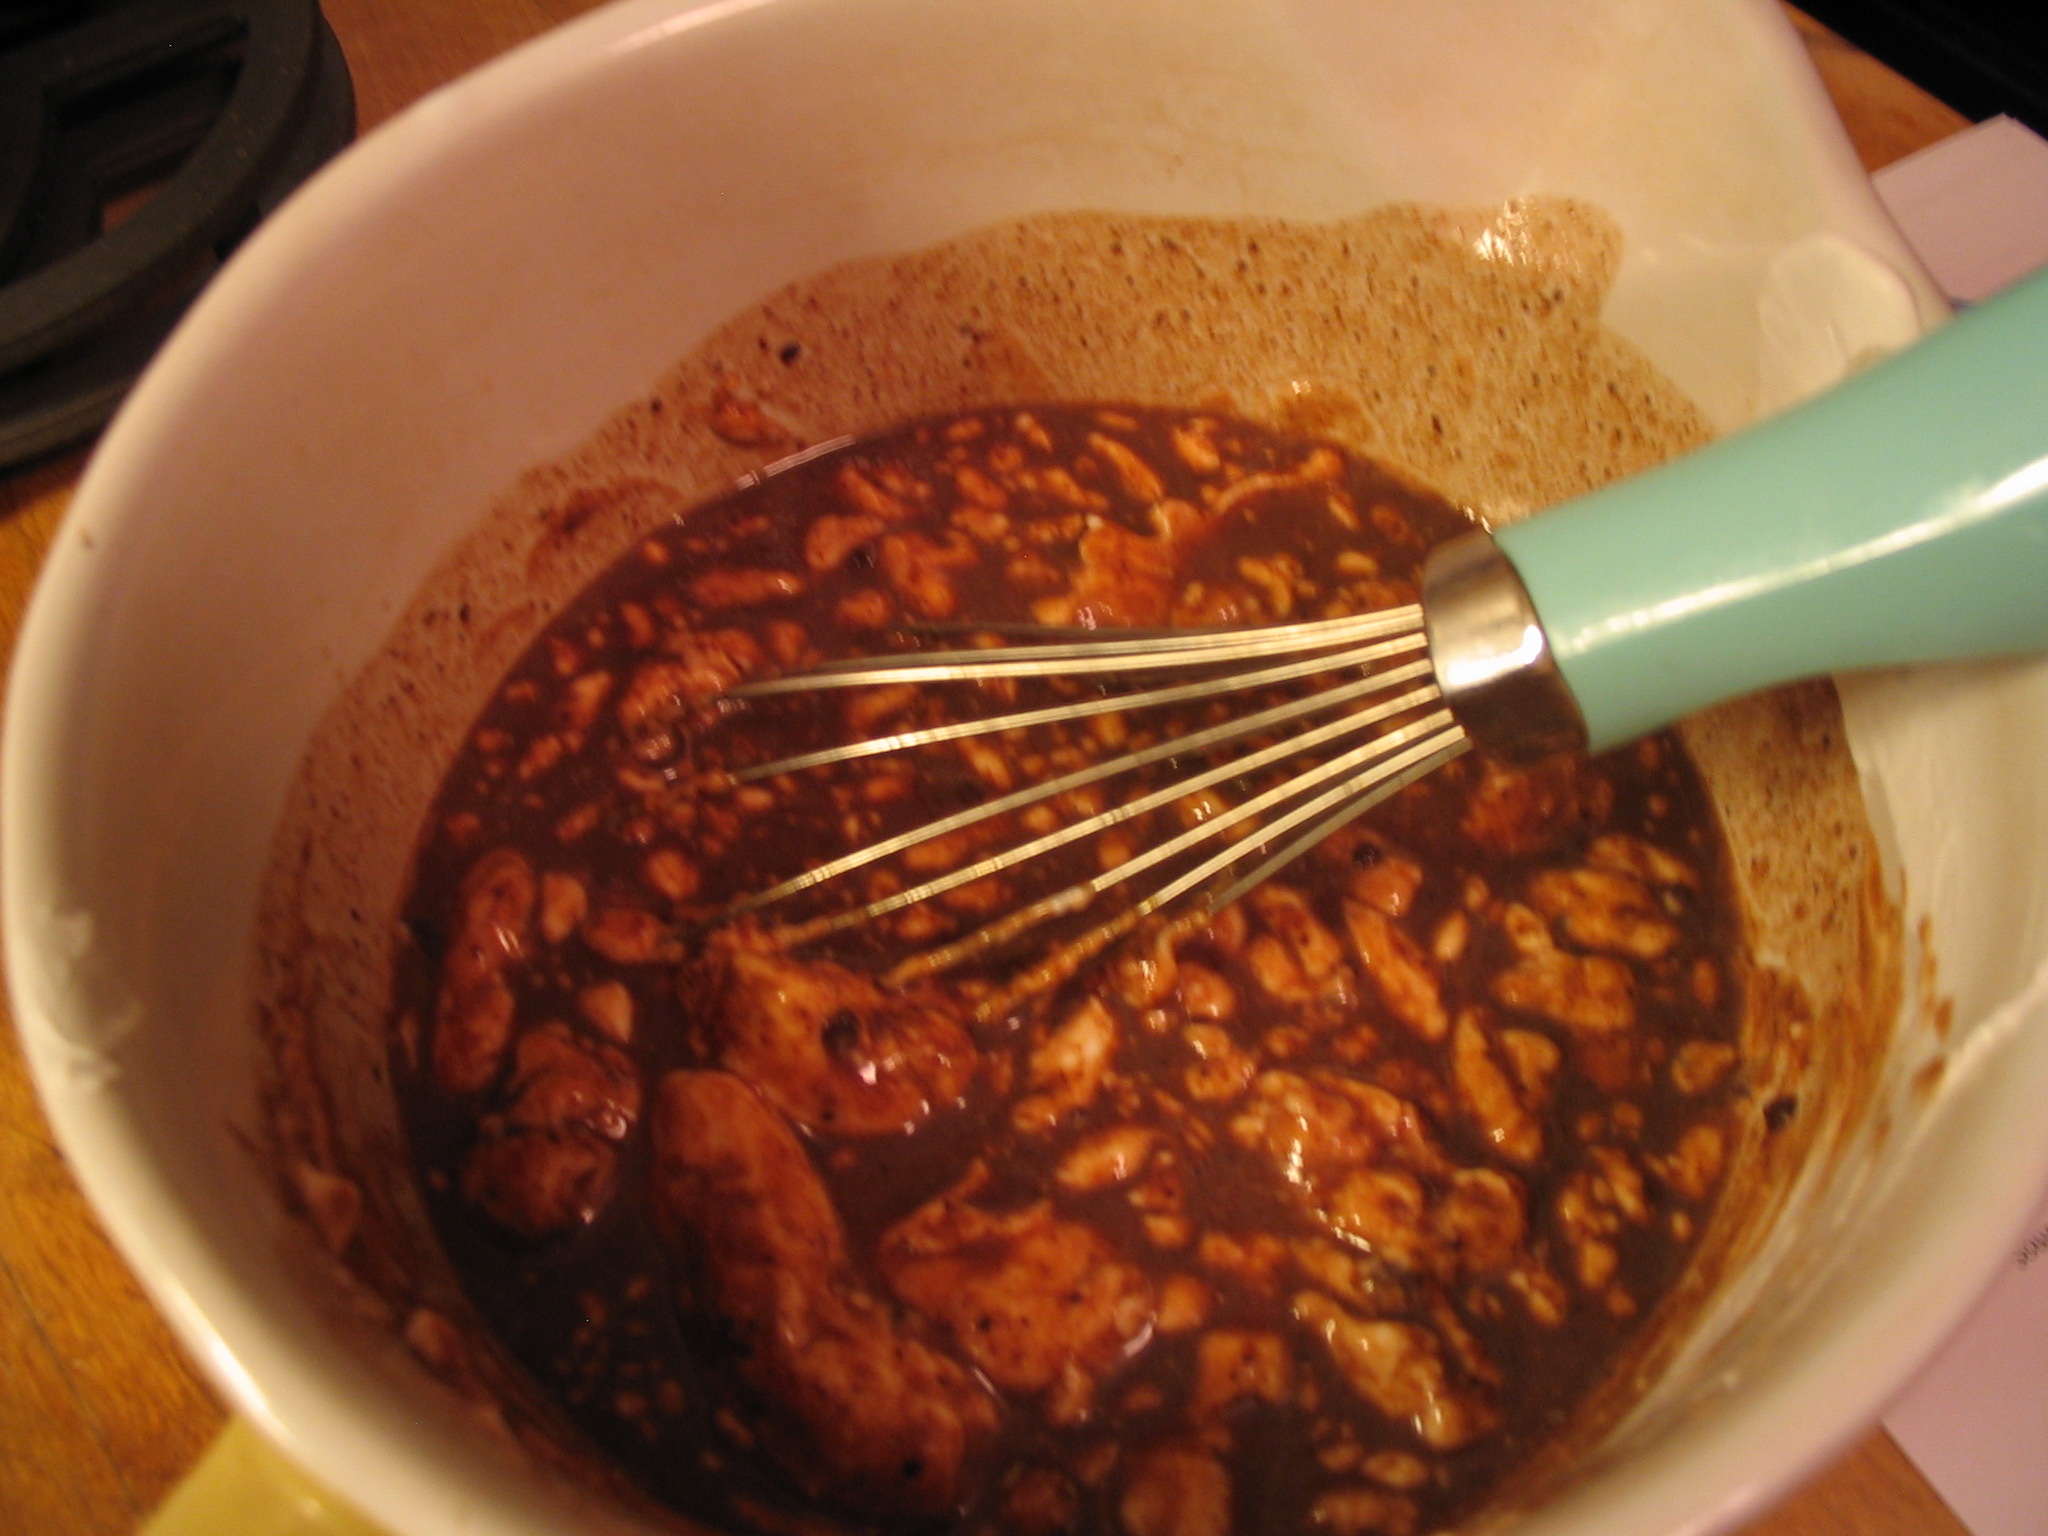

A few seconds later it was beautiful, rich, thick and creamy. It tasted good, too! I let the mixture chill a couple hours before proceeding to the fun part.
After setting up the ice cream attachment and turning the machine on, I poured the mixture in and let it run for about 25 minutes. This is seconds after I turned the machine off:

At this point, the frozen yogurt was soft-serve consistency. Almost like a Frosty, only with that yogurt tang. (Even with all of the cocoa and chocolate, you can still taste the yogurt. Not sure if that’s due to the brand of yogurt I used, or if I need to add a little more sugar next time.)

You can eat it fresh or freeze it for later. Trust me. It’s just as good either way.

Have you made homemade ice cream or frozen yogurt? What are your favorite flavors or additions?
Guacamole 1-2-3
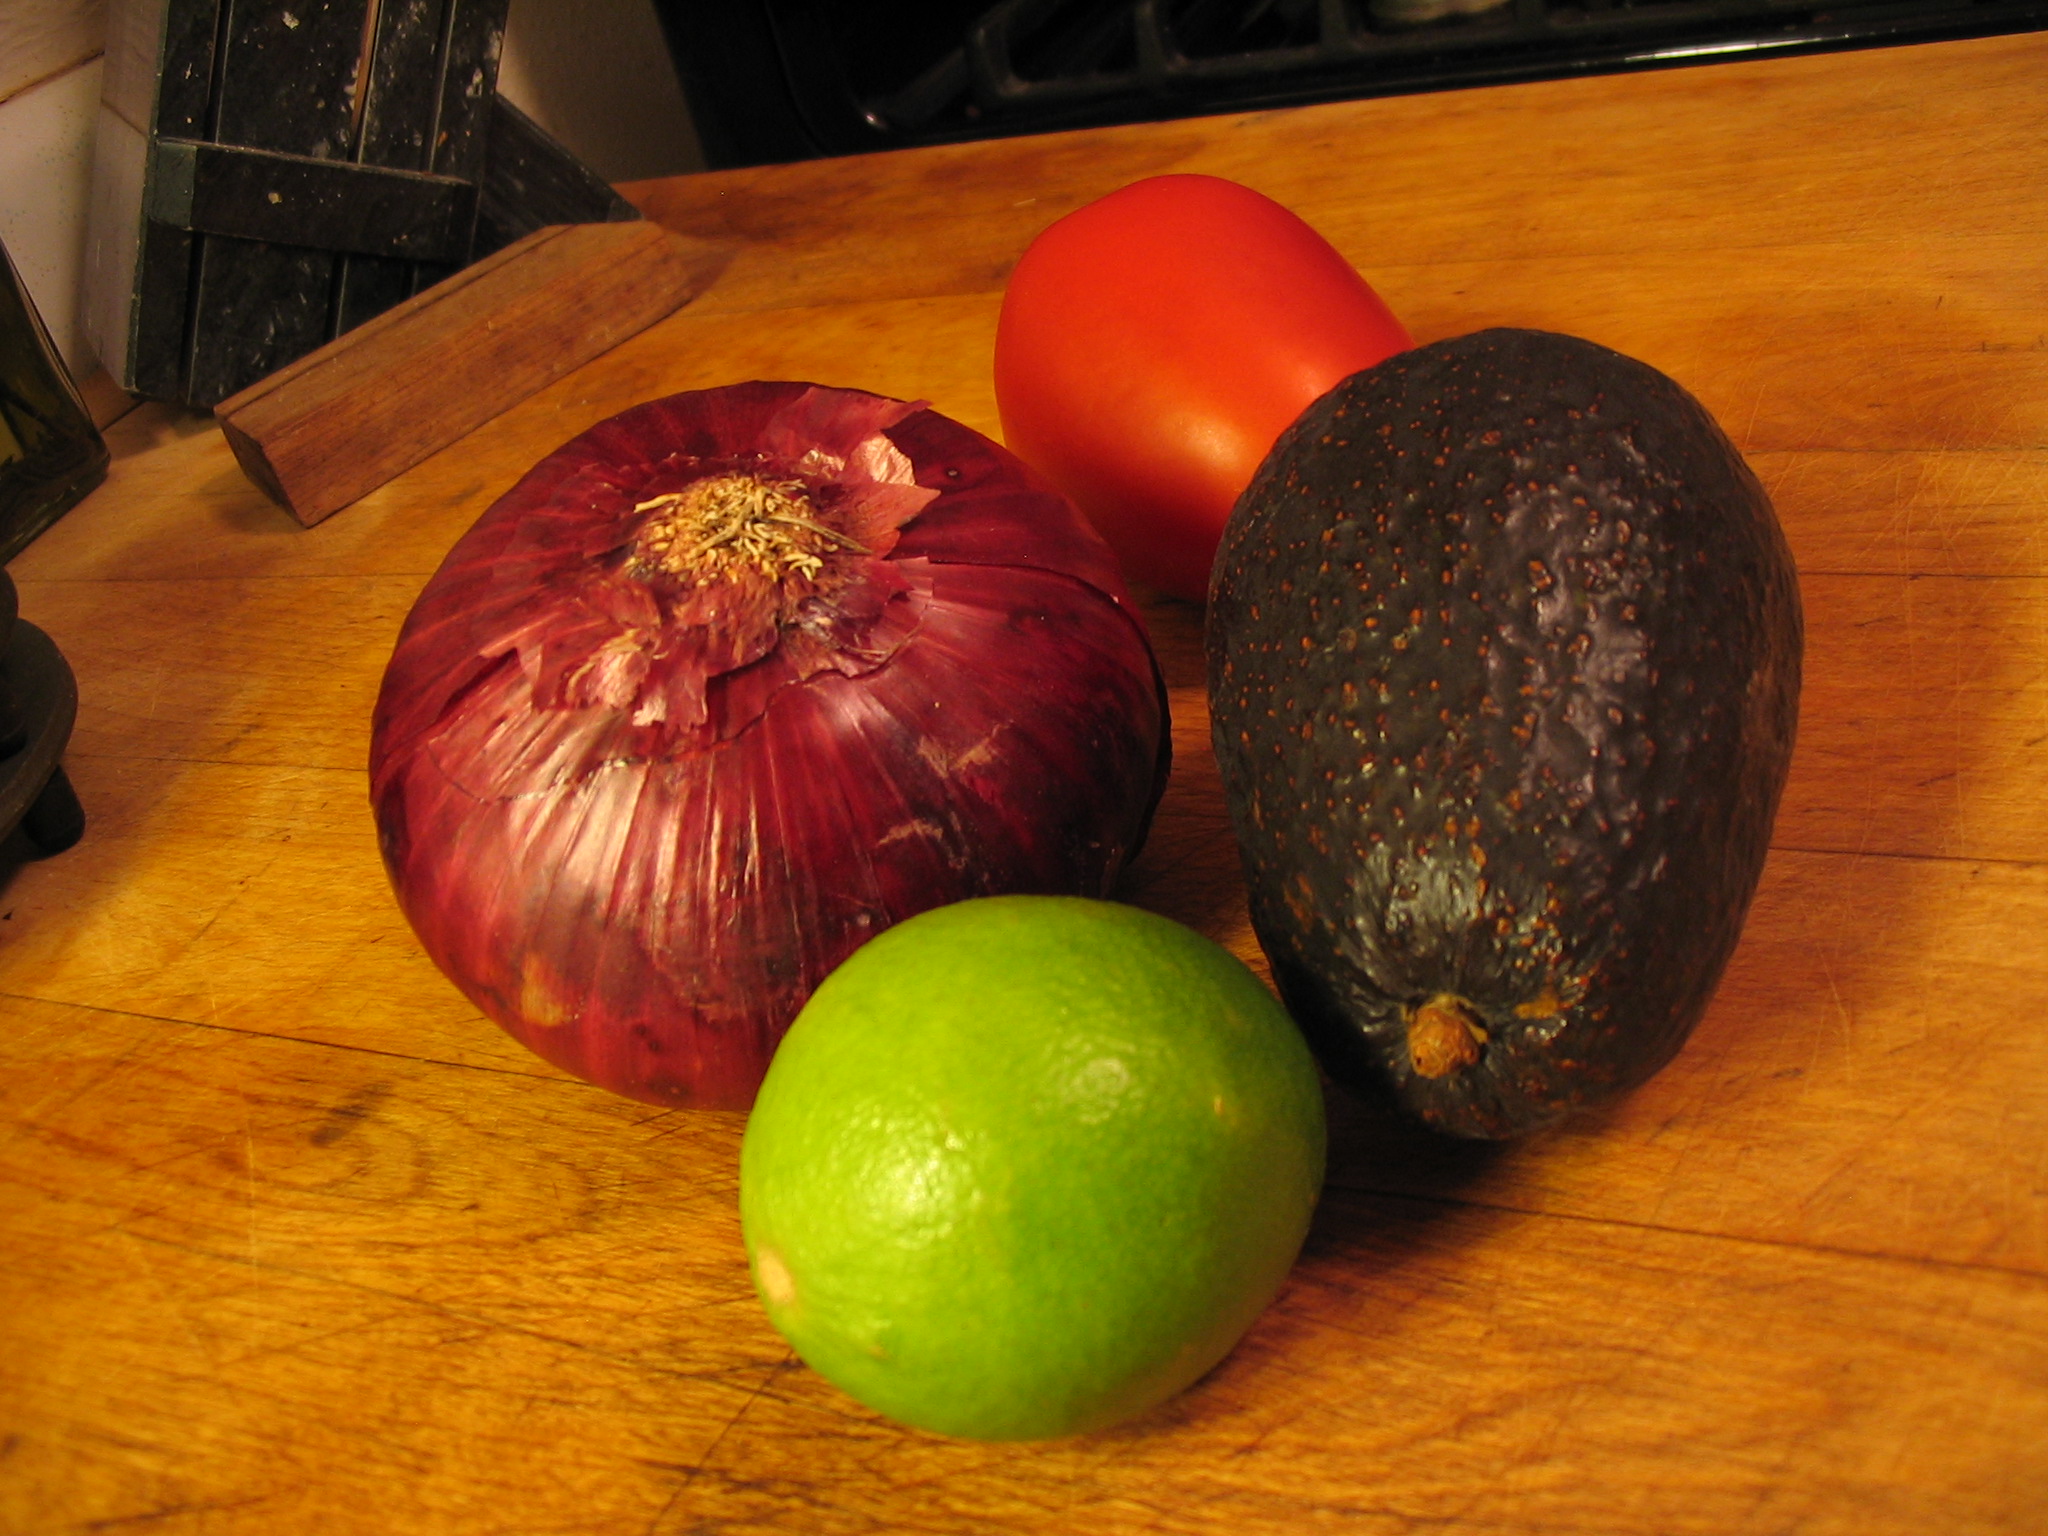
Guacamole is one of the simplest, easiest and most delicious dishes anyone can make. There’s no cooking involved, and not much a recipe, either. All you need is a ripe Hass avocado (or two), lime juice, salt & pepper – and maybe a bit of onion, tomato or garlic.
The basics
Sometimes the hardest part of making fresh guacamole is finding perfectly ripe avocados.
A lot of people add fresh garlic, but I prefer a subtle garlic flavor so I use a trick I learned from my Aunt Jean: cut a clove of garlic in half and rub it in the bowl you plan to use. (She did that to “season” the salad bowl before adding the greens.) Don’t worry. You can use the remaining garlic for another recipe.
Some people like smooth guacamole, others prefer chunky. I like chunks of avocado, tomato and onion, but sometimes I make it with just the avocado and lime. It depends on what I have on hand and what I’m serving with the guacamole.
Step One: Prep your extras. Rub the bowl with garlic (or mince a clove) and toss in some finely chopped tomato and/or onion if you like:

Tomato and onion in a garlic-rubbed bowl
Step Two: Halve, peel and remove pit from an avocado (or two, or more). I like to roughly cut the avocado in large chunks for easier mashing:

Step Three: Squeeze in some fresh lime juice, add salt and pepper to taste and mash to the desired consistency. (I usually use slightly less than half a lime per avocado, but you might prefer more or less lime.)

Simple, huh?
I don’t care for salty or greasy chips, so I usually cut up a small corn tortilla or two and bake my own chips in the toaster oven.
The final step? Enjoy!

Once avocados are cut they turn brown quickly. Even the lime juice doesn’t help stave off oxidation. I’ve heard putting plastic wrap directly on the guacamole helps keep it green because it reduces the exposure to air. Some people claim sticking the avocado pit into the mixture keeps it fresh too. But who am I kidding? There are never any leftovers to worry about!
While I love classic guacamole like this, it’s also be fun to experiment by adding things like grilled corn, hot peppers, cilantro, even mango. What are some unusual ingredients you’ve added to guacamole, and how did it turn out?
Apples to Apple(sauce)
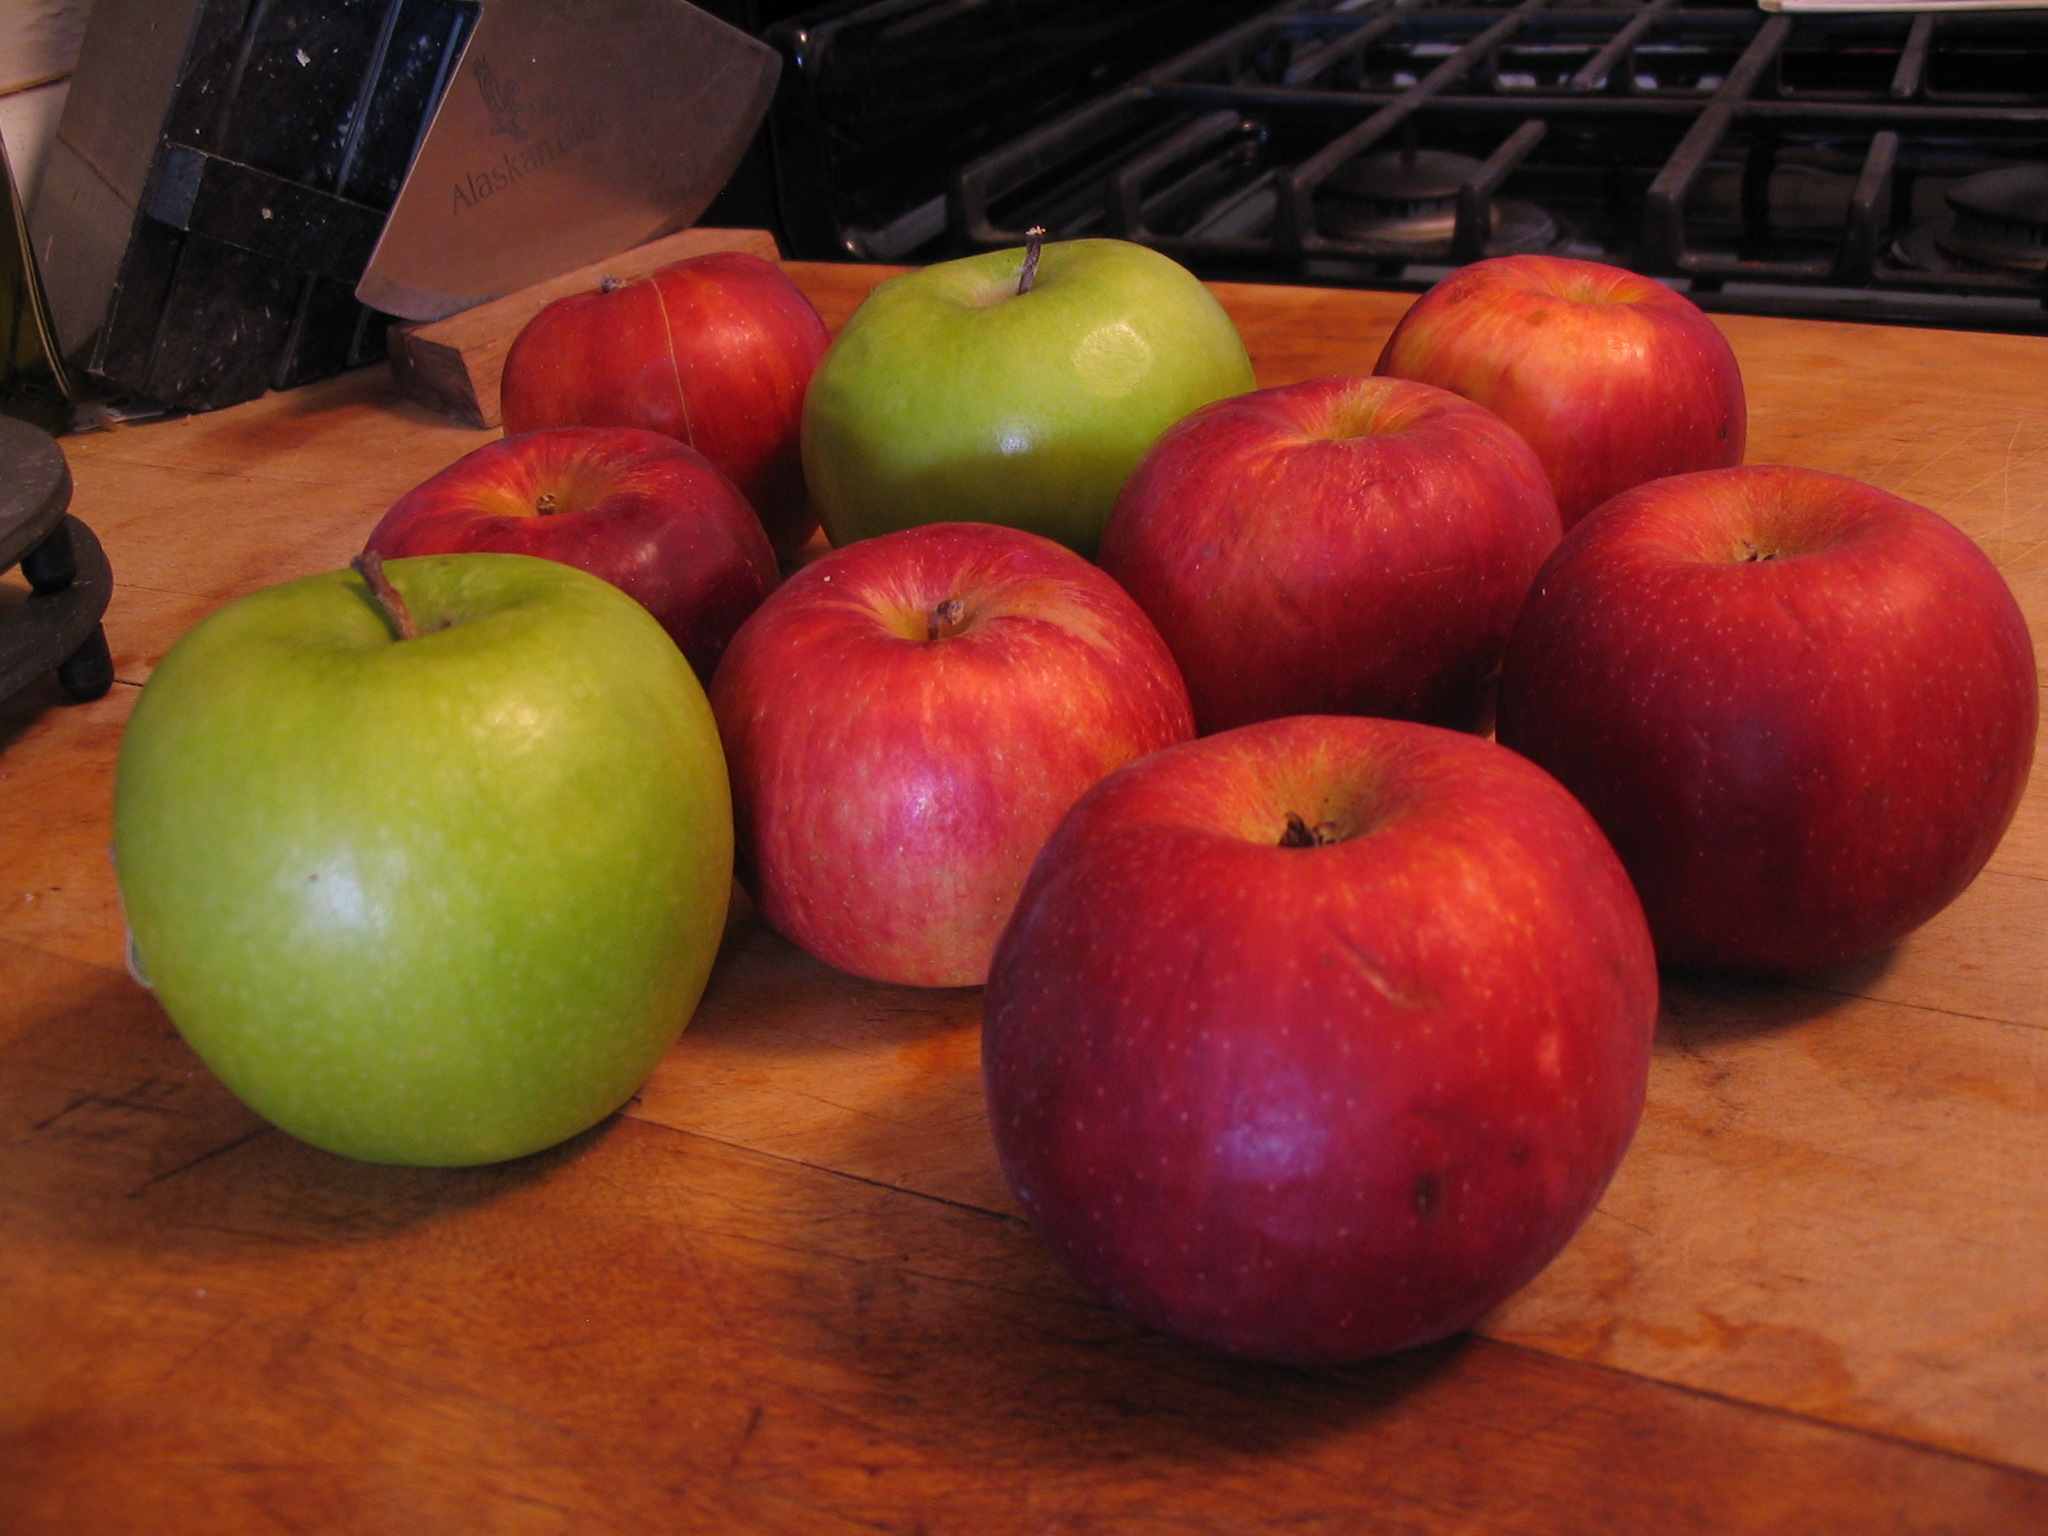
Whenever my dad bought apples he managed to choose the bag containing the largest number of bruised apples. It didn’t matter what variety he chose, what season it was, or whether they were on sale or full price. They were always bruised.
No one likes biting into bruised fruit. That’s why people turn old bananas into banana bread, and why I turned this lot of mismatched, slightly past-their-prime apples into applesauce.
Perhaps best of all, it’s a lot easier than baking banana bread.
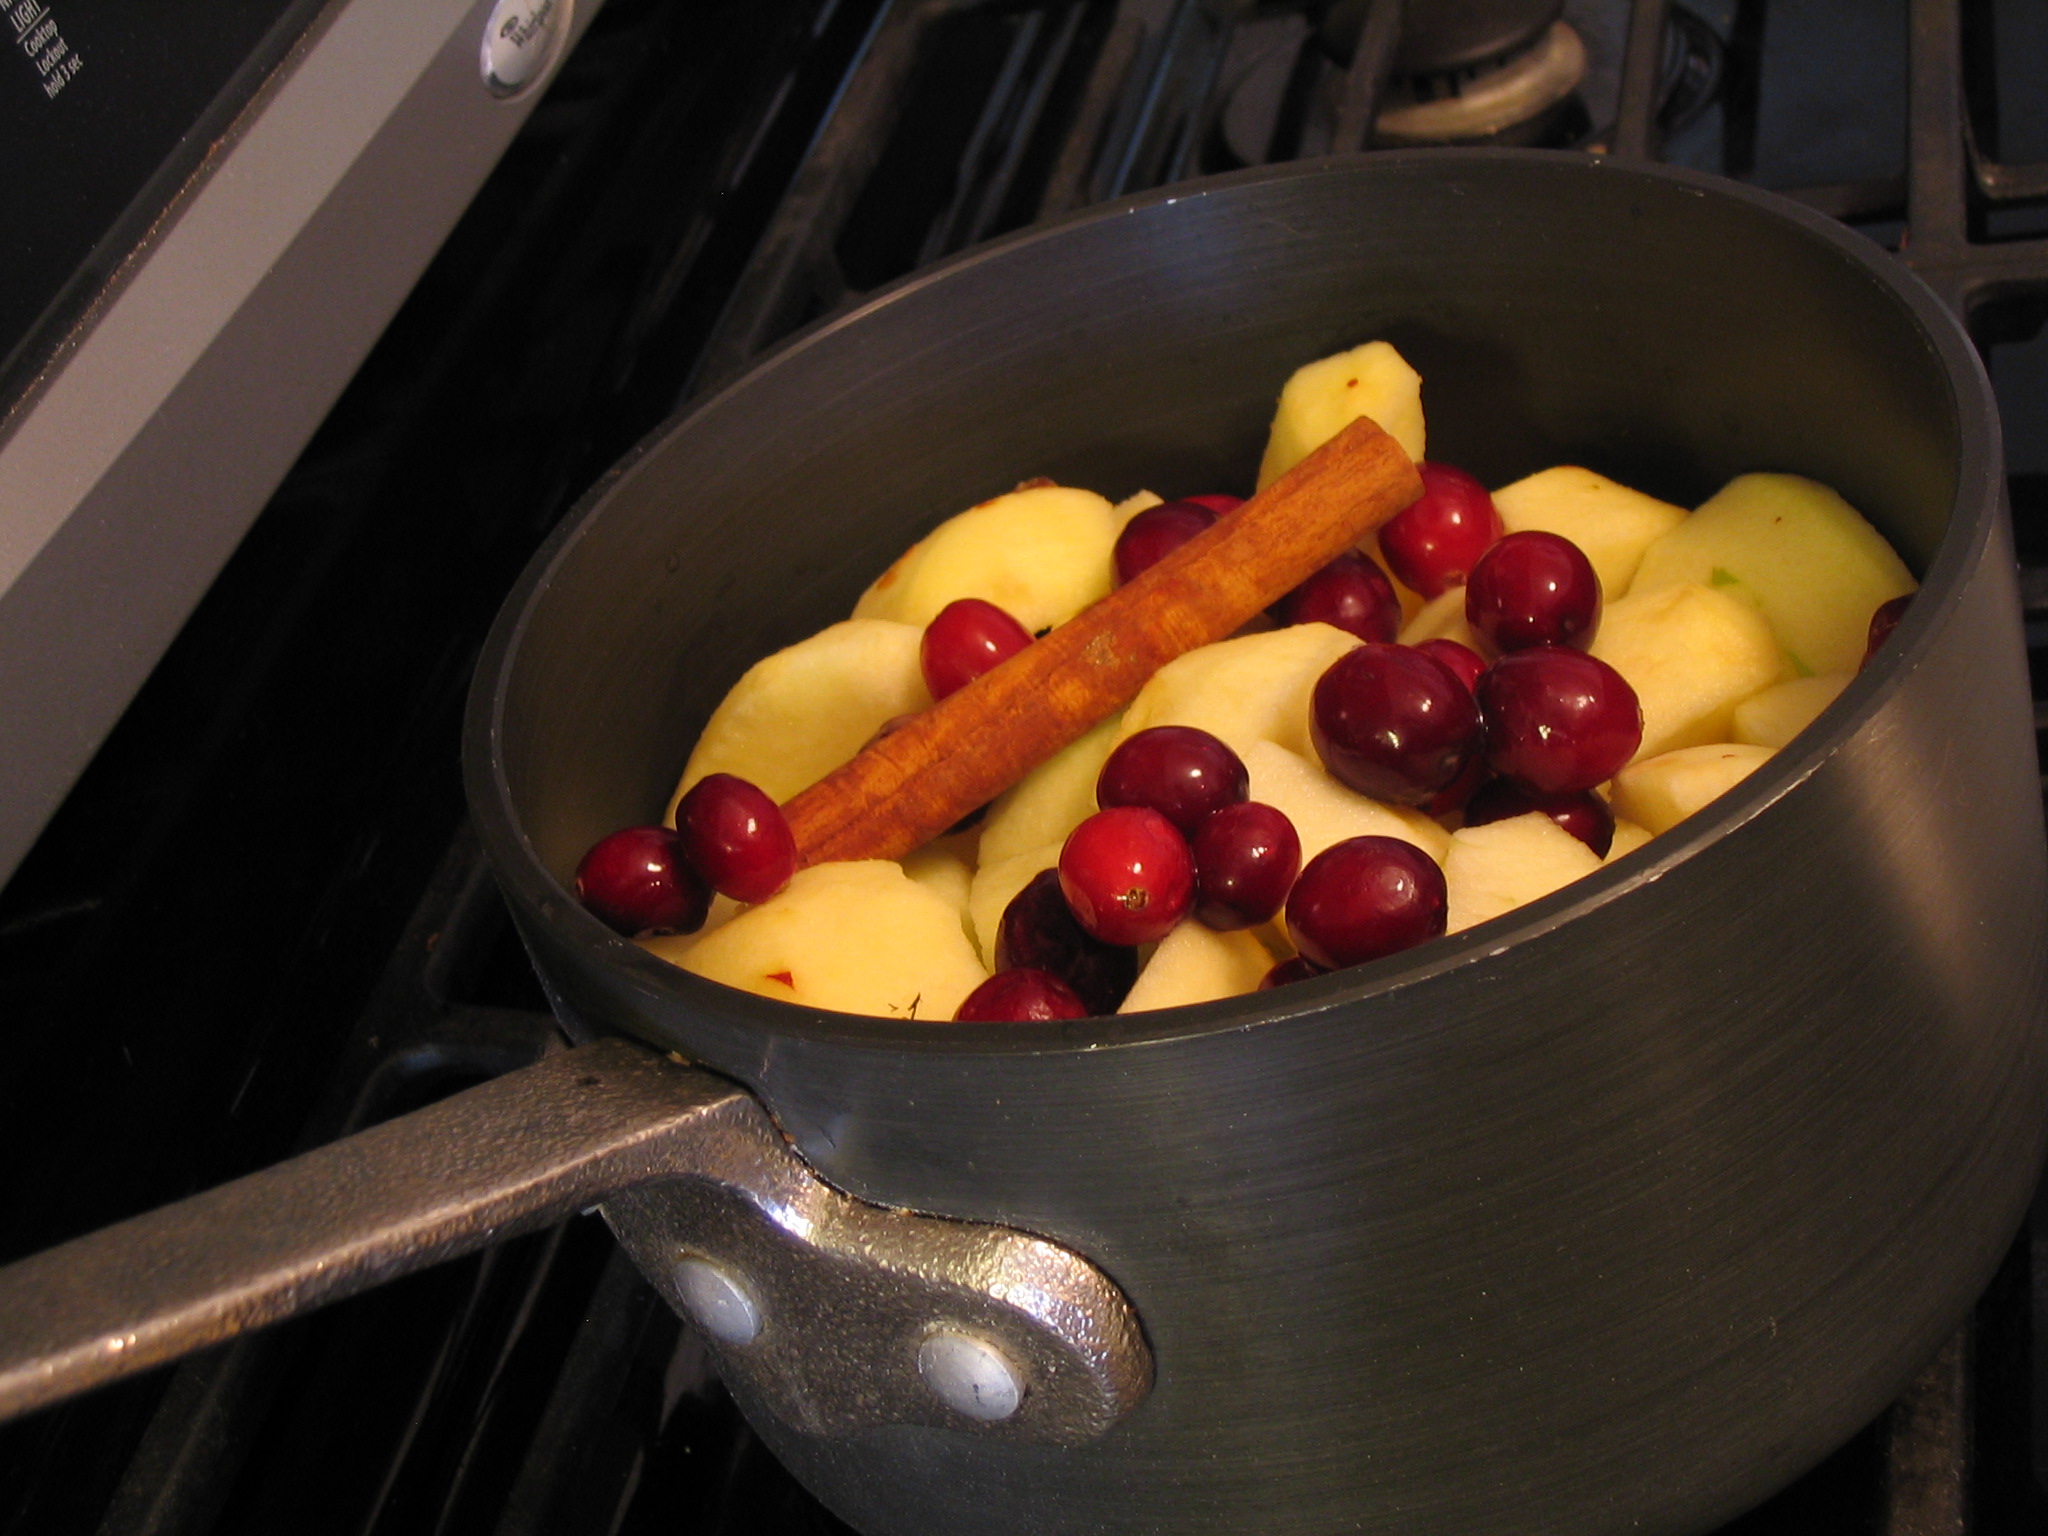
I started by peeling, coring, and quartering about two pounds of apples. (If they were fresher I would have left the skins on.)
I put the apples in a medium sauce pan with:
- approximately 1/3 cup of water (apple cider or apple juice would work, too)
- roughly one tablespoon of lemon juice (the amount depends on the varieties of apples you’re using and how tart you like your applesauce)
- one cinnamon stick (you can substitute about 1/2 teaspoon ground cinnamon if you don’t have a cinnamon stick)
- about 1/2 cup fresh or frozen cranberries (optional)
Start it on medium heat, and when it begins to simmer reduce heat to low or medium-low. Cover, but stir every couple of minutes. Simmer 20-25 minutes. Timing depends on how large the apple chunks are and which varieties are used.
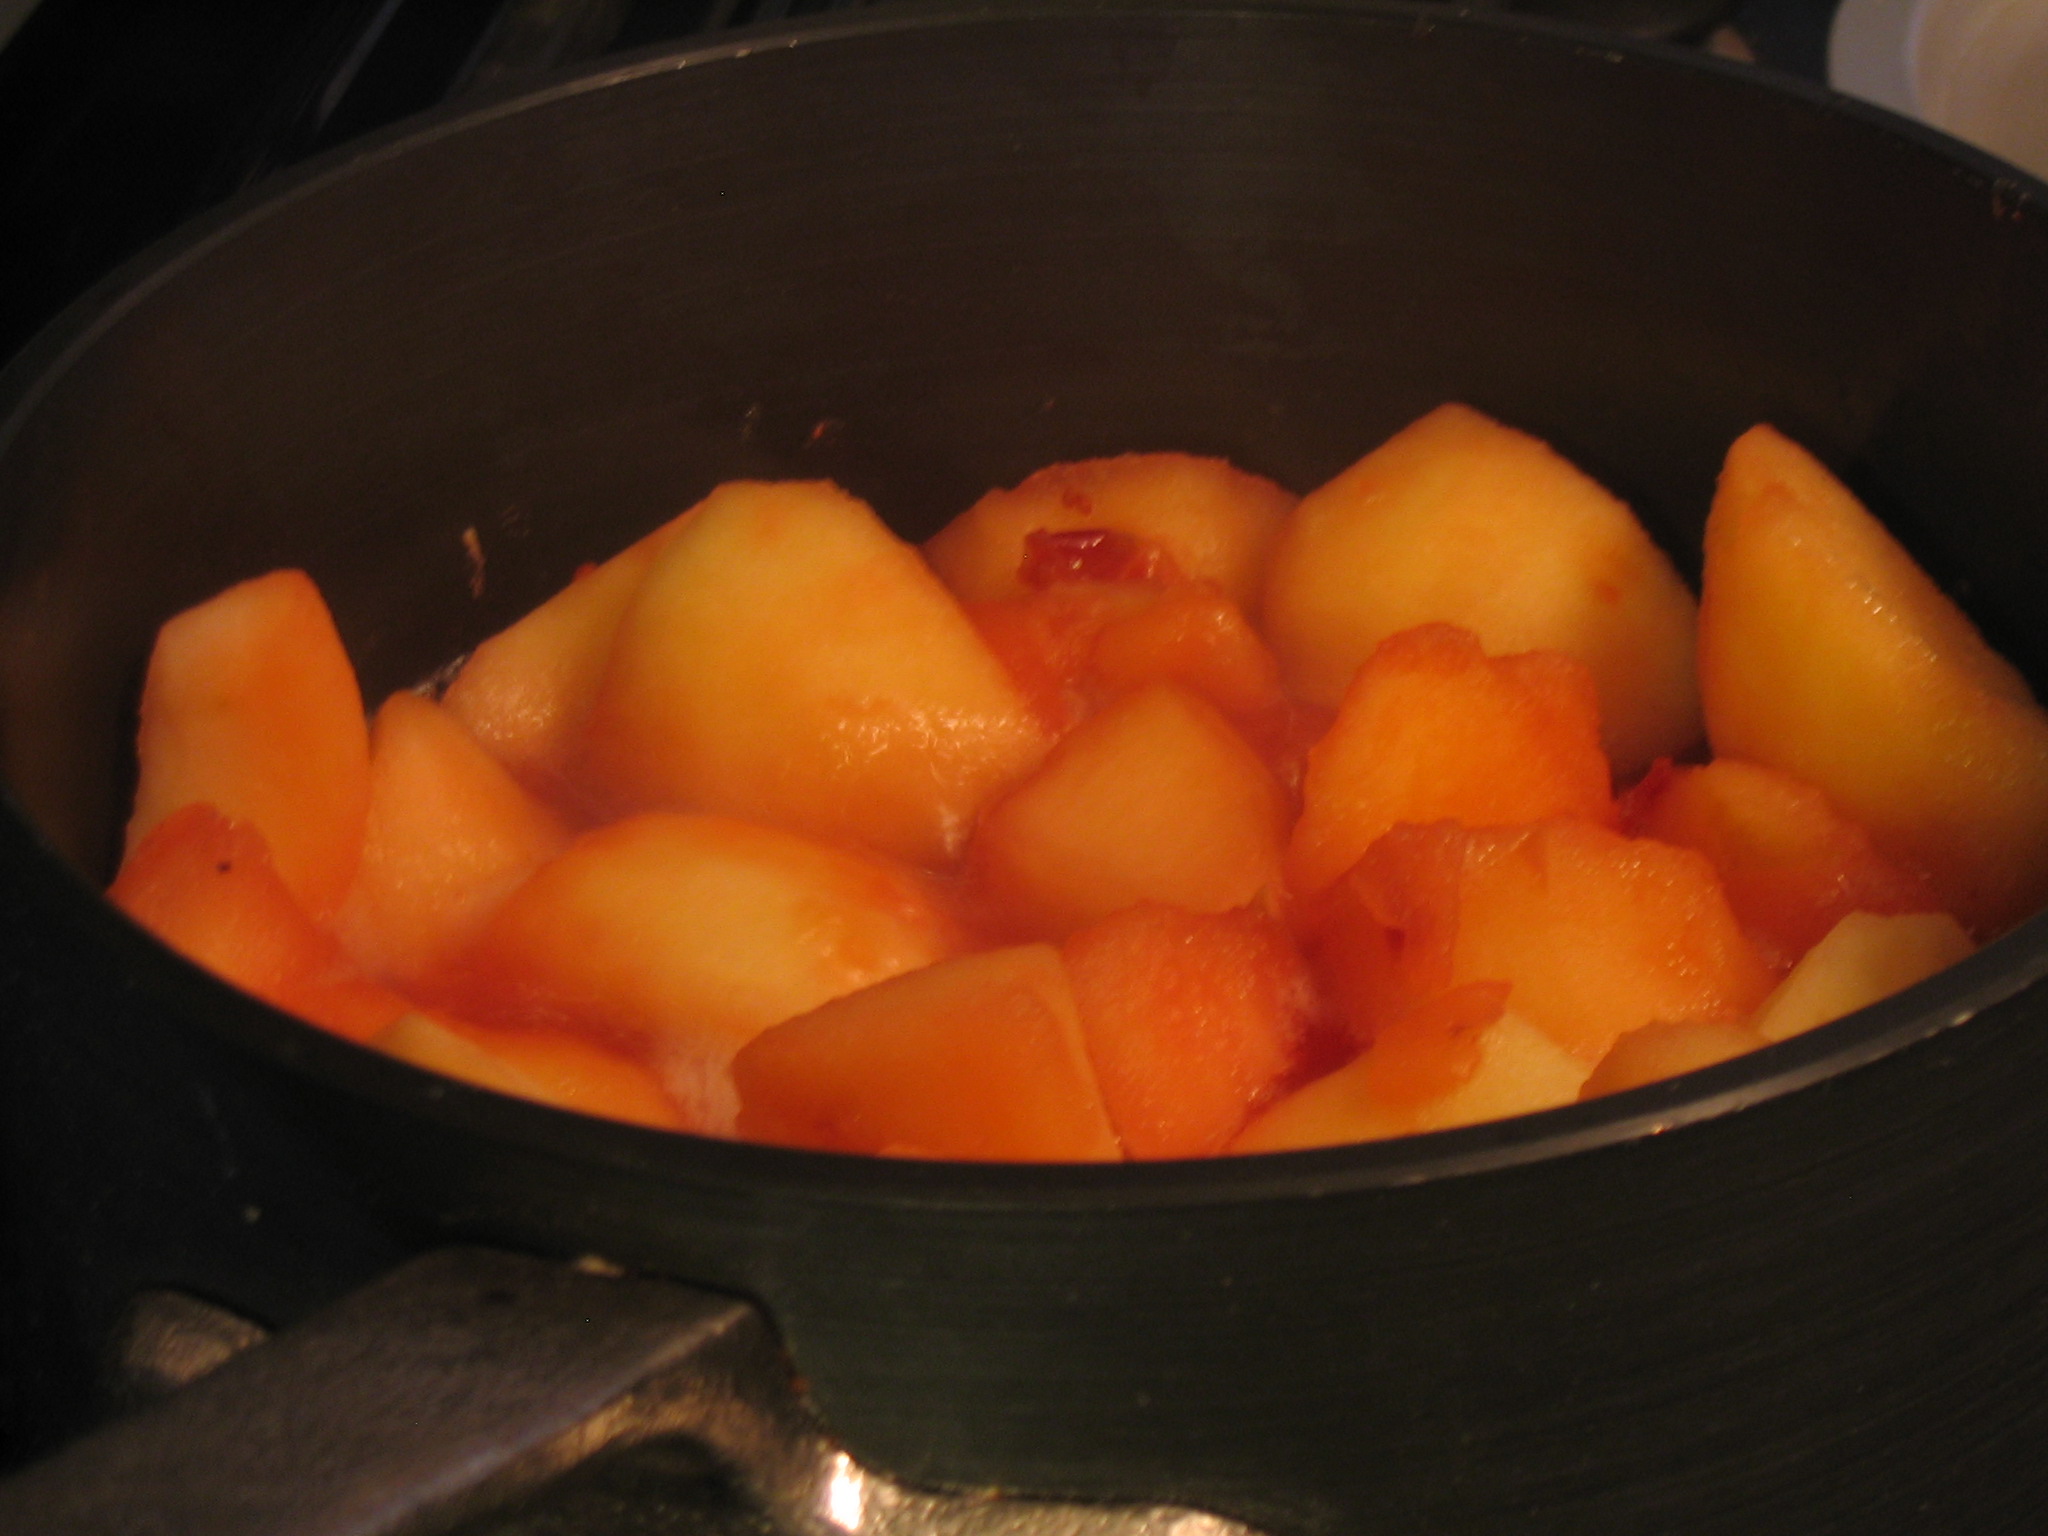
About half cooked.
The cool thing about adding cranberries? They pop when cooked, which turns the applesauce pink.
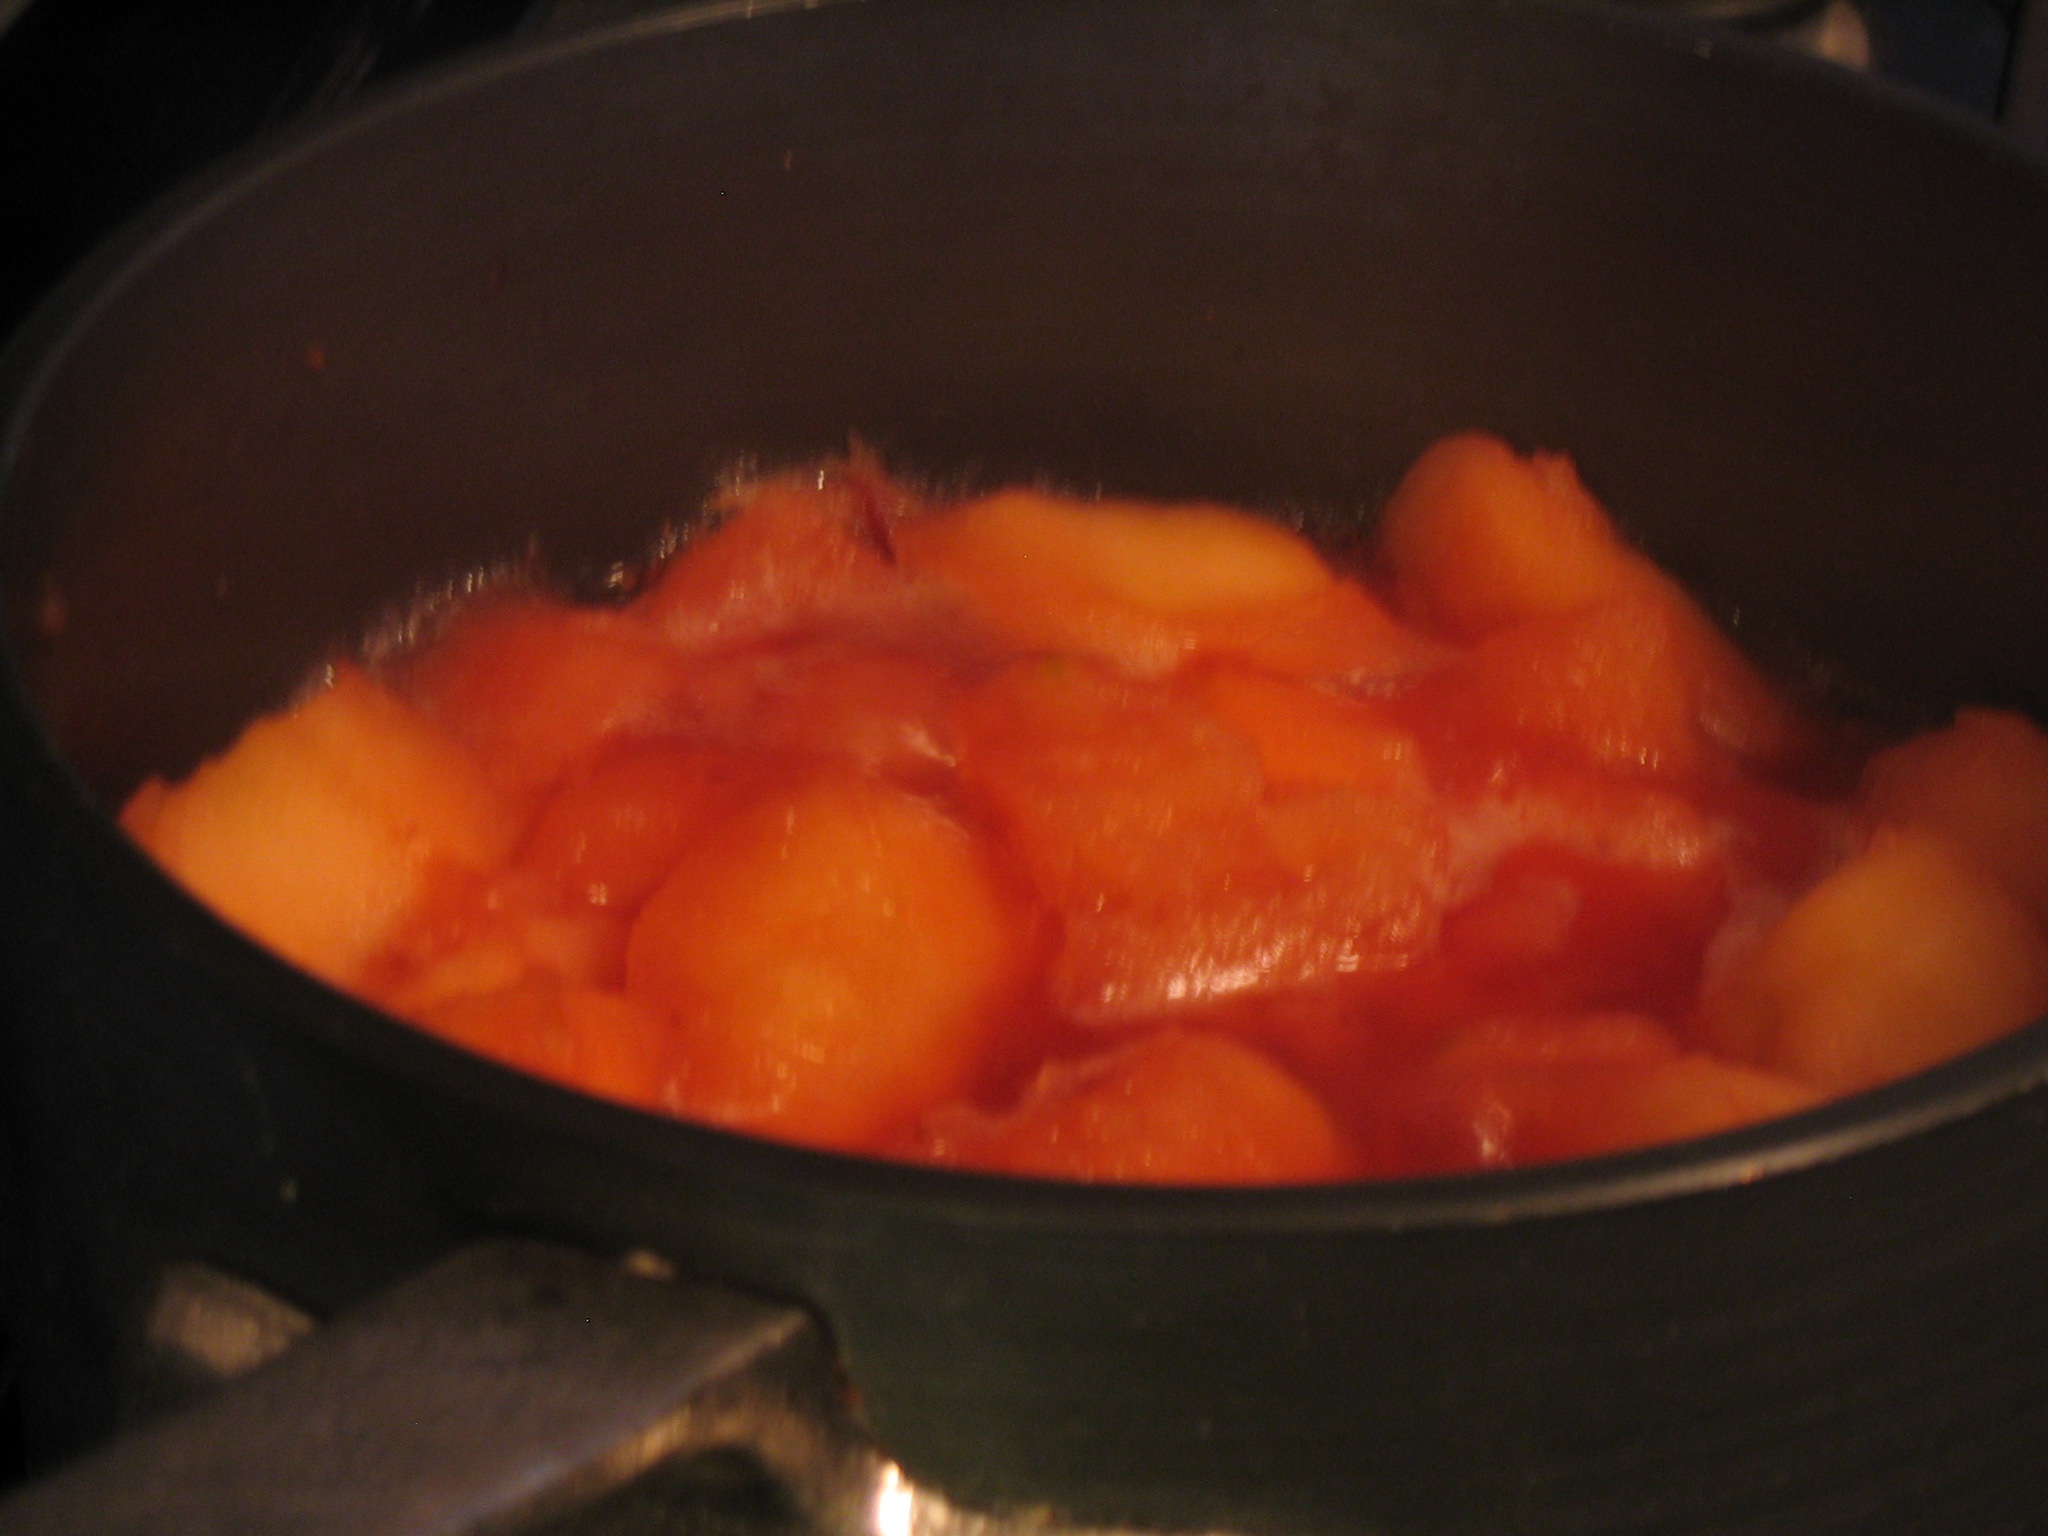
Once the apples are tender it’s time to mash them up a bit with a spoon and taste the sauce.
You might want to add a little sugar, a lot of sugar, some honey, or no sweetener at all. You can also add dried ground ginger, nutmeg, even a dash of vanilla if you like. I added:
- 1/4 teaspoon dried ground ginger
- about 1/3 cup of sugar
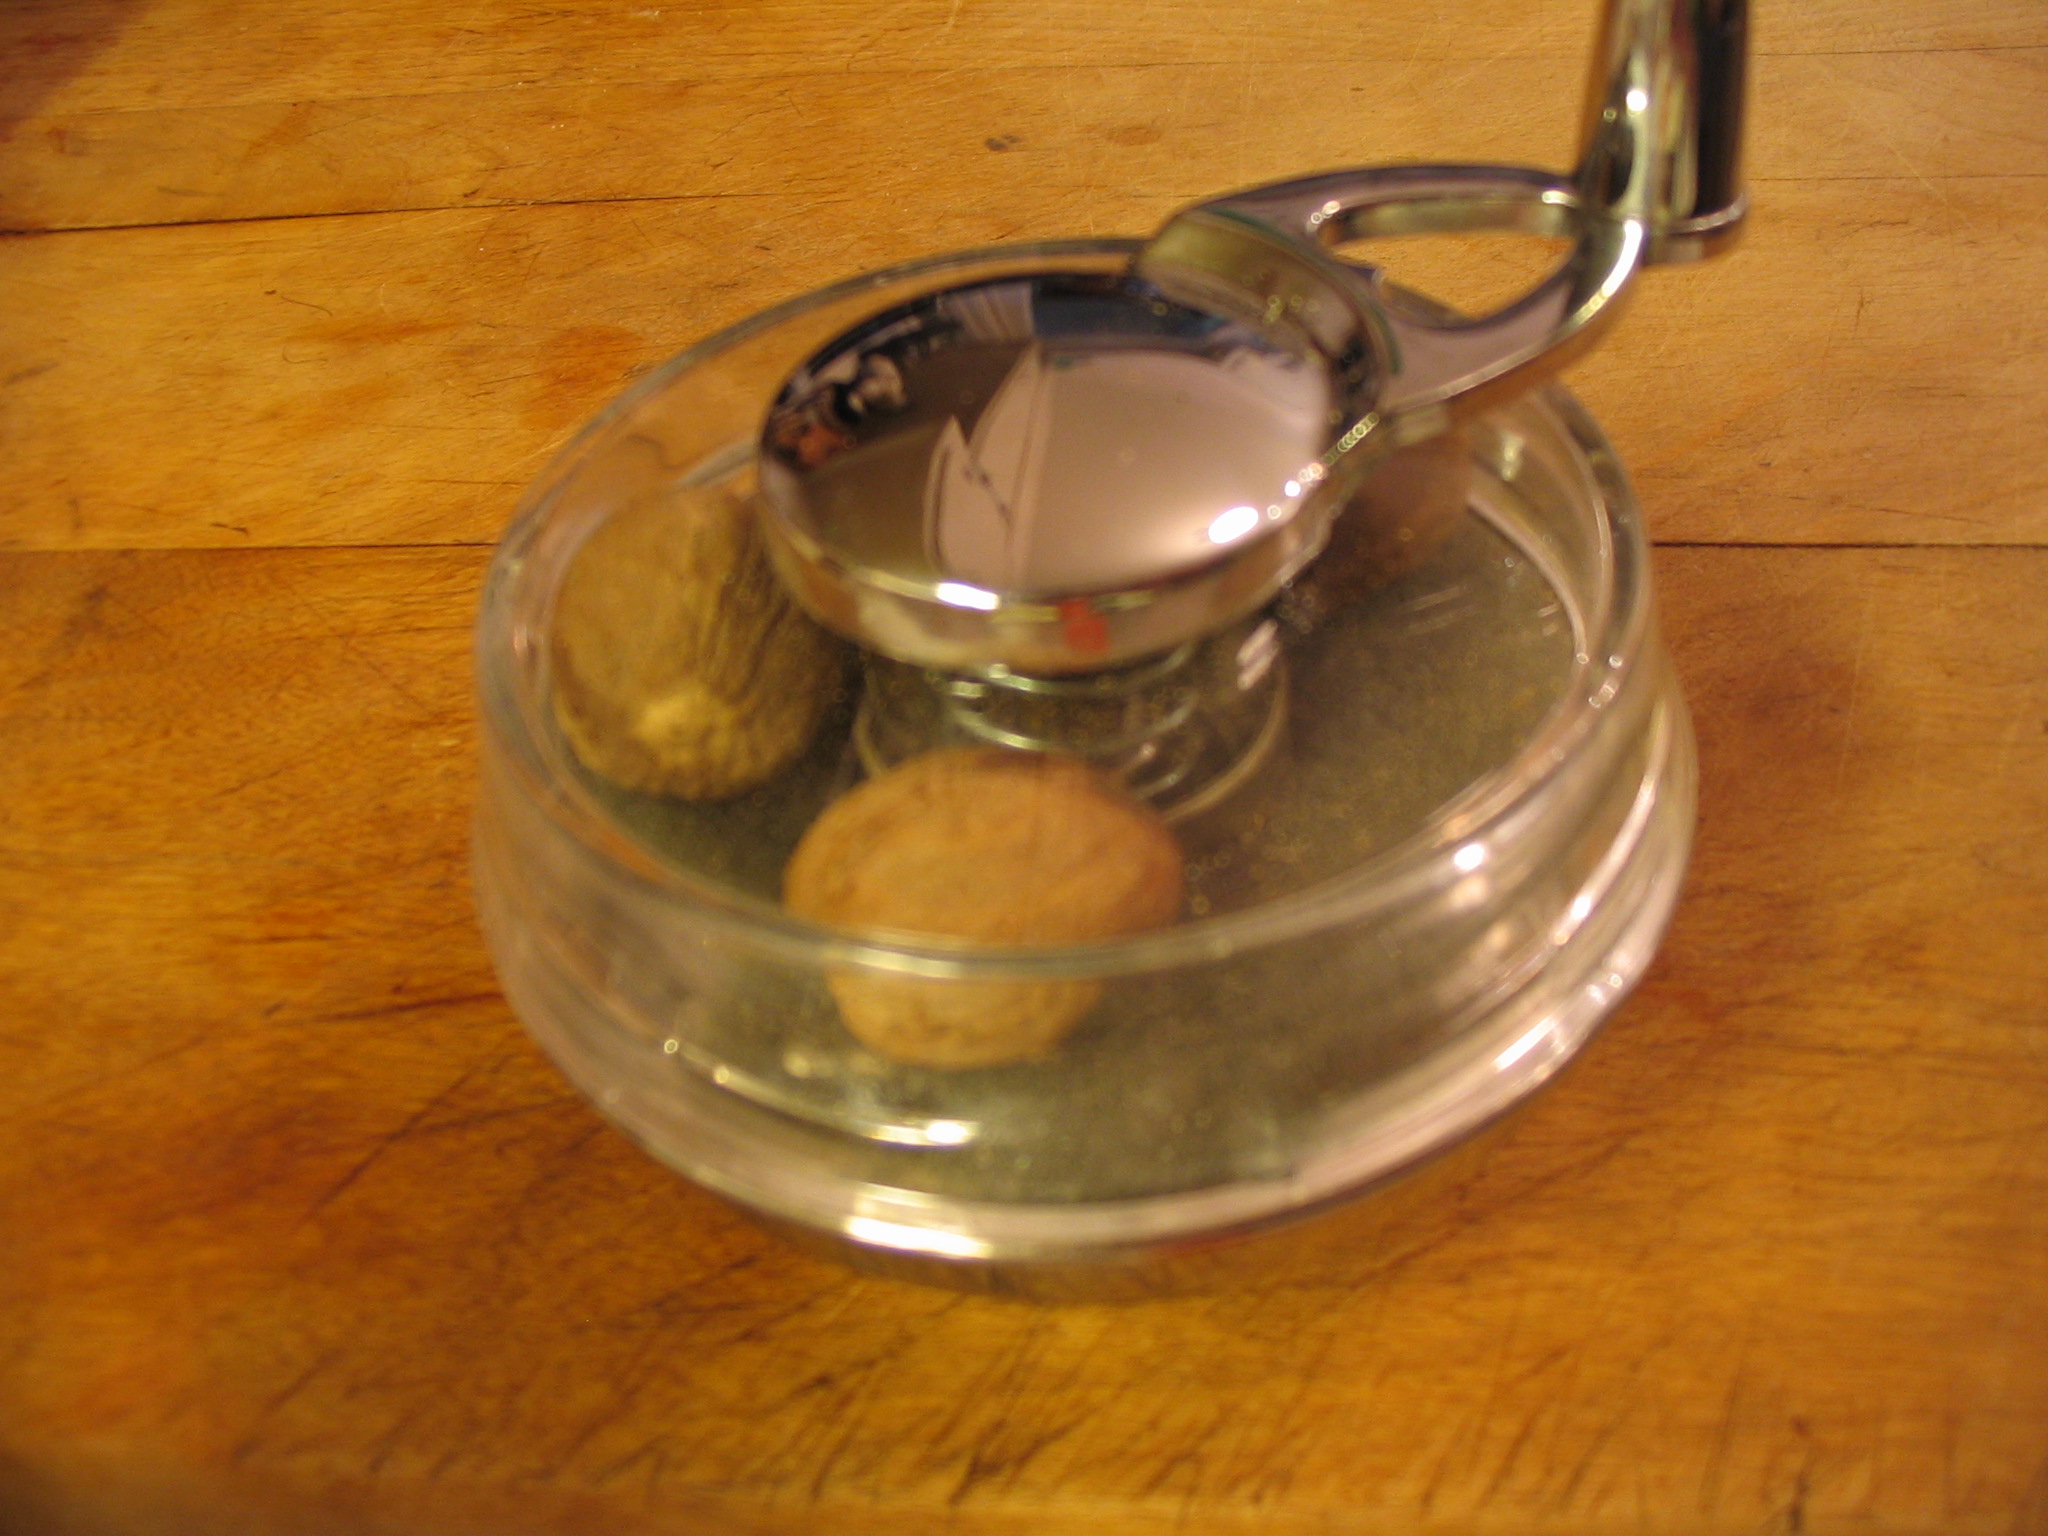
- a few grinds of freshly ground nutmeg (a little nutmeg goes a long way)
Quick aside: I was never a nutmeg fan until I got this cool nutmeg grinder for Christmas.
The types of apples you use — and whether or not you add cranberries — will make a big difference in what you decide to add. That’s why tasting is so important. If it’s too tart, add a small amount of sugar or honey and taste. Repeat until you like the flavor.
If you add sugar or honey, continue to simmer another minute or two so it cooks in. Remove the cinnamon stick.
I like chunky applesauce so I used a wooden spoon to break up the apples. Potato mashers also work well, especially if you prefer smoother sauce.
All that’s left is to dish up a nice bowl of fresh, homemade apple sauce and enjoy. It’s perfect warm or cold!
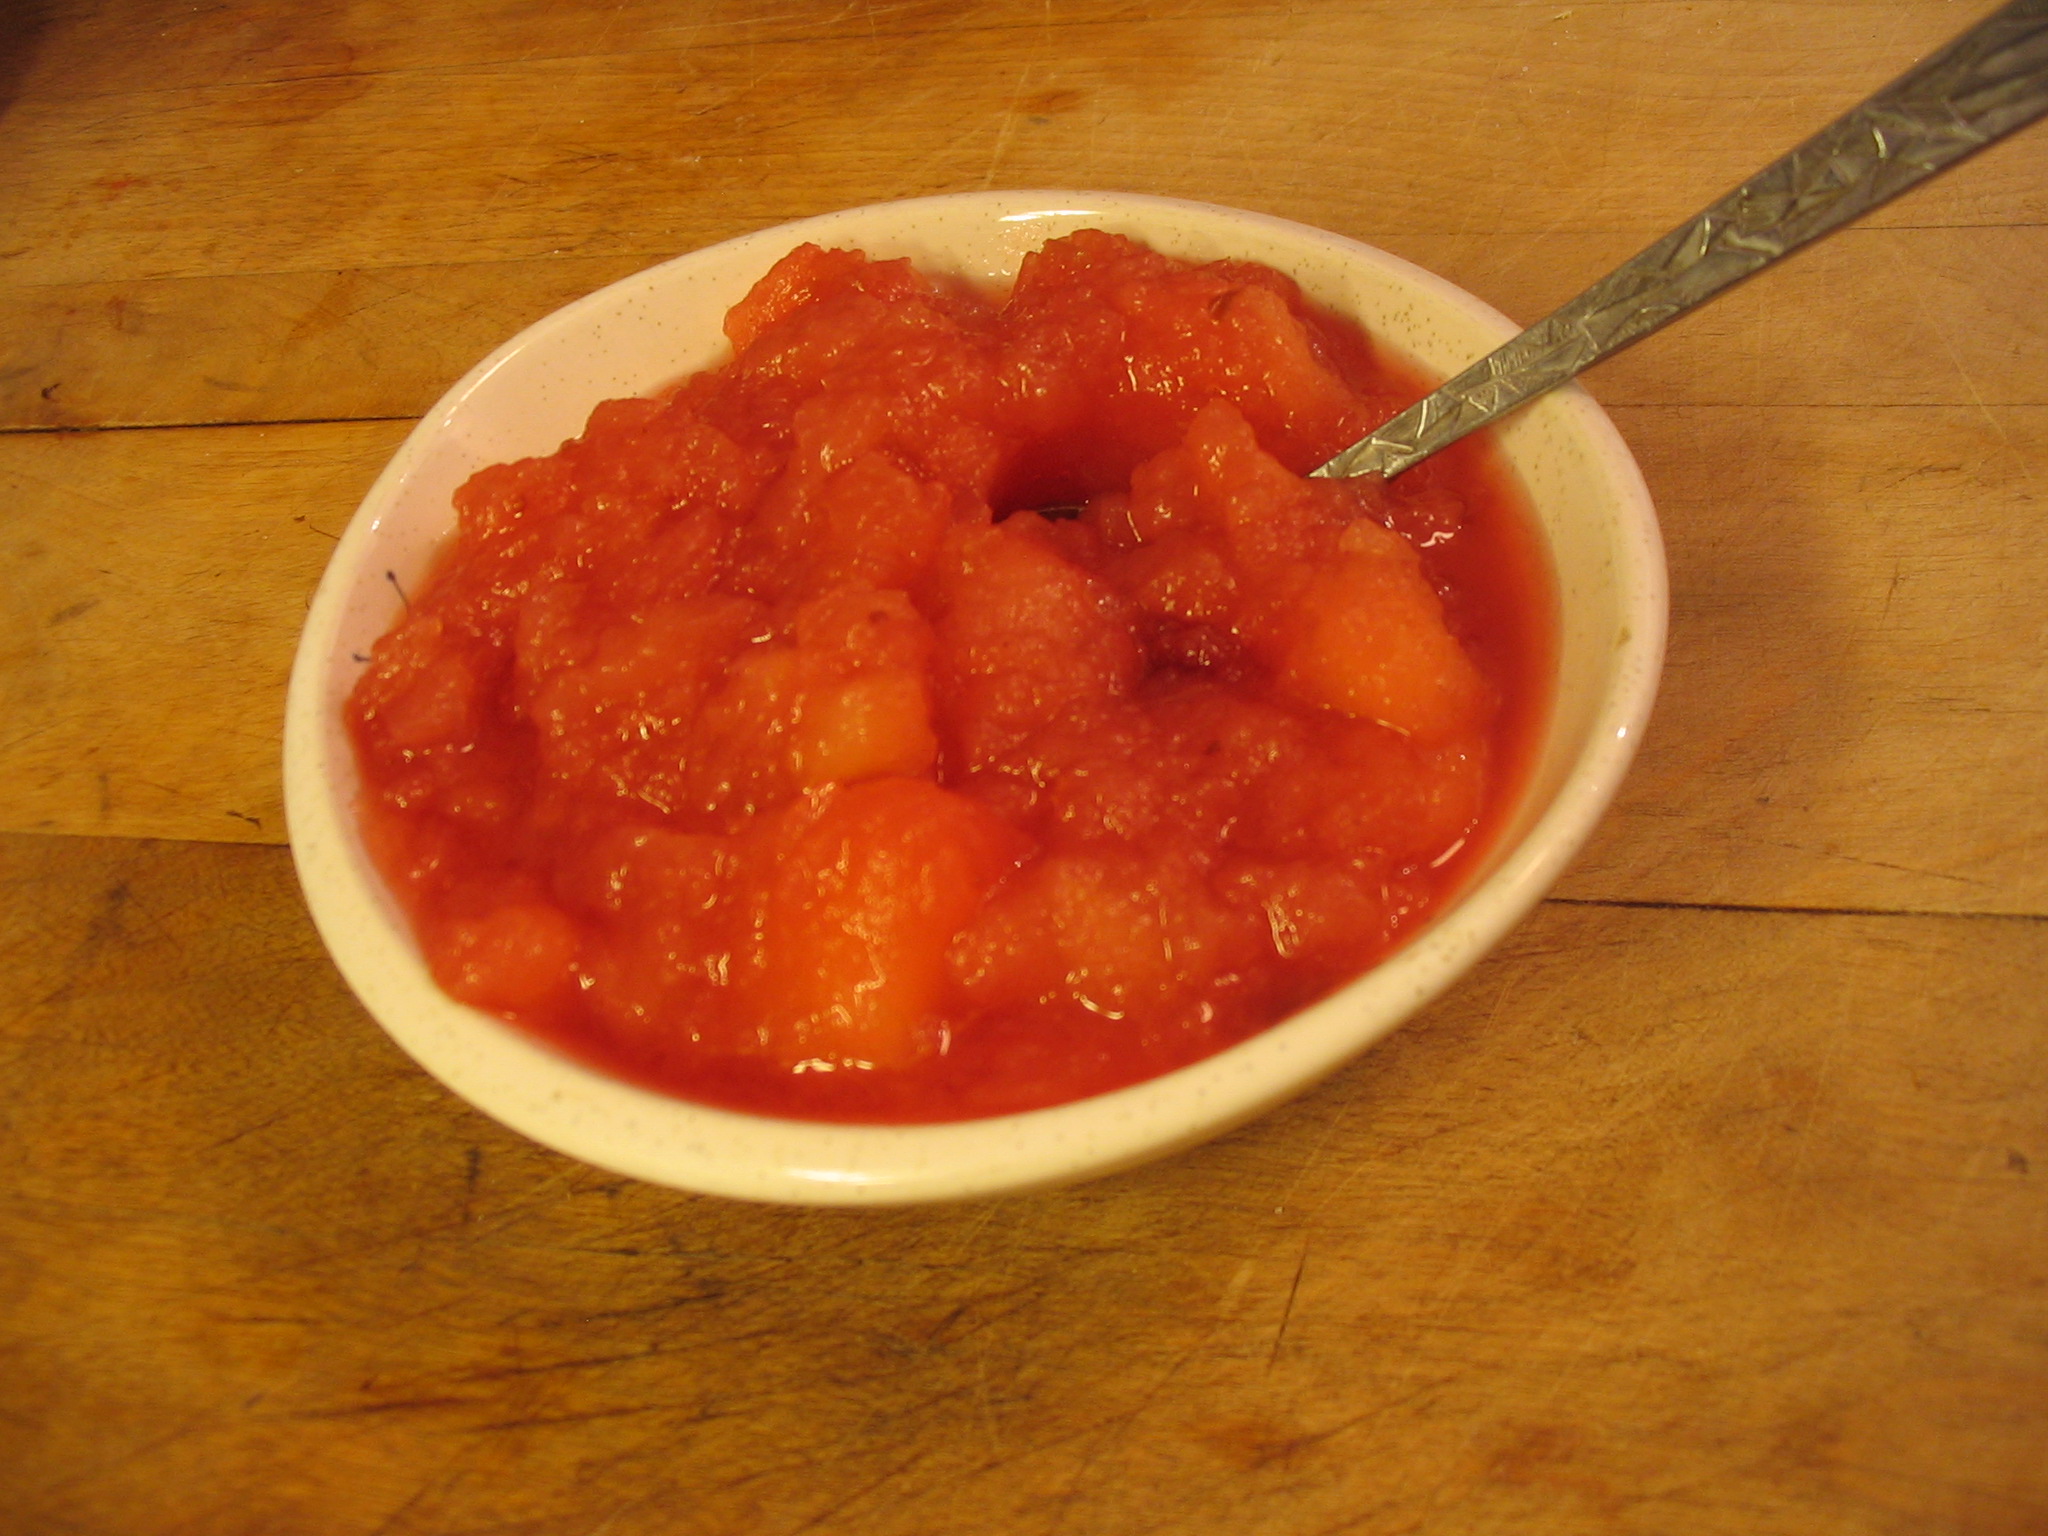
I’m obviously not a food stylist. Luckily this tastes much better than it looks!
Family Crafts: Chocolate Almond Toffee
When I was still in school, some friends of the family gave my dad a box of chocolate almond toffee from a specialty candy maker. It was delicious, addictive, and very expensive, so I set out to replicate the toffee as closely as possible. That meant testing several recipes and using them as a blueprint for developing my own tightly guarded recipe.
Ever since, I give homemade toffee to friends and family as part of their Christmas gifts each year. I never realized how much my cousin’s family liked it until a few years ago when two of them arrived at our family gathering on Christmas Day greeting me with a hug and, “Merry Christmas! Did you make the toffee this year? We were talking about it on the way here!” They even asked if I’d share the recipe.
They seemed somewhat trustworthy, so I gave them my top secret recipe. I guess their first attempt didn’t turn out well, but candy can be tricky to make. A degree or two the wrong way and it’s either too soft or burnt. It’s my recipe and even I’ve lost a couple batches over the years due to poor timing.
Since we were planning a multi-day Thanksgiving retreat this year, I brought all the ingredients and a candy thermometer. The cousin who helped me make the toffee had to leave before it was set, so my 9-year old niece stepped in and spread the chocolate and sprinkled the almonds on top. It turned out perfectly.

I usually break the toffee up in parchment paper, but a clean brown paper grocery bag made a great substitute!
Just to taunt my cousin a bit, we sent her this photo of the final product. The toffee always goes quickly – I just hope her dad was able to resist eating the toffee we set aside for her!
What are some of your family’s favorite holiday treats?
Bake your own doggie treats
Anyone with a dog knows a lot of dog treats have been recalled in recent months. Why risk your pet’s health on pre-made, processed by-products when making treats from scratch isn’t any harder than baking cookies?
That, and I have been looking for an excuse to use these cool doggie bone cookie cutters….

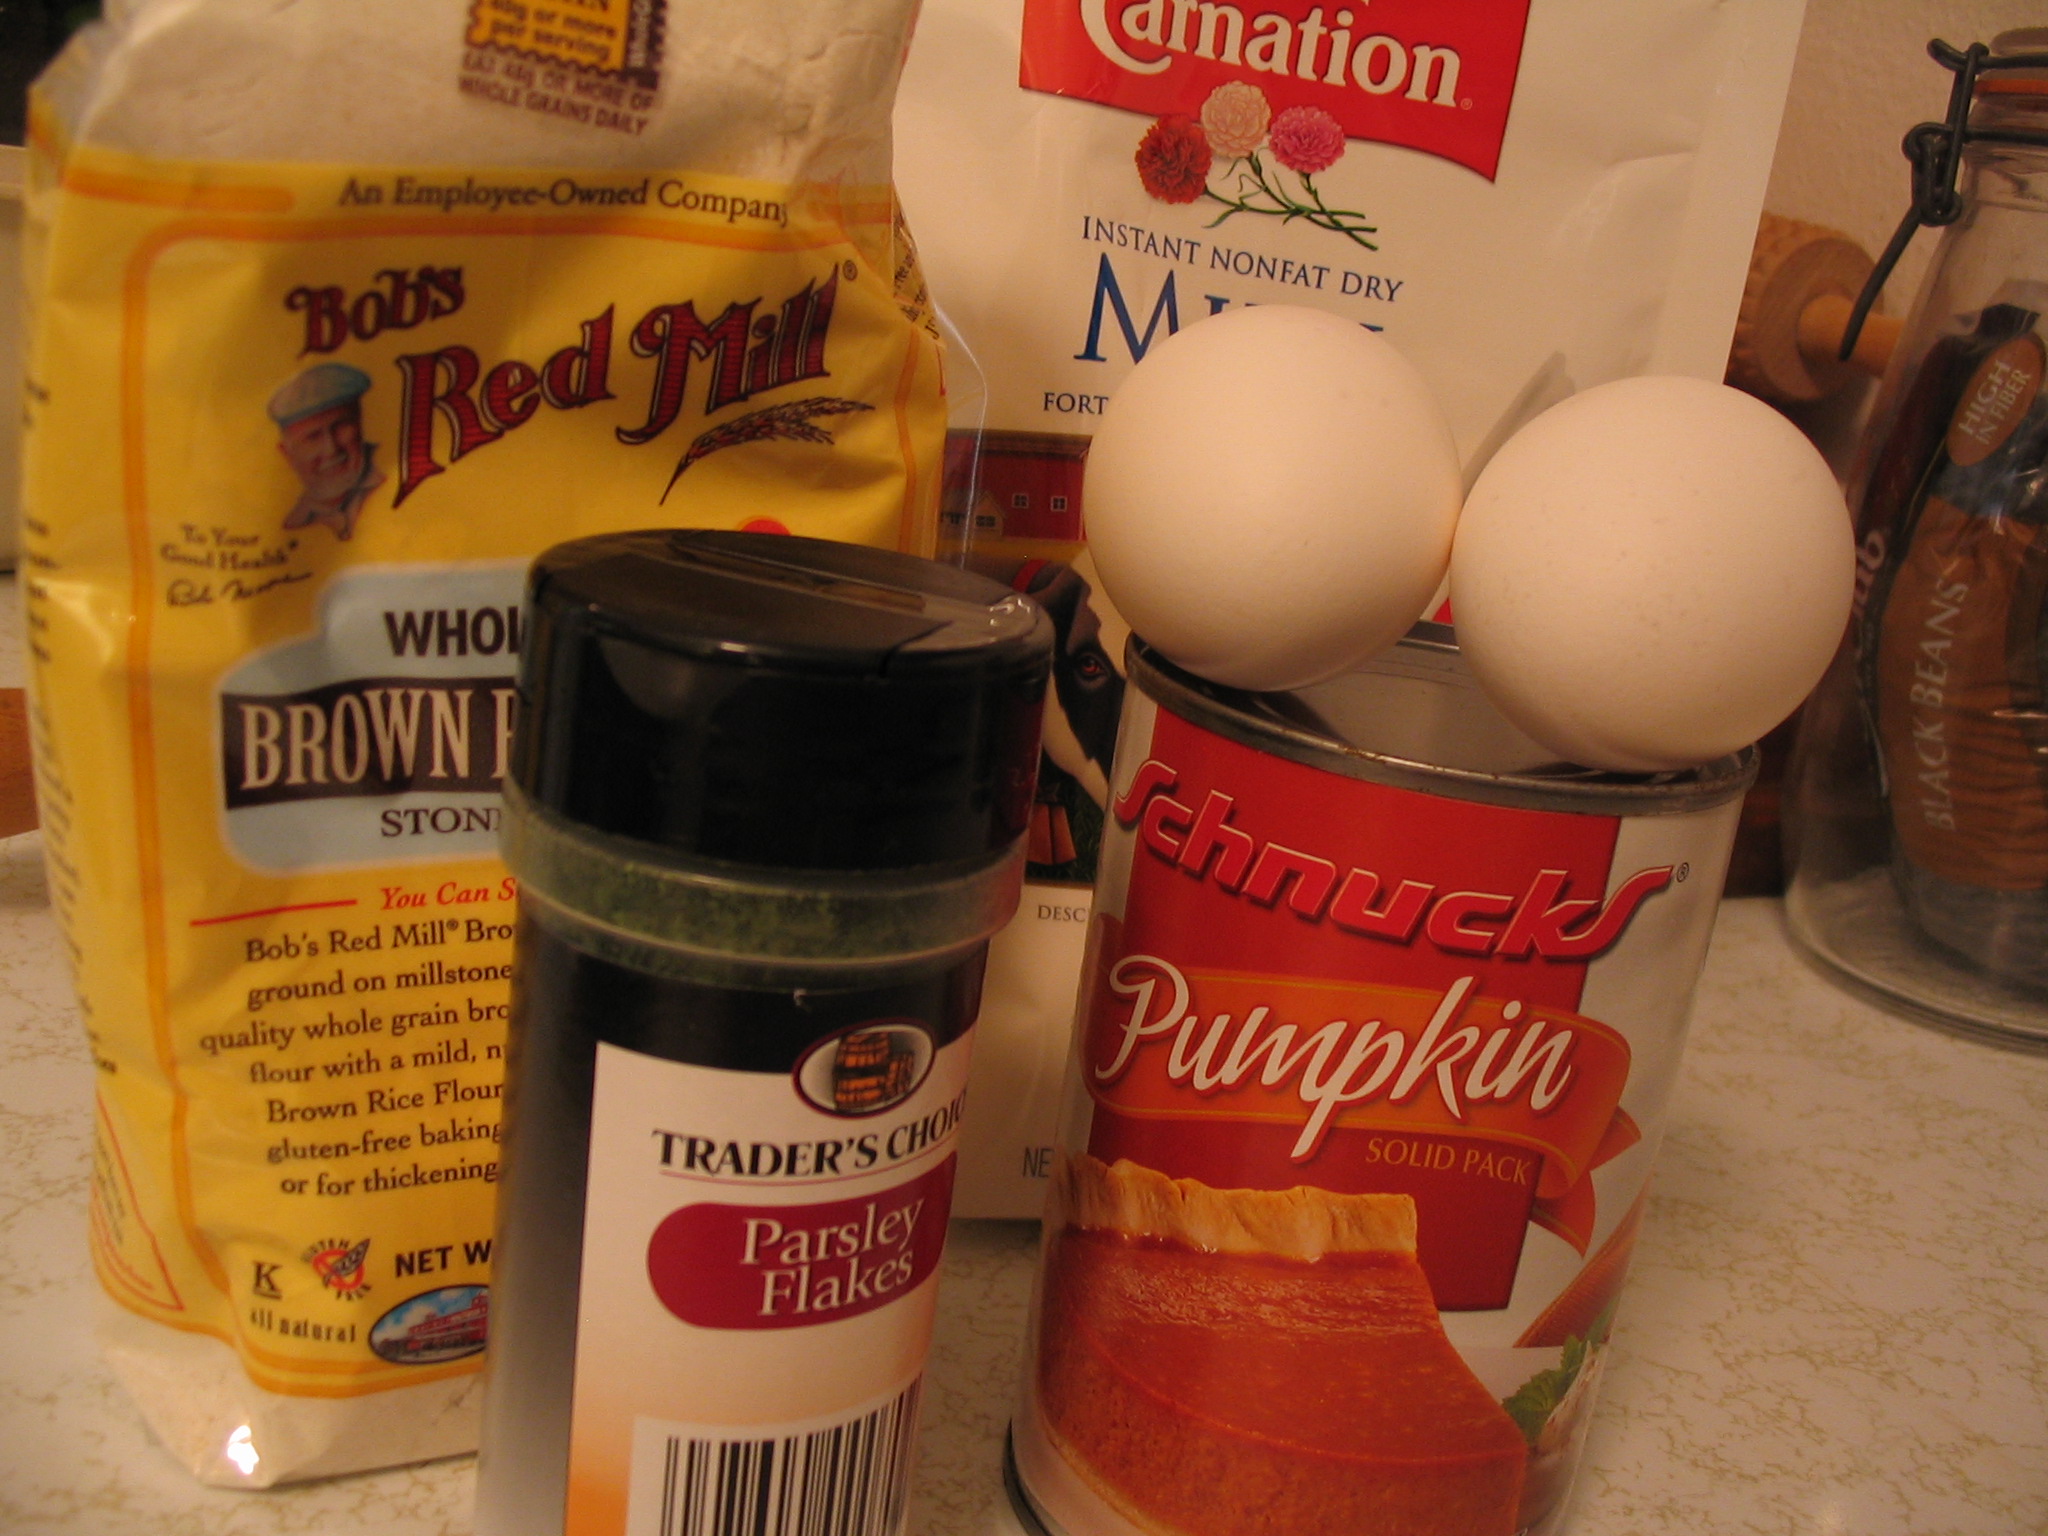
When a neighbor passed along this recipe her sister’s dogs loved, I asked Doggie Lily’s vet if it sounded like a healthy treat. She said pumpkin is really nutritious, good for digestion (it’s great for cats, too), then asked me to let her know how they turn out.
This weekend Doggie Lily and I broke out the rolling pin and started baking.
Measure and mix as directed, then use your hands to knead it into shape. Then roll out the dough and start cutting.

They don’t need much space for baking, so you can pack them fairly closely.

Bake as directed (flipping the treats half way through), and this is what you get.

Yield: 20 small, 18 medium and 12 large, crunchy treats.
Lily’s verdict?

Lily didn’t stay still, and had most of this treat down before I could get a photo.

That’s my girl. She doesn’t want to miss a crumb!
She’s already had two medium sized treats and is still sniffing around for more.
With lots of leftover ingredients, we just might bake some more when Doggies Finn and Stella are here for their spring vacation next week.
What are some of the crazier things you’ve done or made for your furry babies?
The creme de la crema
Not long ago, my day job had me writing copy about Mexican dairy products for my client’s client. The main focus was on Mexican cheeses, but they also wanted me to write a few hundred words on crema. (This link is not to my copy.)
Naturally, I had to try making it.
Crema is often called Mexican sour cream, but it’s basically creme fraiche that hasn’t been left out quite as long. Neither is as thick as sour cream, and crema is typically a bit thinner than creme fraiche.
Recipes may vary slightly, but most I found said to heat 1 cup of whipping cream to just under 100 degrees, then stir in 1 or 2 tablespoon of buttermilk, put it in a glass jar, cover loosely and let it stand anywhere from 12-36 hours. (I think one recipe said 48 hours, but it depends on how warm the room is.) Cover and refrigerate. It’s good for about a week.
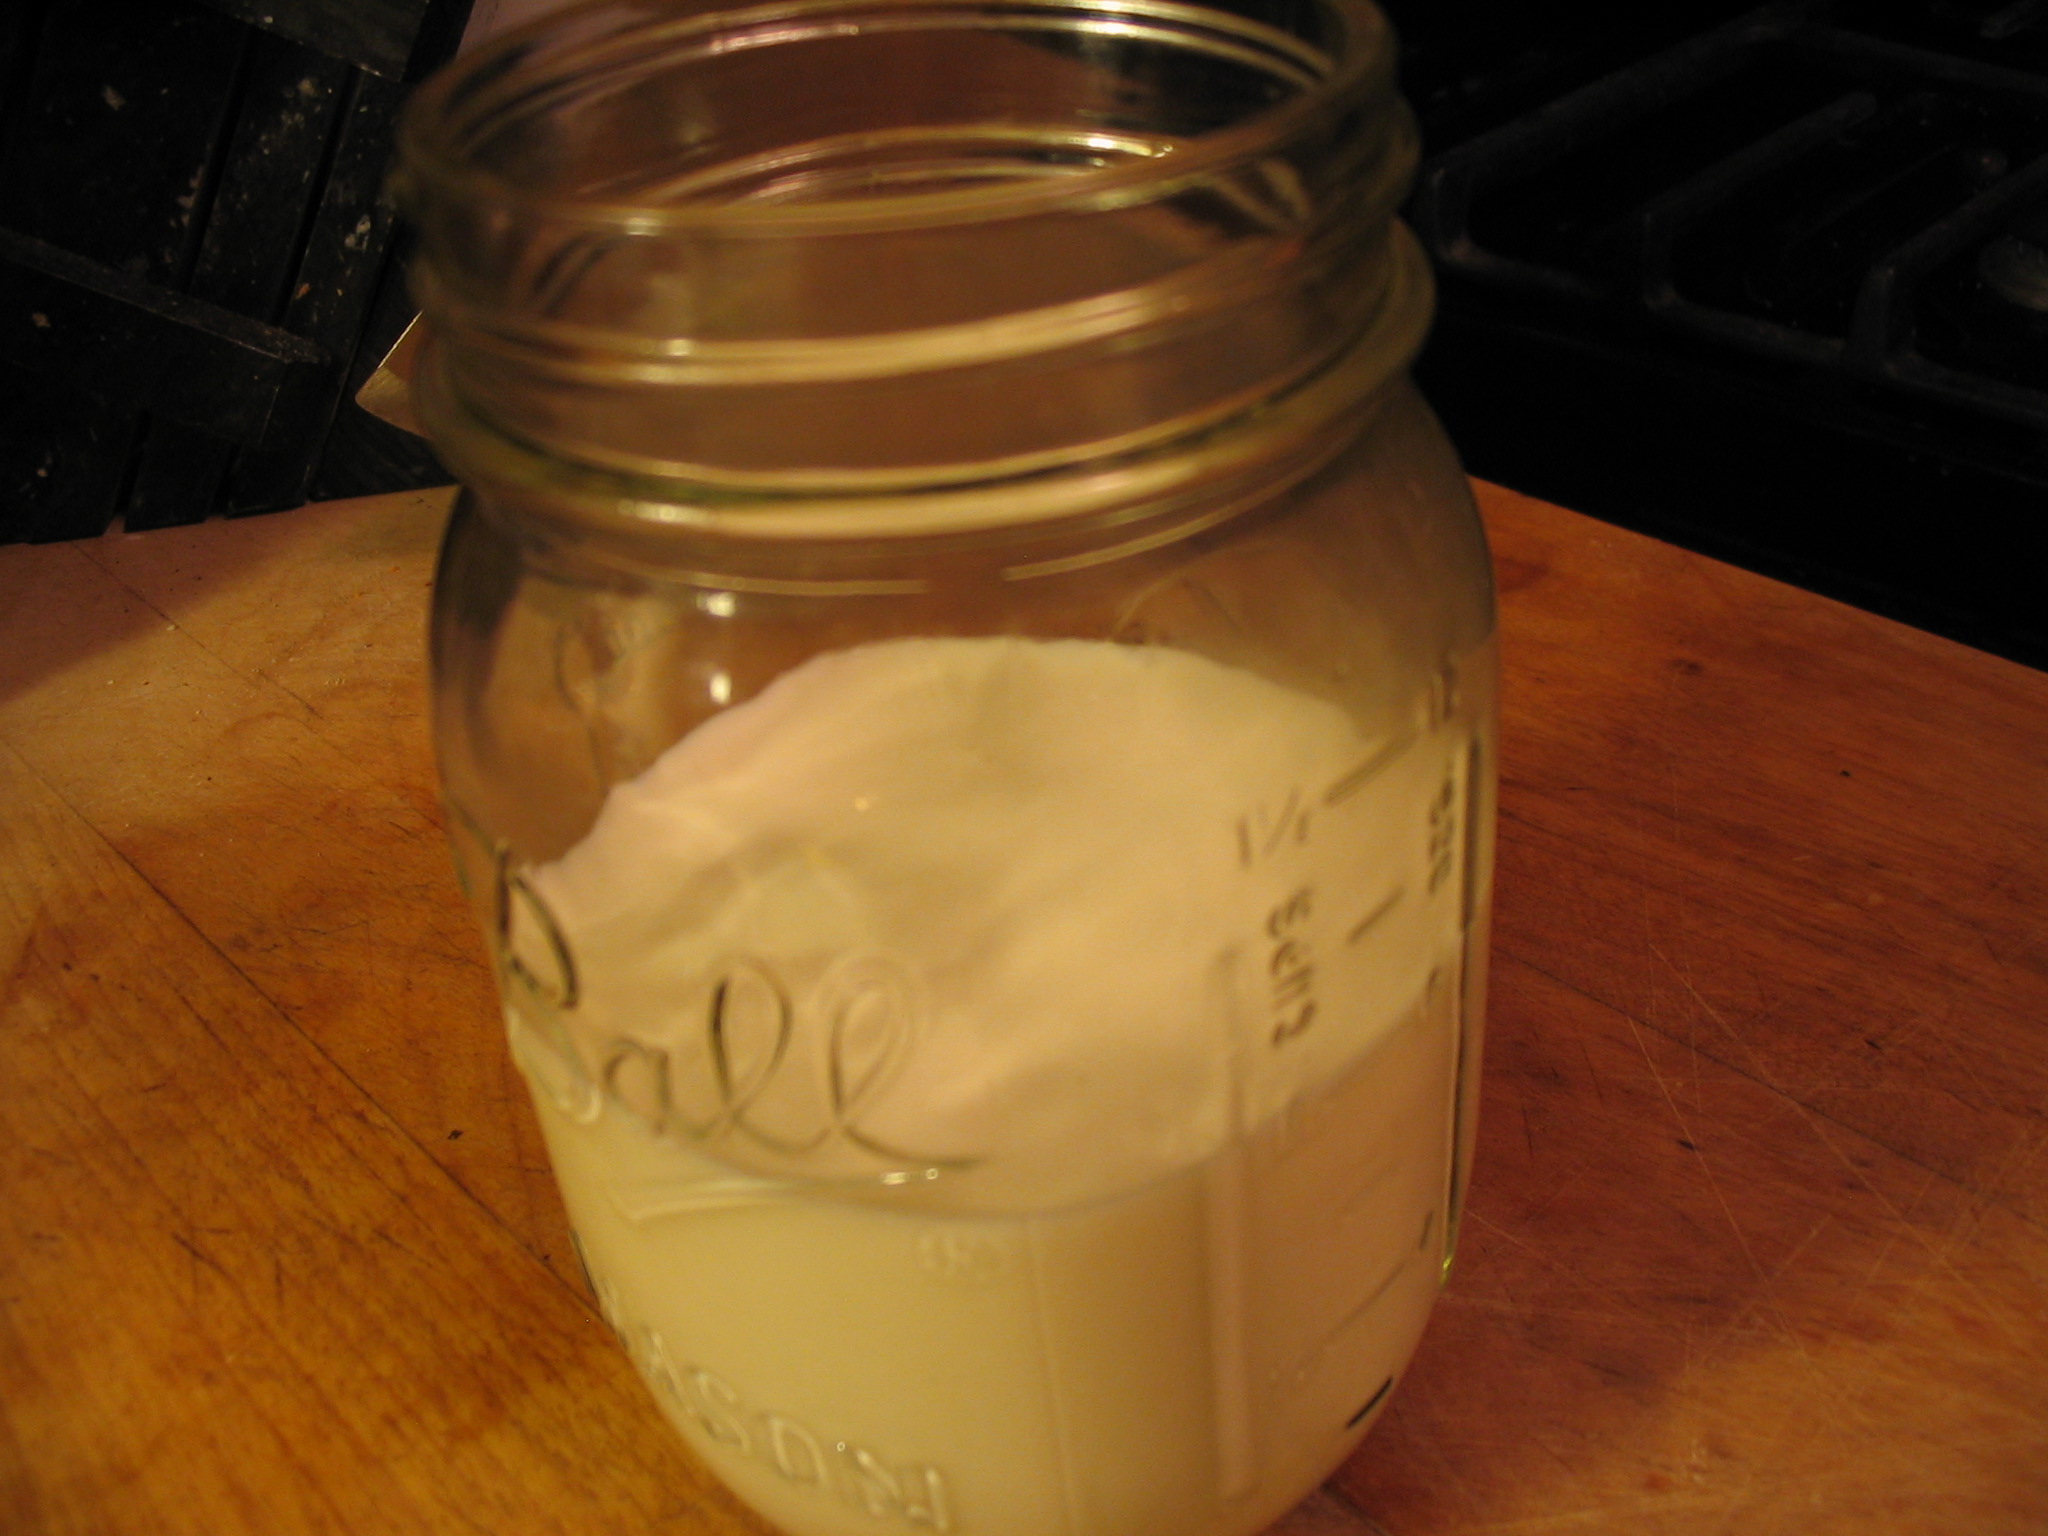
Right after the buttermilk was stirred in, the consistency was the same as heavy cream.
There’s no immediate gratification with this recipe, but luckily I’m pretty patient.
The longer it sits out, the thicker it gets. Use it in place of sour cream, or sweeten it and serve it with fresh fruit.

This is after about 23 hours of thickening, and it’s about the same texture as soft pudding. Guess I’ll call it creme fraiche.
Unlike sour cream, crema (or creme fraiche, if you prefer) doesn’t separate when heated, making it a great addition to soups and other hot dishes.
What food-related experiments have you tried lately?
