Blog Archives
Simple is Best: Caprese Salad
One of my favorite summer salads is Caprese Salad. It sounds fancier than it is. All you need to make it: fresh ripe tomatoes, fresh basil, fresh mozzarella, olive oil, balsamic vinegar, and a bit of salt and pepper.
Some people marinate the tomatoes and cheese, but past experience has taught me that marinating it can make even the freshest tomatoes turn a bit mushy.
I just slice a tomato and layer it with slices of fresh mozzarella and chopped basil, then drizzle with a little olive oil, some balsamic vinegar, then sprinkle with salt and pepper to taste.

This salad was made with fresh basil and a delicious Black Japanese Trifele Heirloom Tomato picked fresh from my tiny kitchen garden.
Admittedly, the caprese salad pictured here has a bit more cheese than tomato, but this was the last of the fresh mozzarella, so…why not?
For the super lazy cooks among us, this non-recipe recipe can be made even easier by using pre-sliced fresh mozzarella and not chopping the basil.
I’ve also seen caprese kabobs where cherry tomatoes and small balls of fresh mozzarella are skewered along with fresh basil leaves, then drizzled in olive oil and balsamic vinegar.
Honestly, with these ingredients, it’s impossible to go wrong.
What’s your favorite summer salad?
The Cinnamon Bread Test
As a kid, I always looked forward to when our neighbor, Mrs. Anderson, gave our family a loaf of her homemade cinnamon bread. My favorite way to eat it was to broil thin slices with a little butter on top, and then unswirl my way through each piece so every bite had some of the cinnamon filling.
Before she moved away, Mrs. Anderson gave me this copy of her recipe.


As delicious as Mrs. Anderson’s Cinnamon Bread was, it took me several years before I dared to test her recipe. Why? It might be hard to see in the photos above, but her recipe is a little vague. Sort of like the incomplete recipes contestants are challenged with in the second round of each episode of The Great British Baking Show.
Maybe seven or eight years ago I decided to give it a try, and it actually turned out great.
First problem: I couldn’t tell from her handwriting if she wrote “a scant TB of dry yeast” or “2 scant TB of dry yeast.” I went with one packet of dry yeast. It worked.
Other question marks:
- “a little sugar”
- “2/3 to 3/4 C sugar”
- “enough flour to be able to knead”
- “roll dough into rectangles”
- “spread with softened margarine”
- “sprinkle brown sugar over dough”
- “..and then a mixture of sugar and cinnamon”
- “roll up”
- “[bake] 35 min or so – or until you think it looks done”
This is how I addressed these questions:
- pinch of sugar
- 2/3 cup sugar
- roughly 5 cups of flour
- roll the narrowest part of the dough slightly smaller than the pan I plan to use
- soften one stick of butter and use it to both grease the pans and spread of the dough
- sprinkle two generous handfuls of brown sugar over the dough
- dust about 1-1/2 Tablespoons of cinnamon sugar over the brown sugar
- tightly roll dough starting from one of the narrow ends and seal all edges
- bake at least 45 minutes, depending on the size of the pan
I quickly realized my pans are smaller than hers were, so I usually make two mini loaves as well. Once I started doing that I didn’t have to worry as much about the filling spilling out of the pans and burning in the oven. (Just to be safe I always cover the bottom rack with aluminum foil.)
Here’s a little photo journey of the bread I made this weekend:

Getting the yeast jump started with a pinch of sugar and hot water.

The yeast mixture five minutes later.

Yes. I cheat. I use my stand mixer to do the initial kneading.
Because this is a rich dough — containing sugar, eggs, vanilla, and butter — it tends to be wetter and a bit softer than traditional bread dough. After five or six minutes of kneading, the dough needs to rise until doubled in bulk.

Ready to rise!
Luckily, the radiators were just warm enough (without being too hot) to do the trick. I covered the bowl loosely with plastic, and topped it off—as the late great Julia Child might say— with an impeccably clean towel.

I love the idea of taking a photo before the dough rises to help gauge when it’s doubled in size. Compare this to the previous photo of dough.

It has risen!
Next is the fun part—hand kneading the dough, dividing it in half, and then trimming a little extra off each half to make the small loaves.

Turned out onto a lightly floured surface.

Divided and ready to knead.
I don’t want to overwork the dough at this point. I just knead it for a minute or so to smooth it out. I knead until it feels a bit like soft bubblegum. Then it’s time to roll. I like longer rectangles, because they result in more swirls when then bread is sliced.

Roll the width of the dough so it’s almost as wide as the baking pan.
Next, brush with the softened (in this case over-softened) butter, sprinkle with brown sugar and cinnamon sugar mixture, then start rolling it up.


Oops! I forgot to leave about an inch of bare dough to help seal the edge. No problem. I wiped some of a cinnamon and sugar off, then swiped a little water on the edge.

All sealed up and ready for the pan!

Place seam-side down in a buttered bread pan.
Repeat with the rest of the dough and they’re ready to bake.


The smaller loaves were done after about 40 minutes, but the larger ones took 10-15 minutes longer, proving that even when you try to make sense of a vague recipe, you still wind up with inexact instructions.

This bread freezes really well. Because I made it ahead of time and froze it for our big family Thanksgiving, I don’t have a photo showing the inside of a loaf. I’ll try to get a photo of the swirled cinnamon goodness when we finally cut into these beauties. If I do I’ll add it to the post later.
I’m really glad I decided to try to decipher Mrs. Anderson’s recipe. My bread might not be exactly the same (I use skim milk and real butter instead of 2% or whole milk and margarine), but no one has complained about it yet. Not unless they’re complaining that someone else ate the last piece.
Simmering Stock
My love of making something out of virtually nothing isn’t new. It was already well-ingrained in me by high school when my Botany teacher explained how you can turn old bits of vegetables into soup stock and still have something left for the compost heap.
That’s when I started saving and freezing scraps. I put some onion skins and tomato cores in a gallon-size zip bag and popped it in the freezer. Every time I used fresh vegetables, I’d add any trimmings or peels to that bag. Over the course of a few months it began to grow. My dad noticed and asked why there was garbage in the freezer. “It’s for vegetable stock,” I said. That’s when he started calling it Garbage Soup.
Not the most appetizing label. But it is made of random bits of produce that would otherwise have wound up in the trash.
I still save scraps. And when the bag is full, I simmer up some savory stock.
I wish I’d thought to take a photo of the over-stuffed zip bag of random vegetable bits, but I didn’t think about it until I’d popped everything into a stockpot and covered it with water.

You can see there are bits and pieces of all kinds of vegetables, including one of those bite-sized sweet peppers that was starting to wilt. Not fresh enough for a salad, but fine for soup stock.
I simply empty my frozen veggie scraps into a 6-quart stockpot and top it off with water. I typically toss in a few peppercorns and a bay leaf and turn the heat up to high. It can take a while for the water to heat up, but thawing the veggie bits overnight in the refrigerator speeds it up a little. Just before it begins to boil, I reduce the heat to simmer and partially cover the stockpot, then simmer for about 30-45 minutes, until the largest vegetable bits are good and tender. If you want to salt your stock, wait until it’s finished cooking.

Next, I use a large slotted spoon or “spider” to remove the veggie bits from the pot and into a colander placed over a large bowl to collect any runoff, which I pour back into the stockpot.

After that, I ladle or pour the stock through a finer sieve and into a bowl to trap pesky pepper seeds and tiny leaves. Ideally, I’d line the sieve with a layer or two of cheesecloth to reduce the amount of sediment in the stock, but I discovered I was out of cheesecloth.

I wound up with about 4 quarts of gorgeous, healthful, and flavorful vegetable stock. Here’s a peek at the final result:

I cool it in the refrigerator overnight, then freeze the stock in 1-cup, 2-cup or even 1-quart containers. You could freeze it in ice-cube trays it you like.
My favorite way to use the stock is in vegetarian risotto, but I also add it to cream-based soups or use it in recipes calling for chicken or beef stock.
You can make stock from just about any vegetable trimmings you want. That said, I’d advise against adding too much of any strongly-flavored things. One year I tossed in a few too many dried up bits of fresh ginger root, another year, too many tough asparagus ends. (I was able to mix that broth with a different batch to even out the flavors a bit.)
Here’s a fairly comprehensive list of what went into this year’s broth: kale, spinach, sweet peppers, stem ends of a couple hot peppers, asparagus, cauliflower, broccoli, turnip, red and yellow onions, garlic, tomato, green beans, snow peas, zucchini, green and red cabbage, summer squash, celery, carrots, scallions, swiss chard, ginger, parsley, and butternut squash. This year I even found a few artichoke leaves and the leftover ends of a couple potatoes that I’d grated.
Leeks are a good addition, as are parsnips, corn, and beets—but go easy on the beets unless you want really red stock. Lettuce, mushrooms, eggplant, and cucumbers don’t add much to the party, but sometimes I’ll toss those in, too.
Homemade vegetable stock is a great way to use scraps you’d normally discard, like the tough stems from cauliflower and broccoli, seed cores from sweet peppers, dried ends of celery, and the crowns of root vegetables.
Less than an hour after making this year’s vegetable stock, my new zip bag was already starting to fill up.

Simple Roasted Tomatoes
Pretty much every grocery store has a reduced-for-quick-sale section. Ever wonder what to do with large quantities of over-ripe produce like these tomatoes I bought for under three dollars?
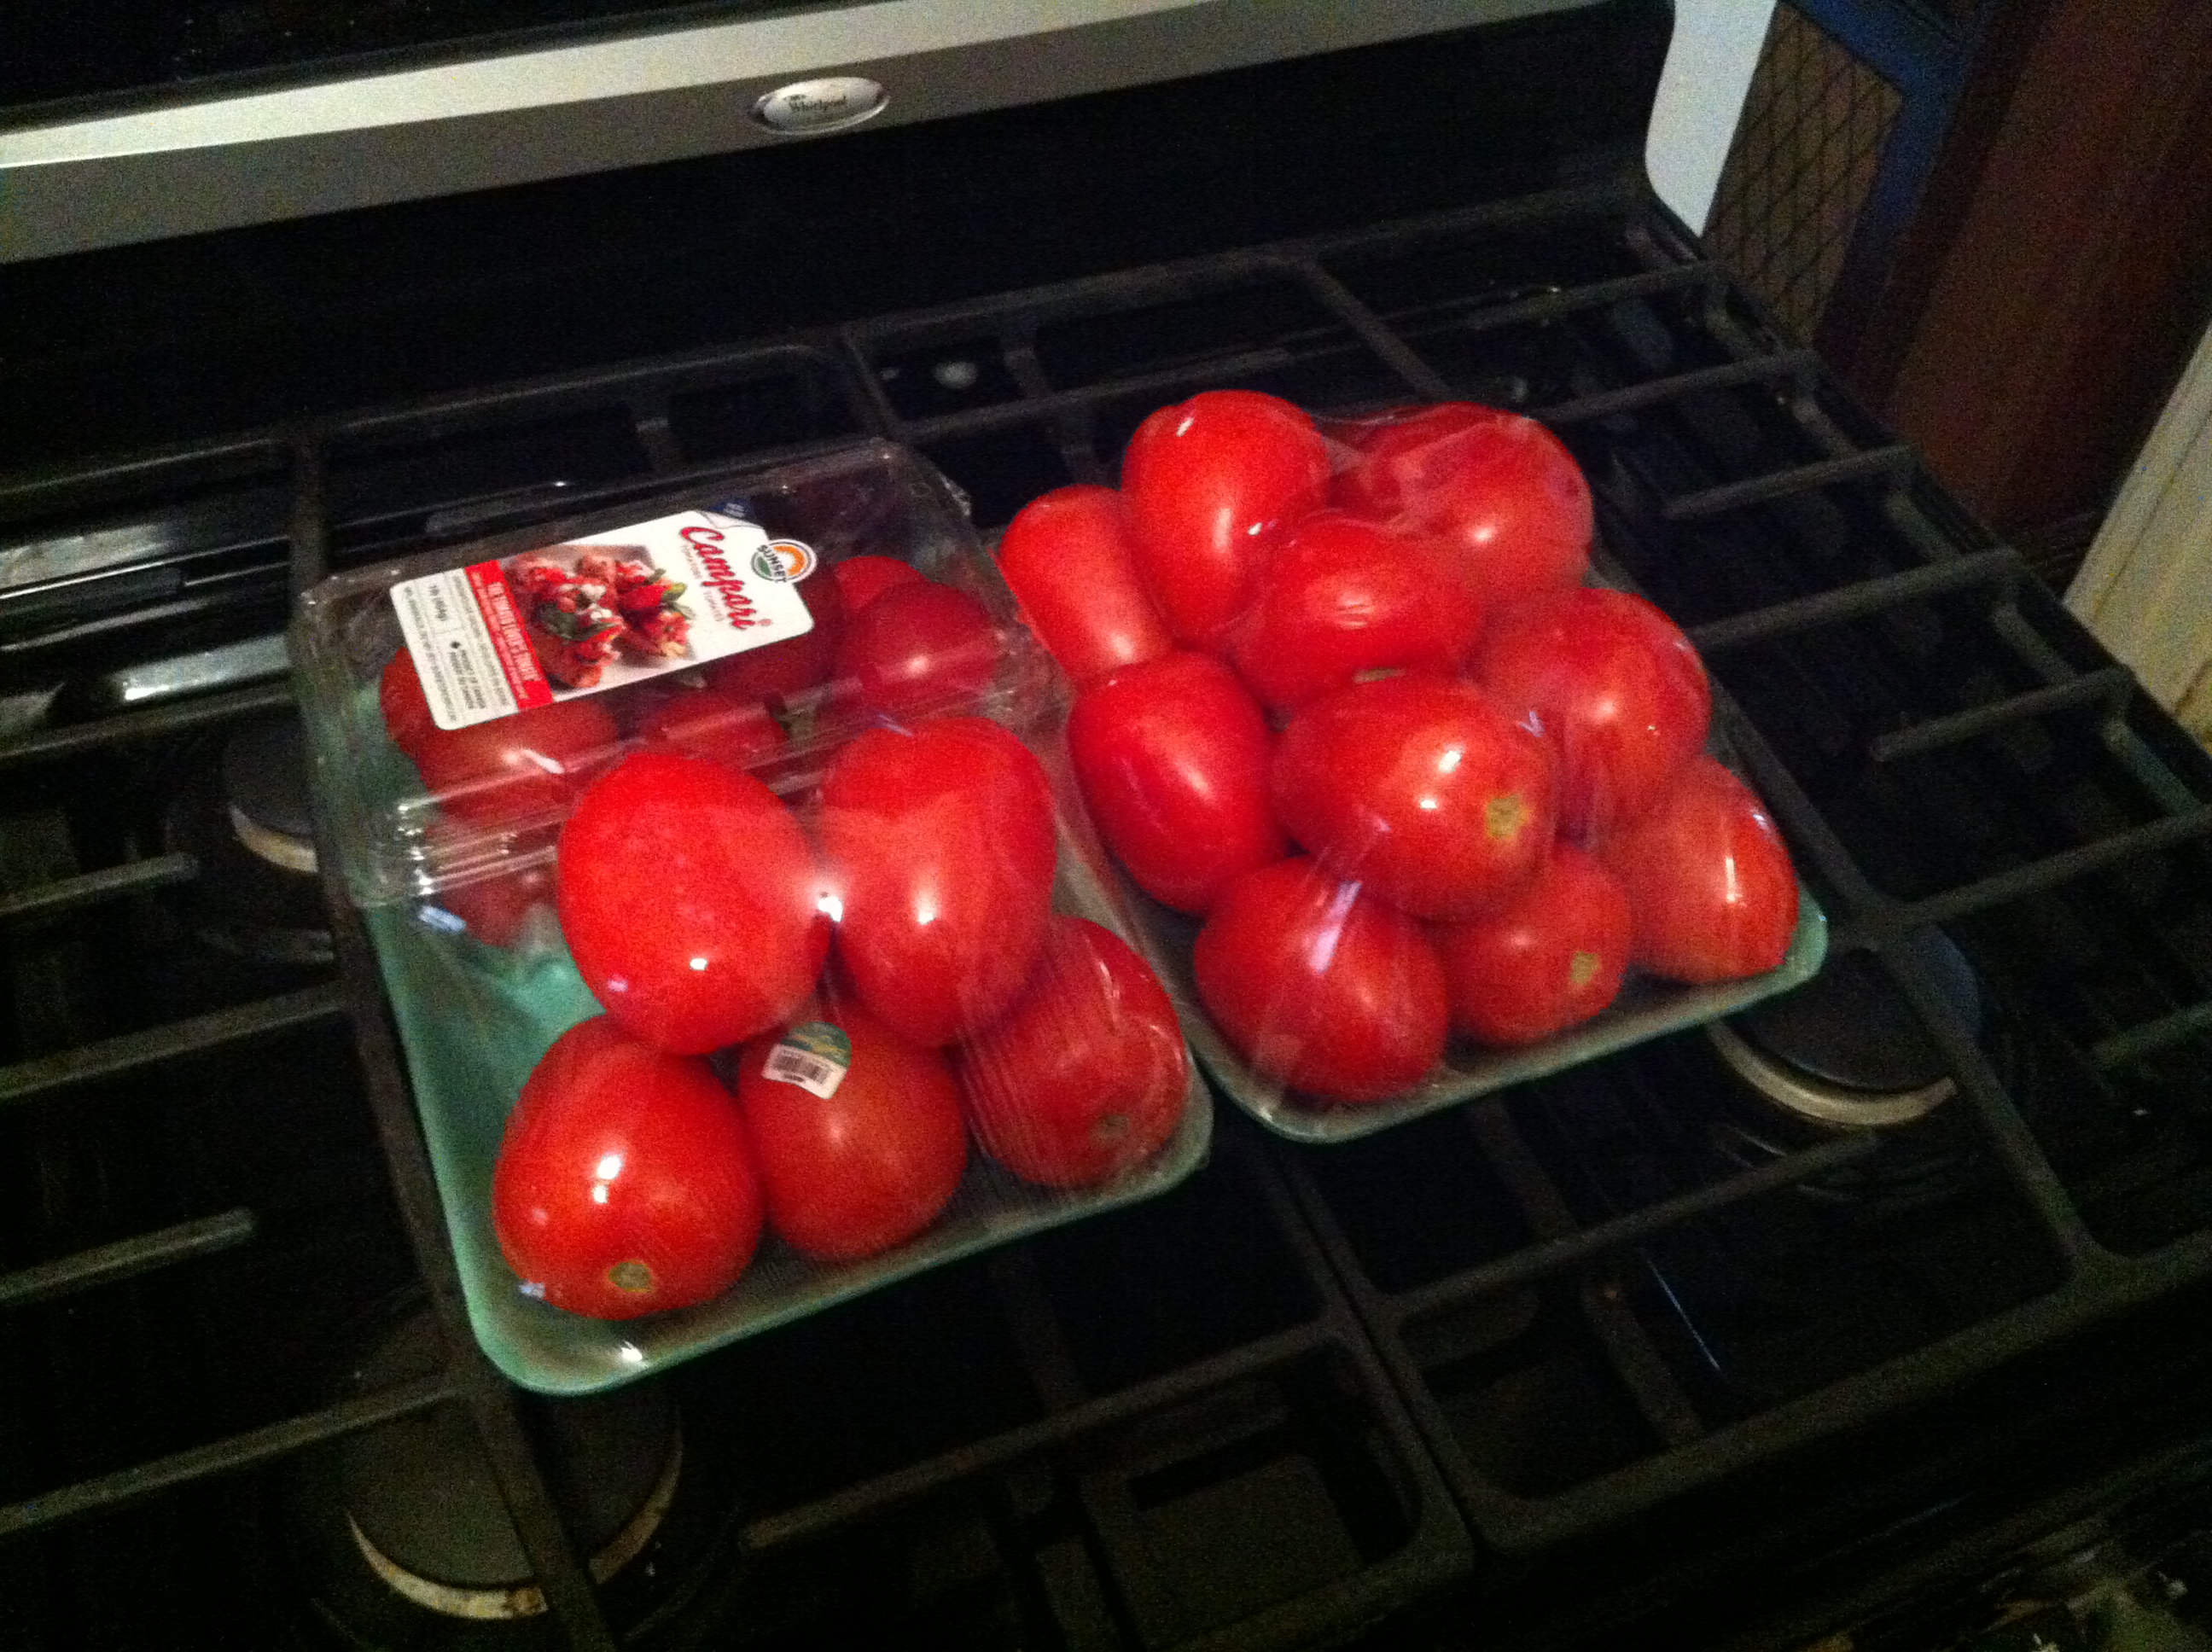
Whenever I see decent reduced-price tomatoes, I feel compelled to try to replicate my friend Meetal’s ridiculously delicious roasted tomatoes. I’ve never quite matched her results, but I keep trying.
The first time I tasted them was a couple years ago when Meetal, our sisters, and I went to a big flea market and Meetal volunteered to bring lunch. She sliced a loaf of ciabatta bread into two layers, pulled out some of the bread-y bits to make more space for filling and loaded it up with roasted tomatoes, arugula, and fresh mozzarella. She cut the overflowing loaf into four sections and individually wrapped them for us to enjoy while wandering through the flea market.
I’m not sure if it was our reaction to how delicious the sandwiches were, or just how good they looked, but a couple passersby asked where we bought them. Boy, were they disappointed to found out Meetal made the sandwiches!
Separately, each ingredient was good. Combined, they were even better. But the richness of the roasted tomatoes was by far the star ingredient.
That day, Meetal told me how she slow roasts the tomatoes and finishes them off by adding fresh basil and a dash of balsamic vinegar.
I can never remember the specifics of her recipe, so if I’m wrong I hope she’ll chime in and correct me. (Then again, she might not want any of us knowing her secret for perfect roasted tomatoes.) The truth is, as long as you slow roast the tomatoes it’s hard to go wrong.
I started by washing the tomatoes and removing any bad spots. Then I splashed some olive oil in the bottom of two shallow baking pans. I cut the tomatoes into large chunks and tossed in a few whole, peeled, cloves of garlic and a few chunks of onion. (One time I put in a little red bell pepper, too, which lent a nice hint of sweetness.)
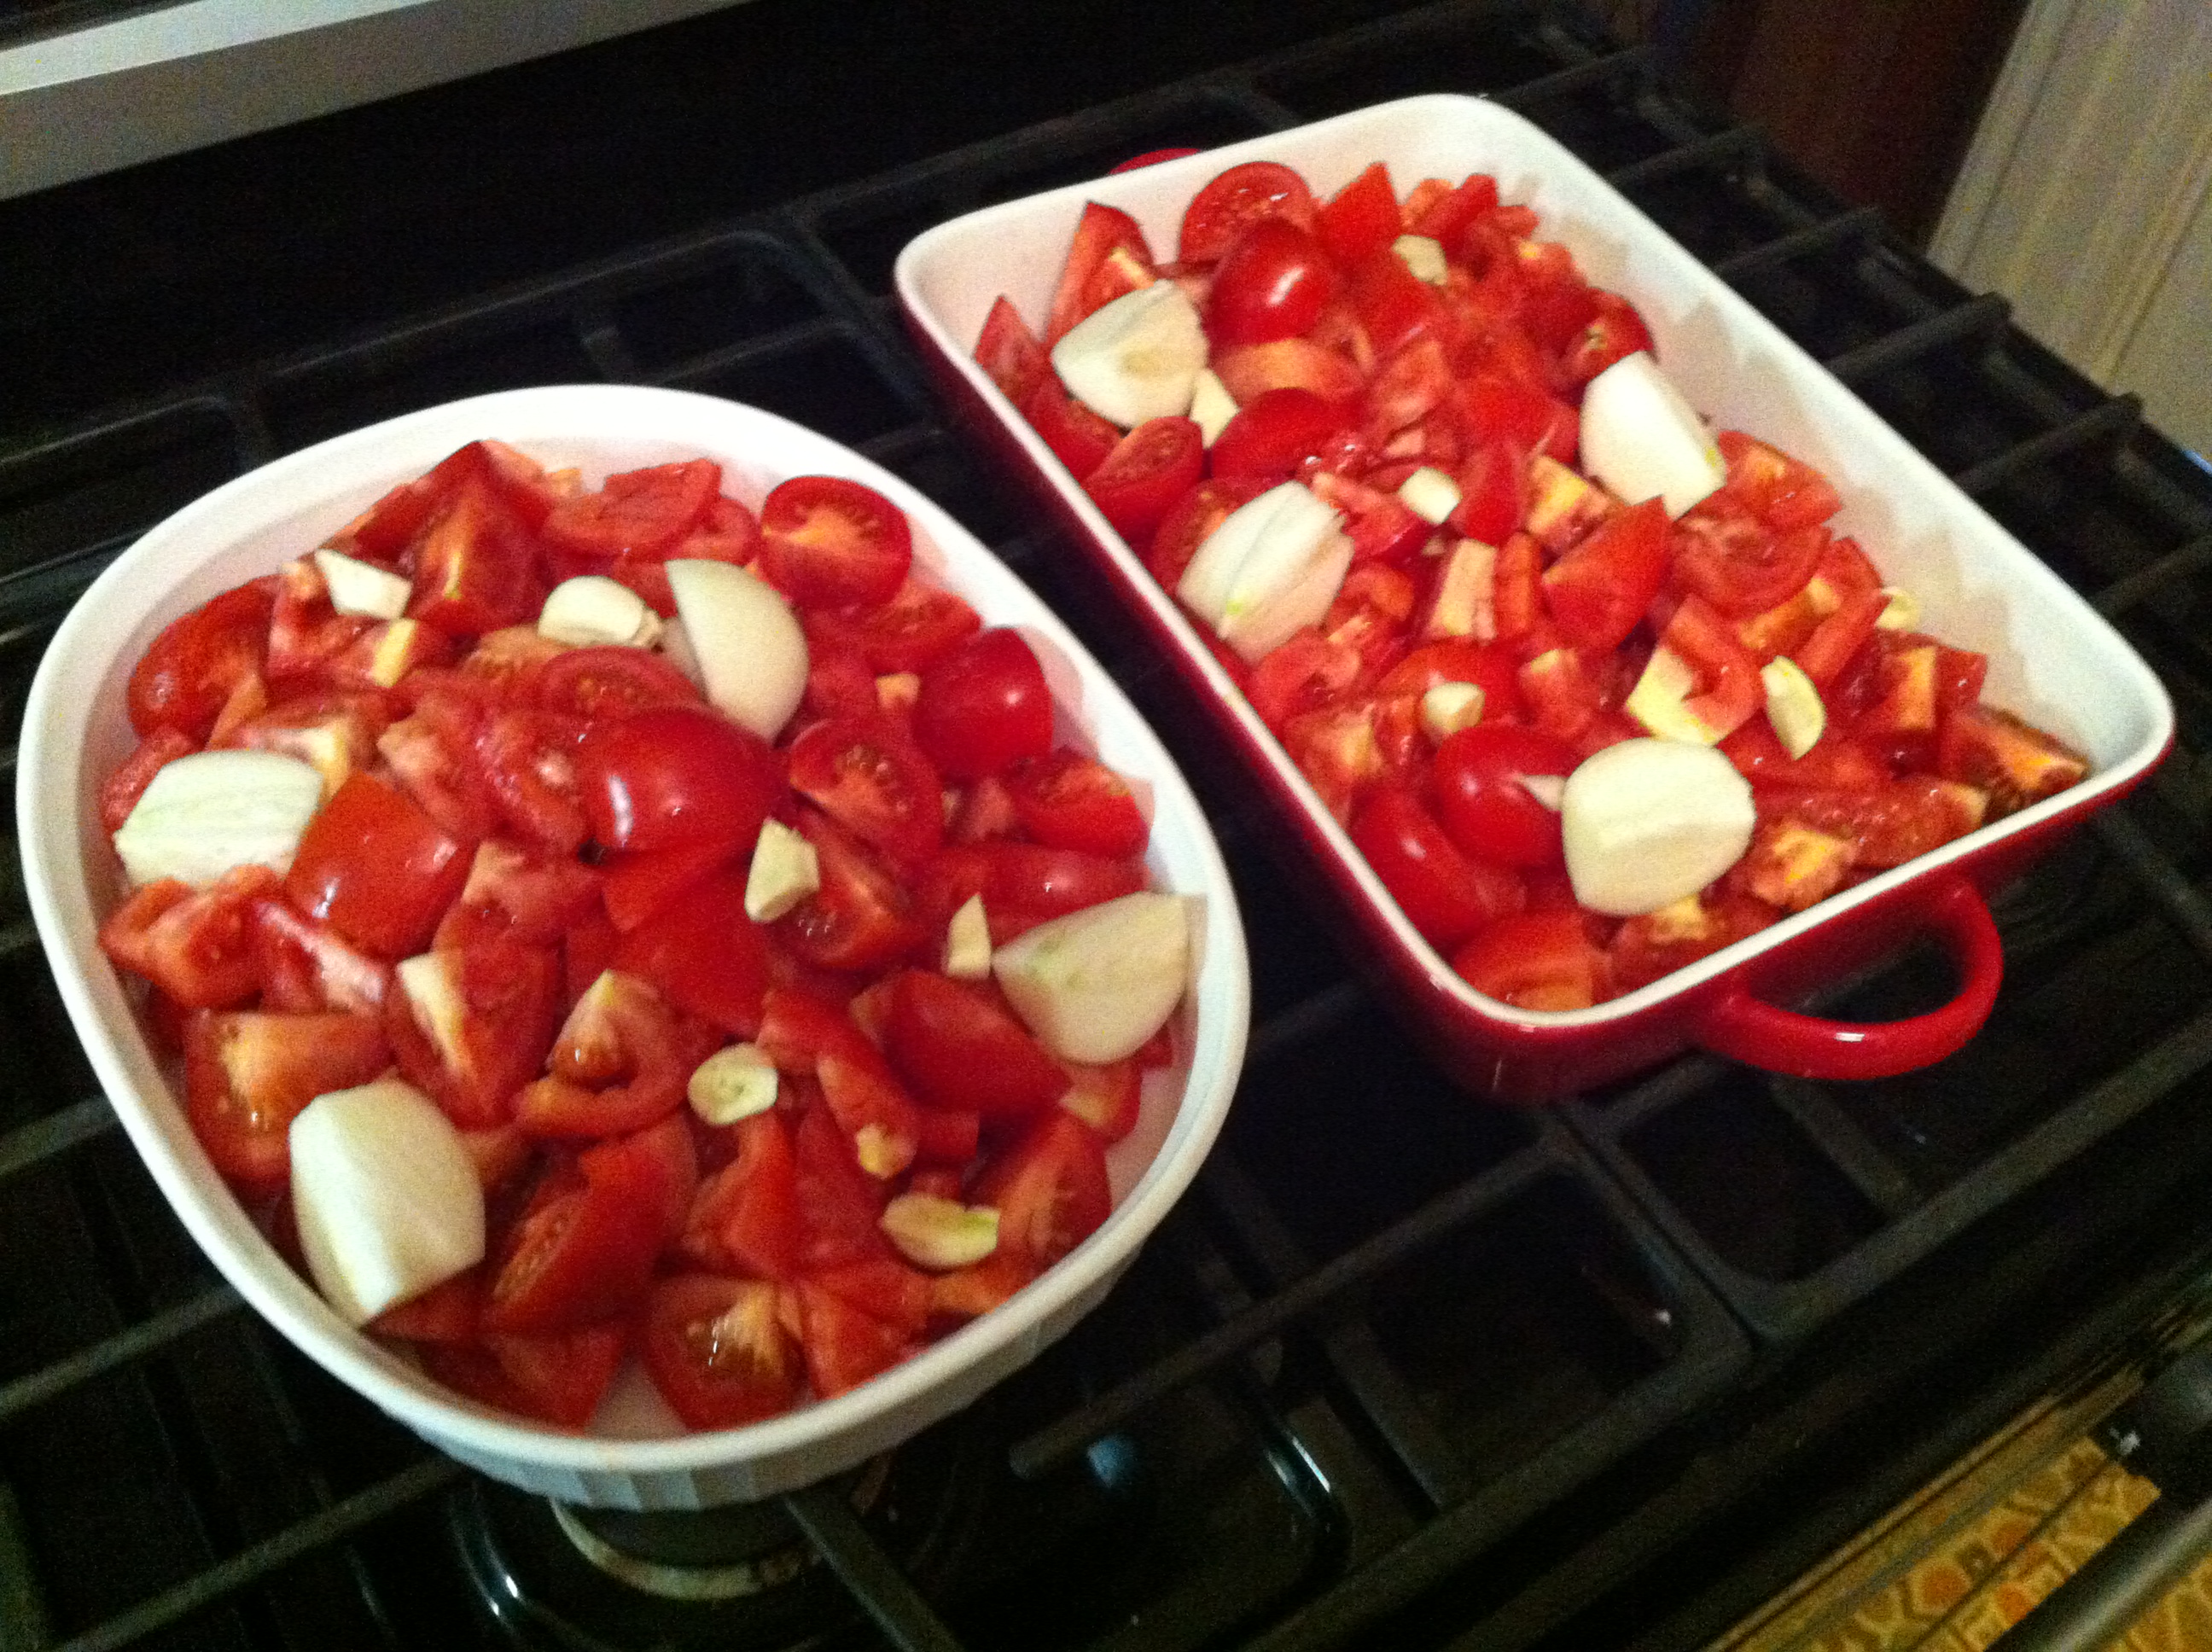
Although I couldn’t remember the temperature Meetal uses, I knew it was low. So I set the oven at 300F degrees.
The hard part comes next. Waiting. Because these are slow roasted, expect to wait at least five or six hours before it even starts to look like this:
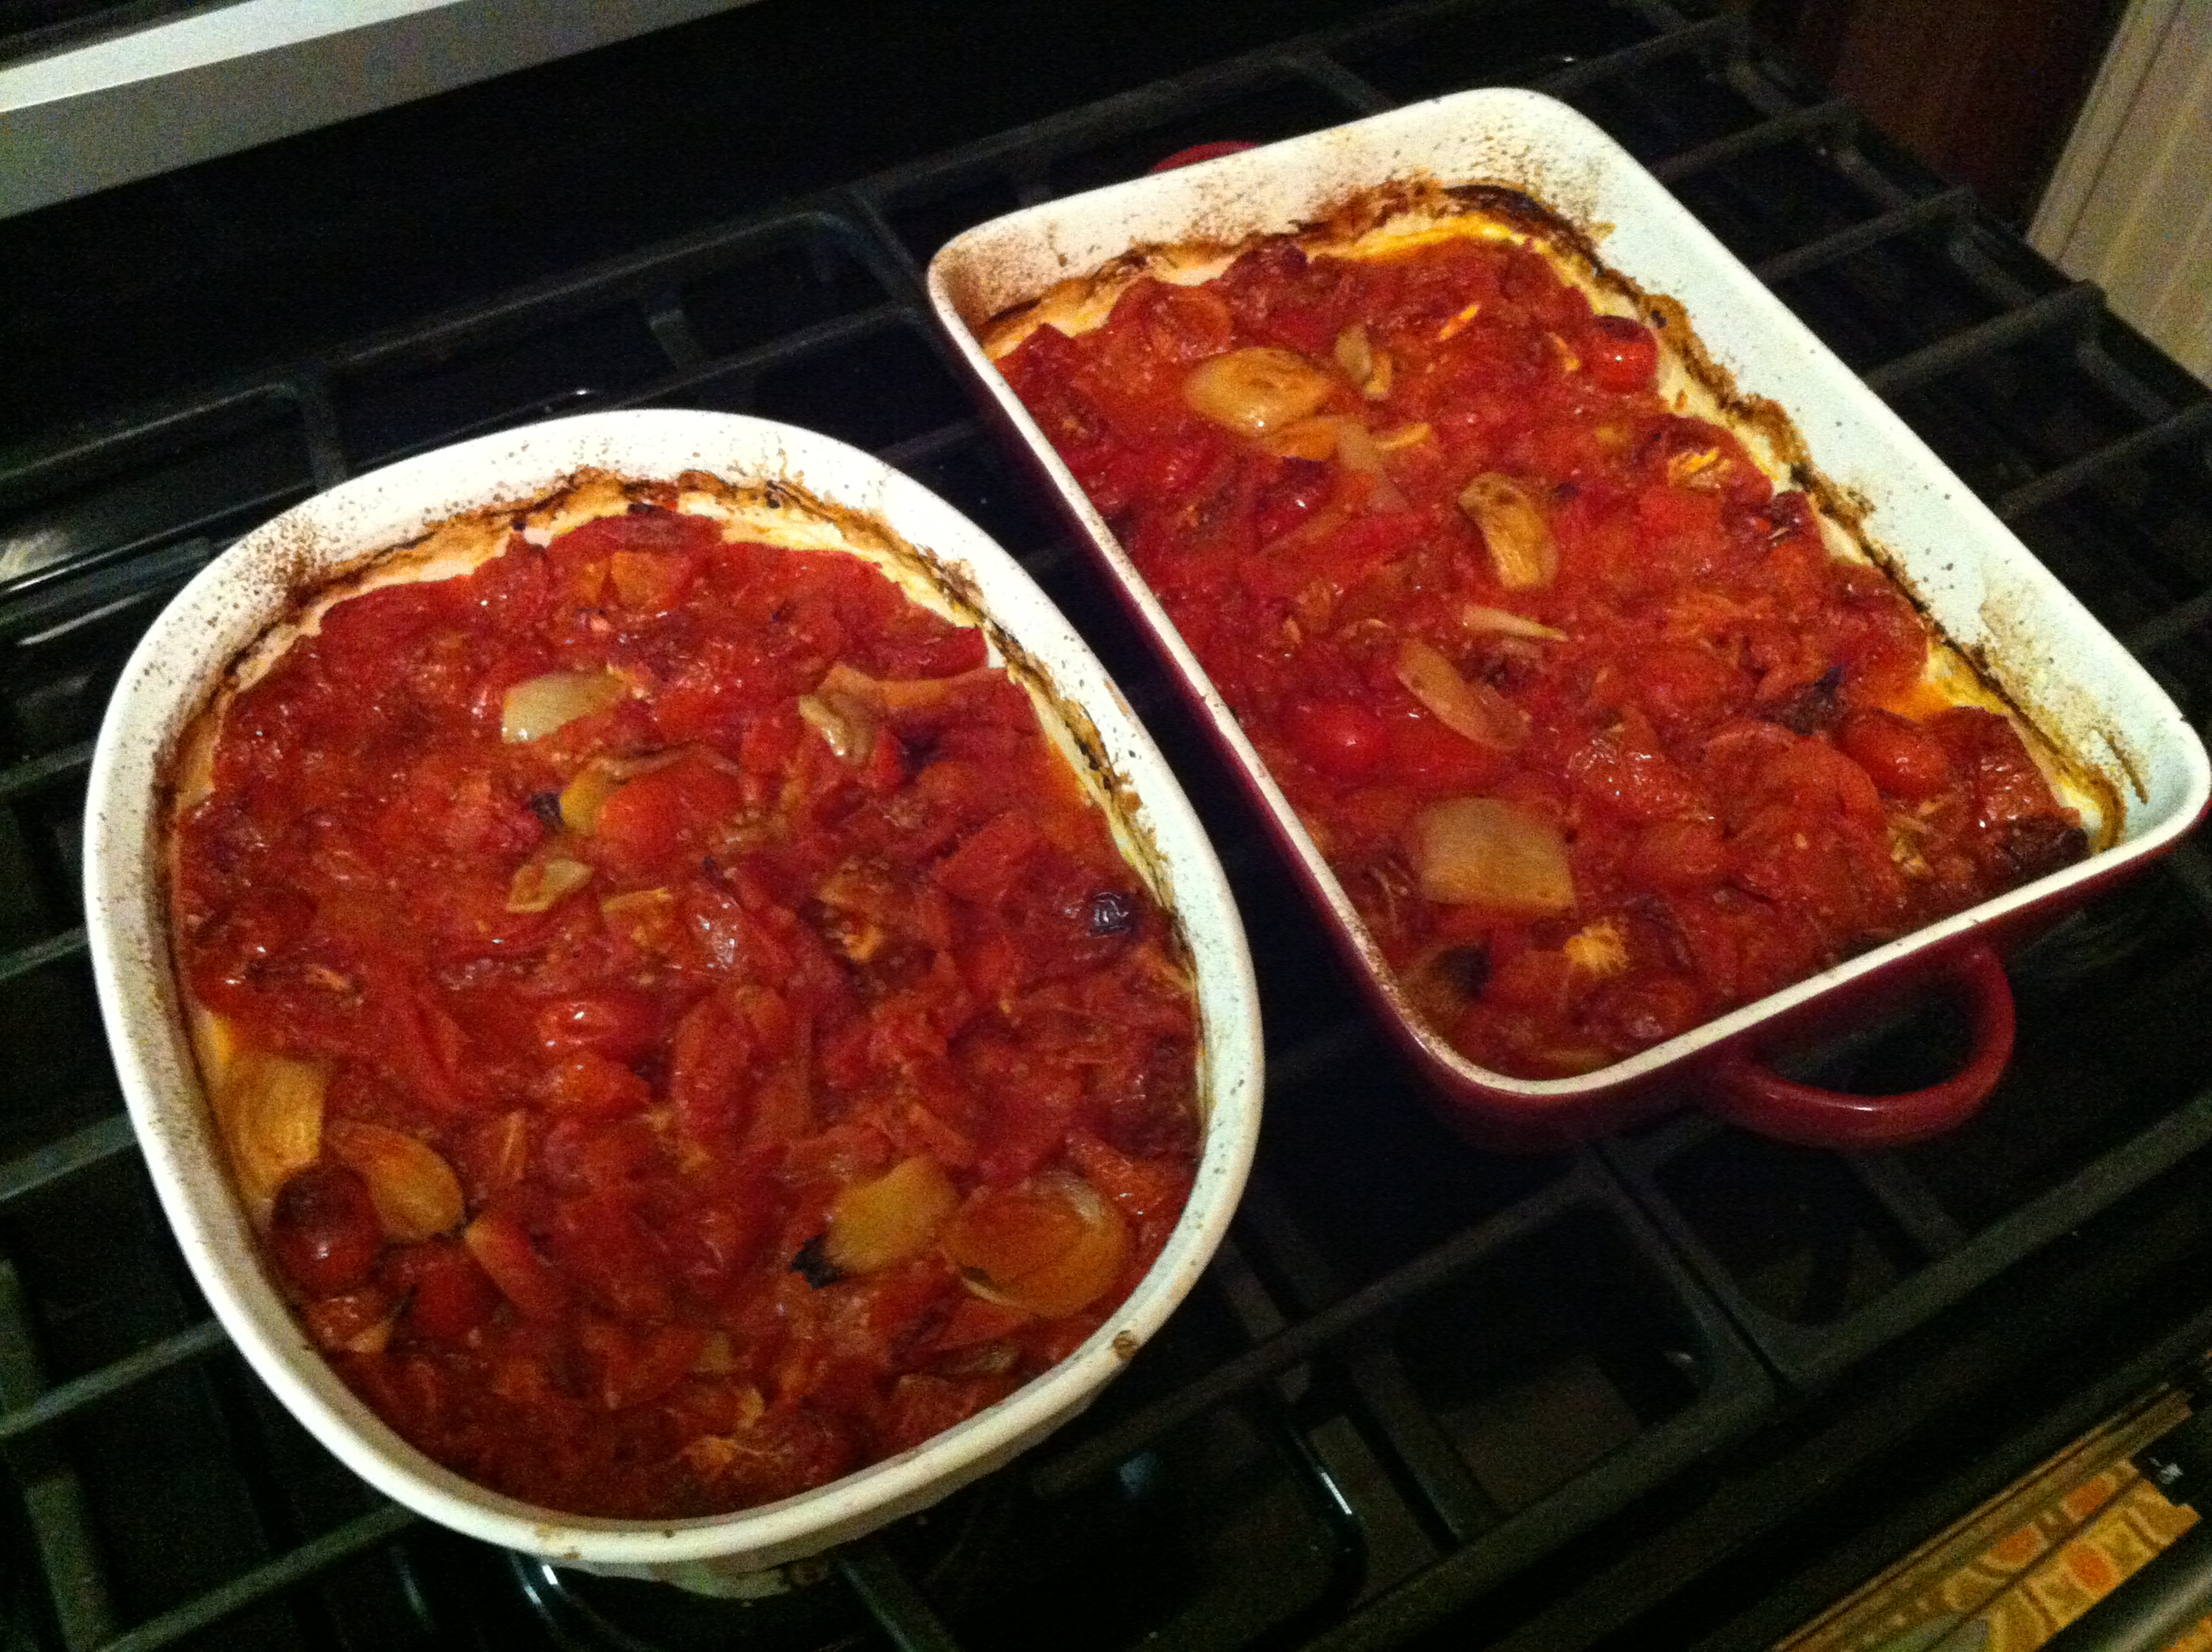
It’s more than worth the wait, though, since the flavor intensifies as the moisture evaporates and the ingredients caramelize.
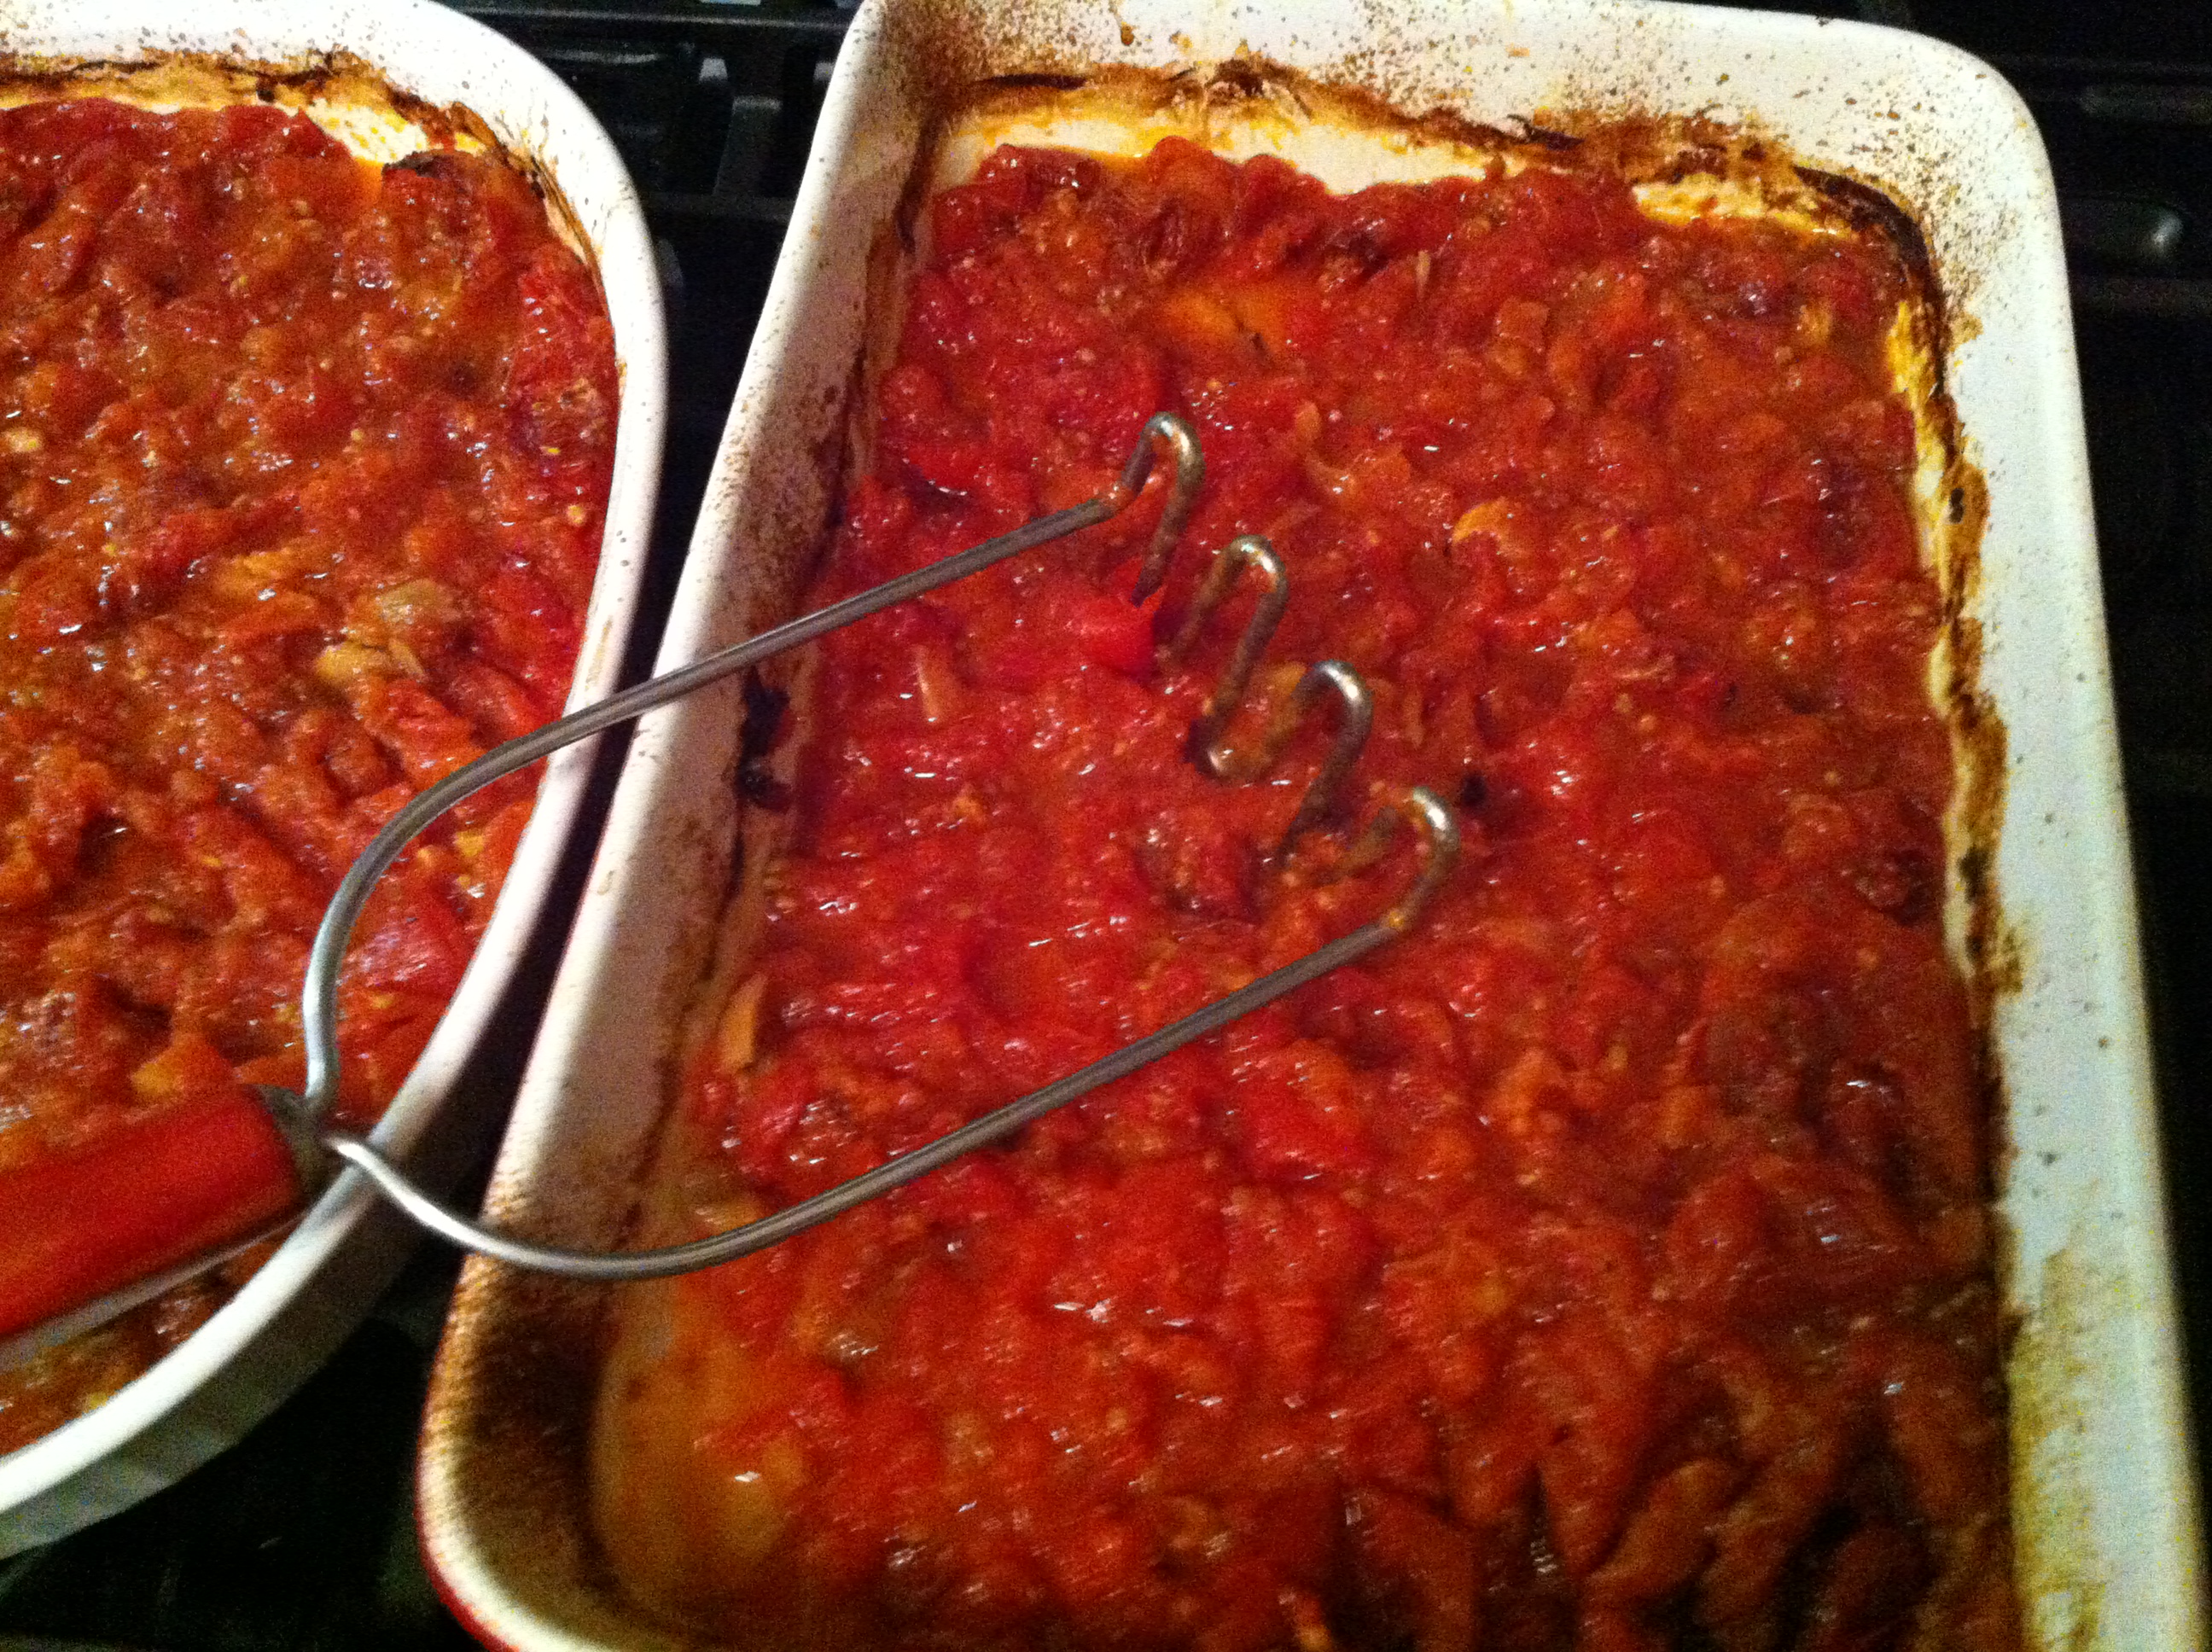
At this point, you can use a fork to peel off and pick out tomato skins if you like. I picked some of the larger skins out then used a potato masher to work the mixture into a chunky sauce.
Next I added some basil (sadly it was dried, not fresh), a splash or two of balsamic vinegar and salt and pepper to taste.
If you don’t like chunky sauce, let it cool a bit and pop it into a food processor or use an immersion blender to achieve the consistency you prefer.
While I didn’t have ciabatta bread, fresh mozzarella, or arugula on hand, I had some gnocchi in the freezer so I made this:
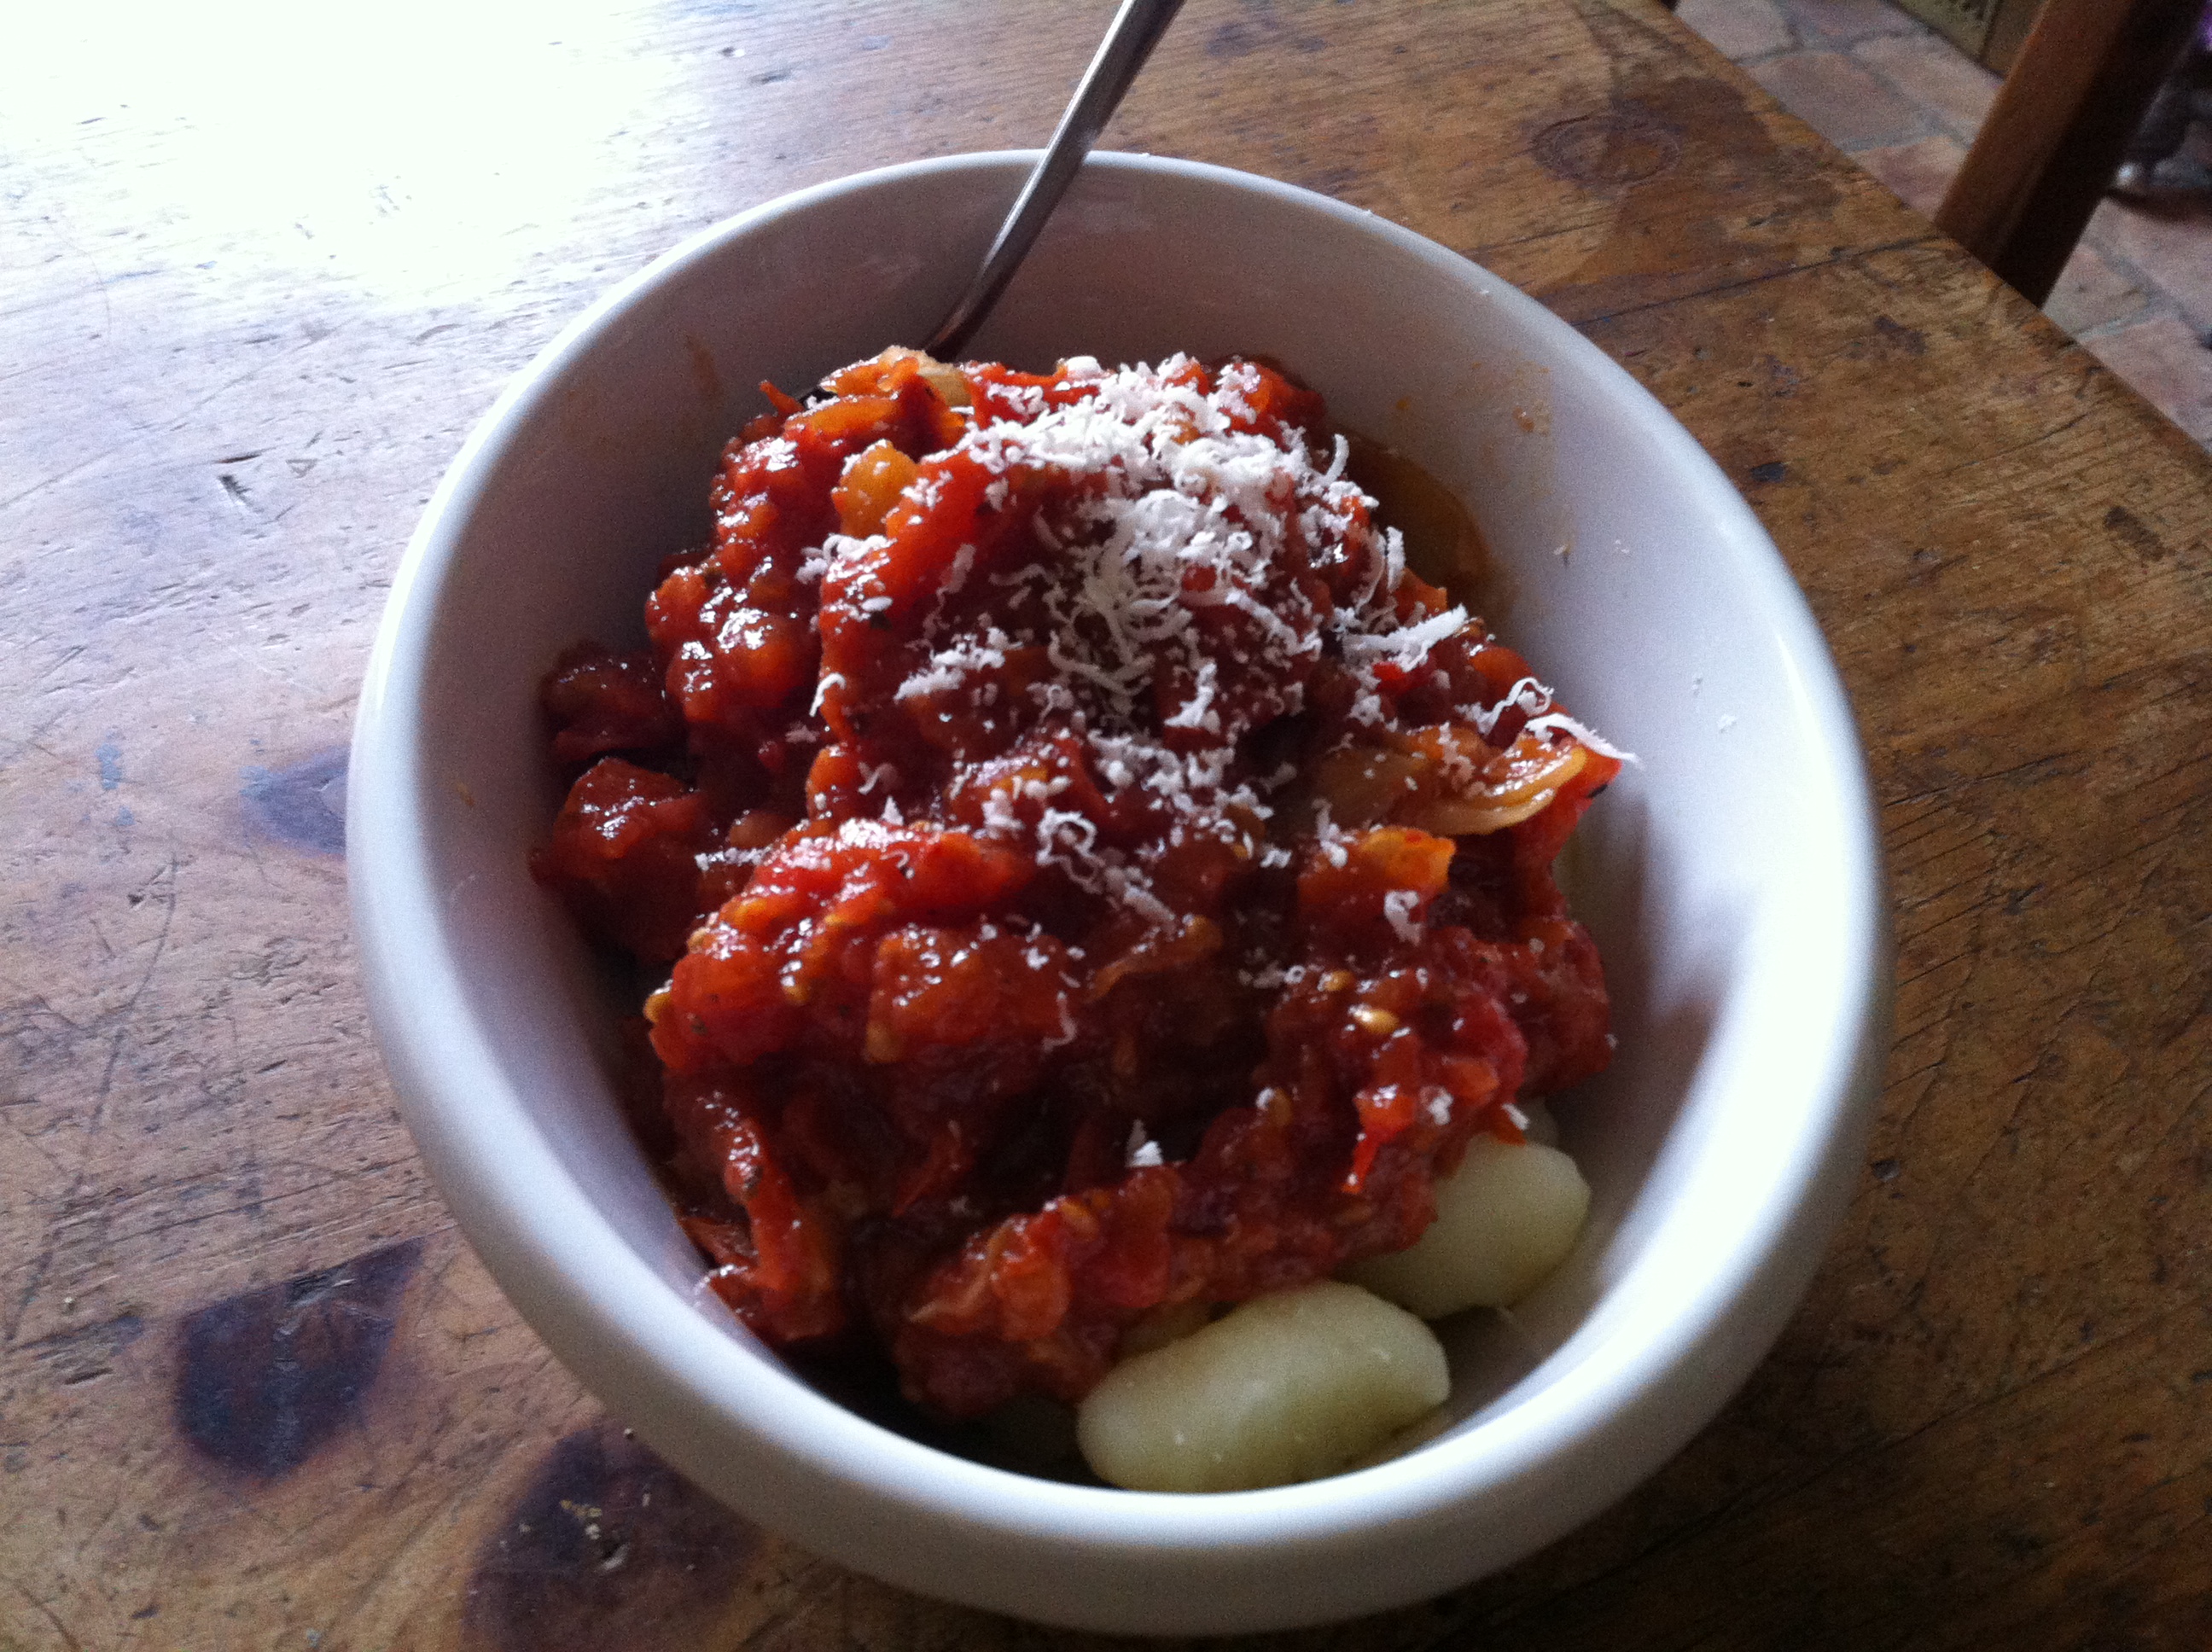
There’s still a lot of roasted tomatoes leftover, so I might yet make the sandwiches. You can uses this sauce with almost any pasta or just dip some nice rustic bread in and enjoy. It would probably make a great pizza sauce, too.
Have you ever bought bulk quantities of over-ripe produce? What did you make with it?
Guacamole 1-2-3
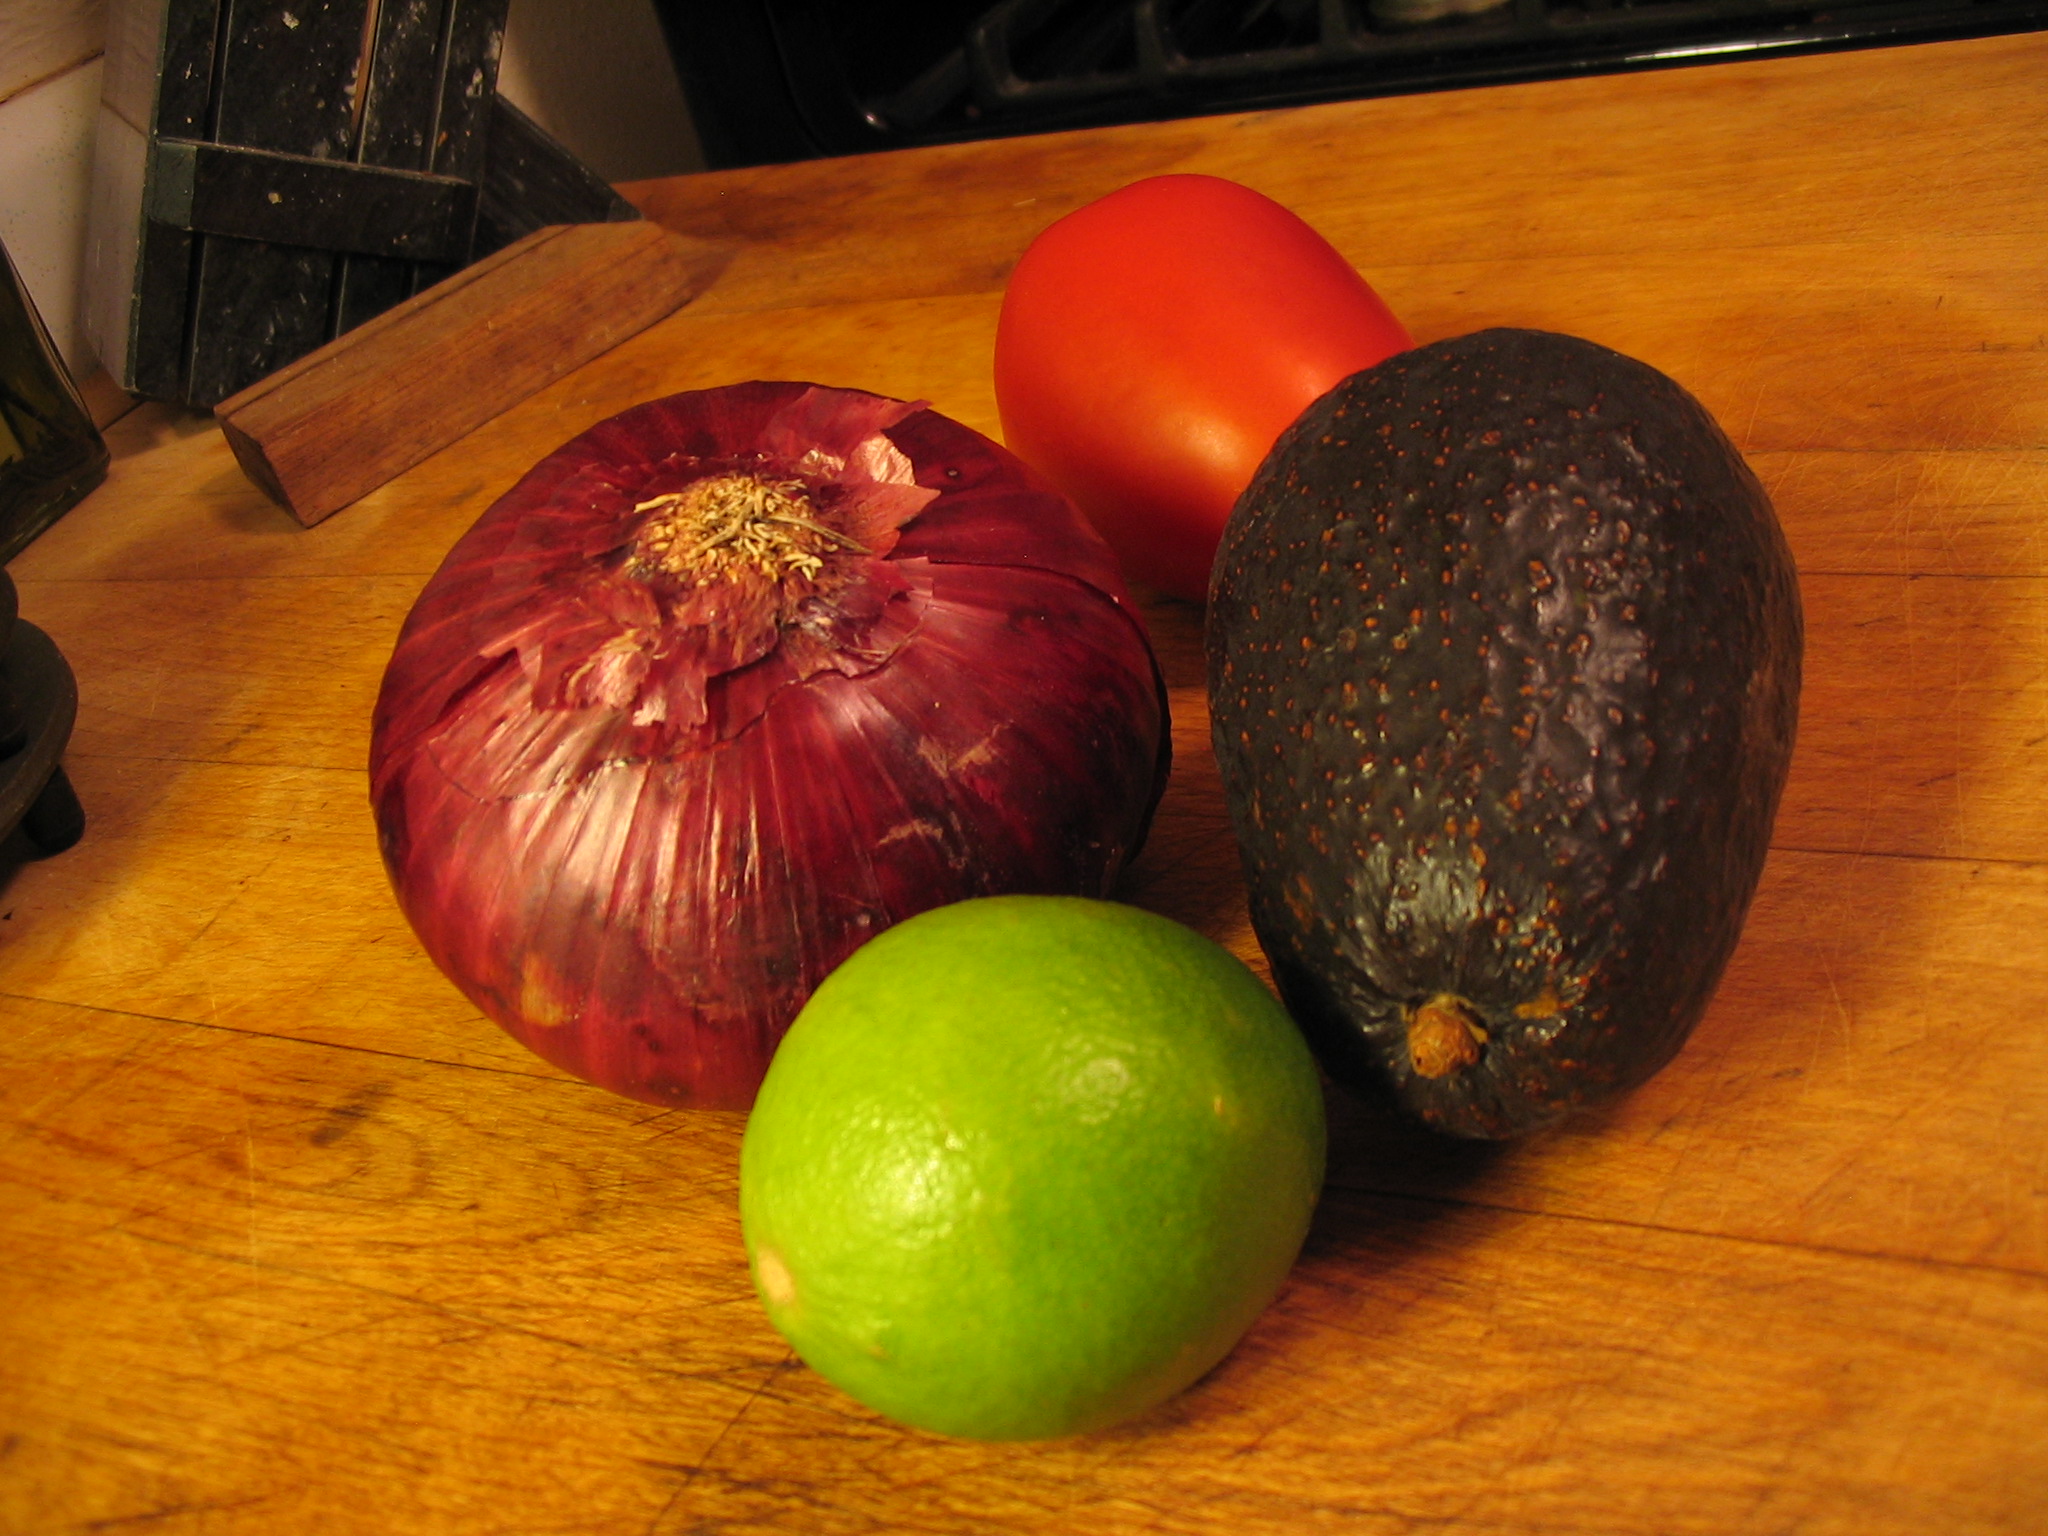
Guacamole is one of the simplest, easiest and most delicious dishes anyone can make. There’s no cooking involved, and not much a recipe, either. All you need is a ripe Hass avocado (or two), lime juice, salt & pepper – and maybe a bit of onion, tomato or garlic.
The basics
Sometimes the hardest part of making fresh guacamole is finding perfectly ripe avocados.
A lot of people add fresh garlic, but I prefer a subtle garlic flavor so I use a trick I learned from my Aunt Jean: cut a clove of garlic in half and rub it in the bowl you plan to use. (She did that to “season” the salad bowl before adding the greens.) Don’t worry. You can use the remaining garlic for another recipe.
Some people like smooth guacamole, others prefer chunky. I like chunks of avocado, tomato and onion, but sometimes I make it with just the avocado and lime. It depends on what I have on hand and what I’m serving with the guacamole.
Step One: Prep your extras. Rub the bowl with garlic (or mince a clove) and toss in some finely chopped tomato and/or onion if you like:

Tomato and onion in a garlic-rubbed bowl
Step Two: Halve, peel and remove pit from an avocado (or two, or more). I like to roughly cut the avocado in large chunks for easier mashing:

Step Three: Squeeze in some fresh lime juice, add salt and pepper to taste and mash to the desired consistency. (I usually use slightly less than half a lime per avocado, but you might prefer more or less lime.)

Simple, huh?
I don’t care for salty or greasy chips, so I usually cut up a small corn tortilla or two and bake my own chips in the toaster oven.
The final step? Enjoy!

Once avocados are cut they turn brown quickly. Even the lime juice doesn’t help stave off oxidation. I’ve heard putting plastic wrap directly on the guacamole helps keep it green because it reduces the exposure to air. Some people claim sticking the avocado pit into the mixture keeps it fresh too. But who am I kidding? There are never any leftovers to worry about!
While I love classic guacamole like this, it’s also be fun to experiment by adding things like grilled corn, hot peppers, cilantro, even mango. What are some unusual ingredients you’ve added to guacamole, and how did it turn out?
Apples to Apple(sauce)
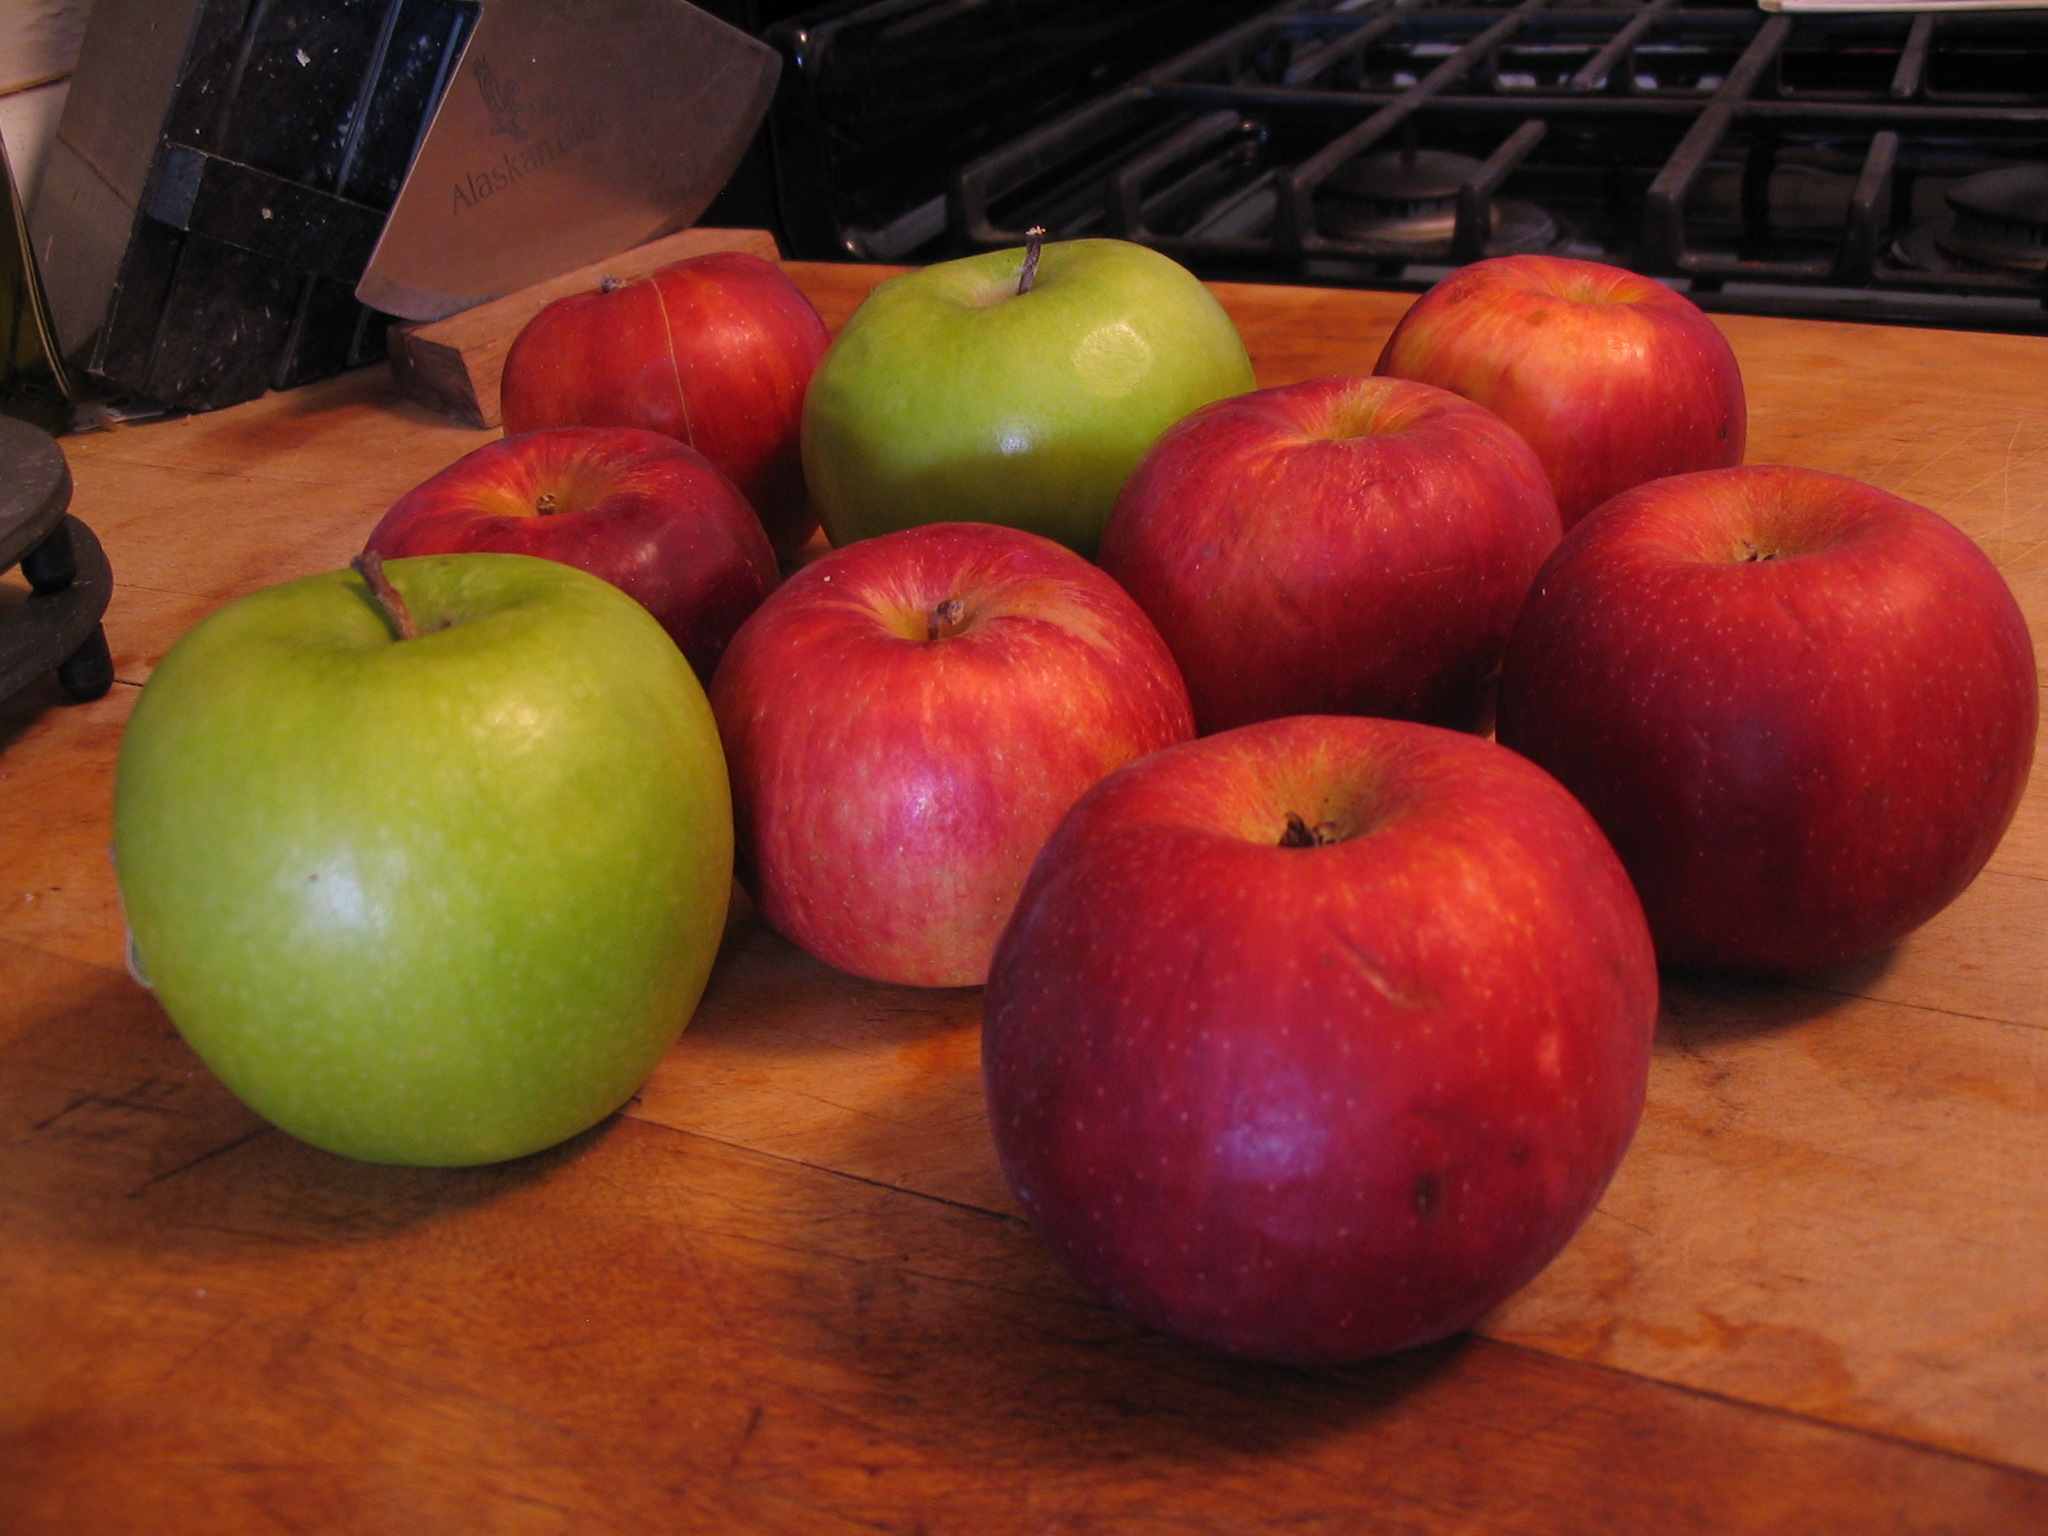
Whenever my dad bought apples he managed to choose the bag containing the largest number of bruised apples. It didn’t matter what variety he chose, what season it was, or whether they were on sale or full price. They were always bruised.
No one likes biting into bruised fruit. That’s why people turn old bananas into banana bread, and why I turned this lot of mismatched, slightly past-their-prime apples into applesauce.
Perhaps best of all, it’s a lot easier than baking banana bread.
I started by peeling, coring, and quartering about two pounds of apples. (If they were fresher I would have left the skins on.)
I put the apples in a medium sauce pan with:
- approximately 1/3 cup of water (apple cider or apple juice would work, too)
- roughly one tablespoon of lemon juice (the amount depends on the varieties of apples you’re using and how tart you like your applesauce)
- one cinnamon stick (you can substitute about 1/2 teaspoon ground cinnamon if you don’t have a cinnamon stick)
- about 1/2 cup fresh or frozen cranberries (optional)
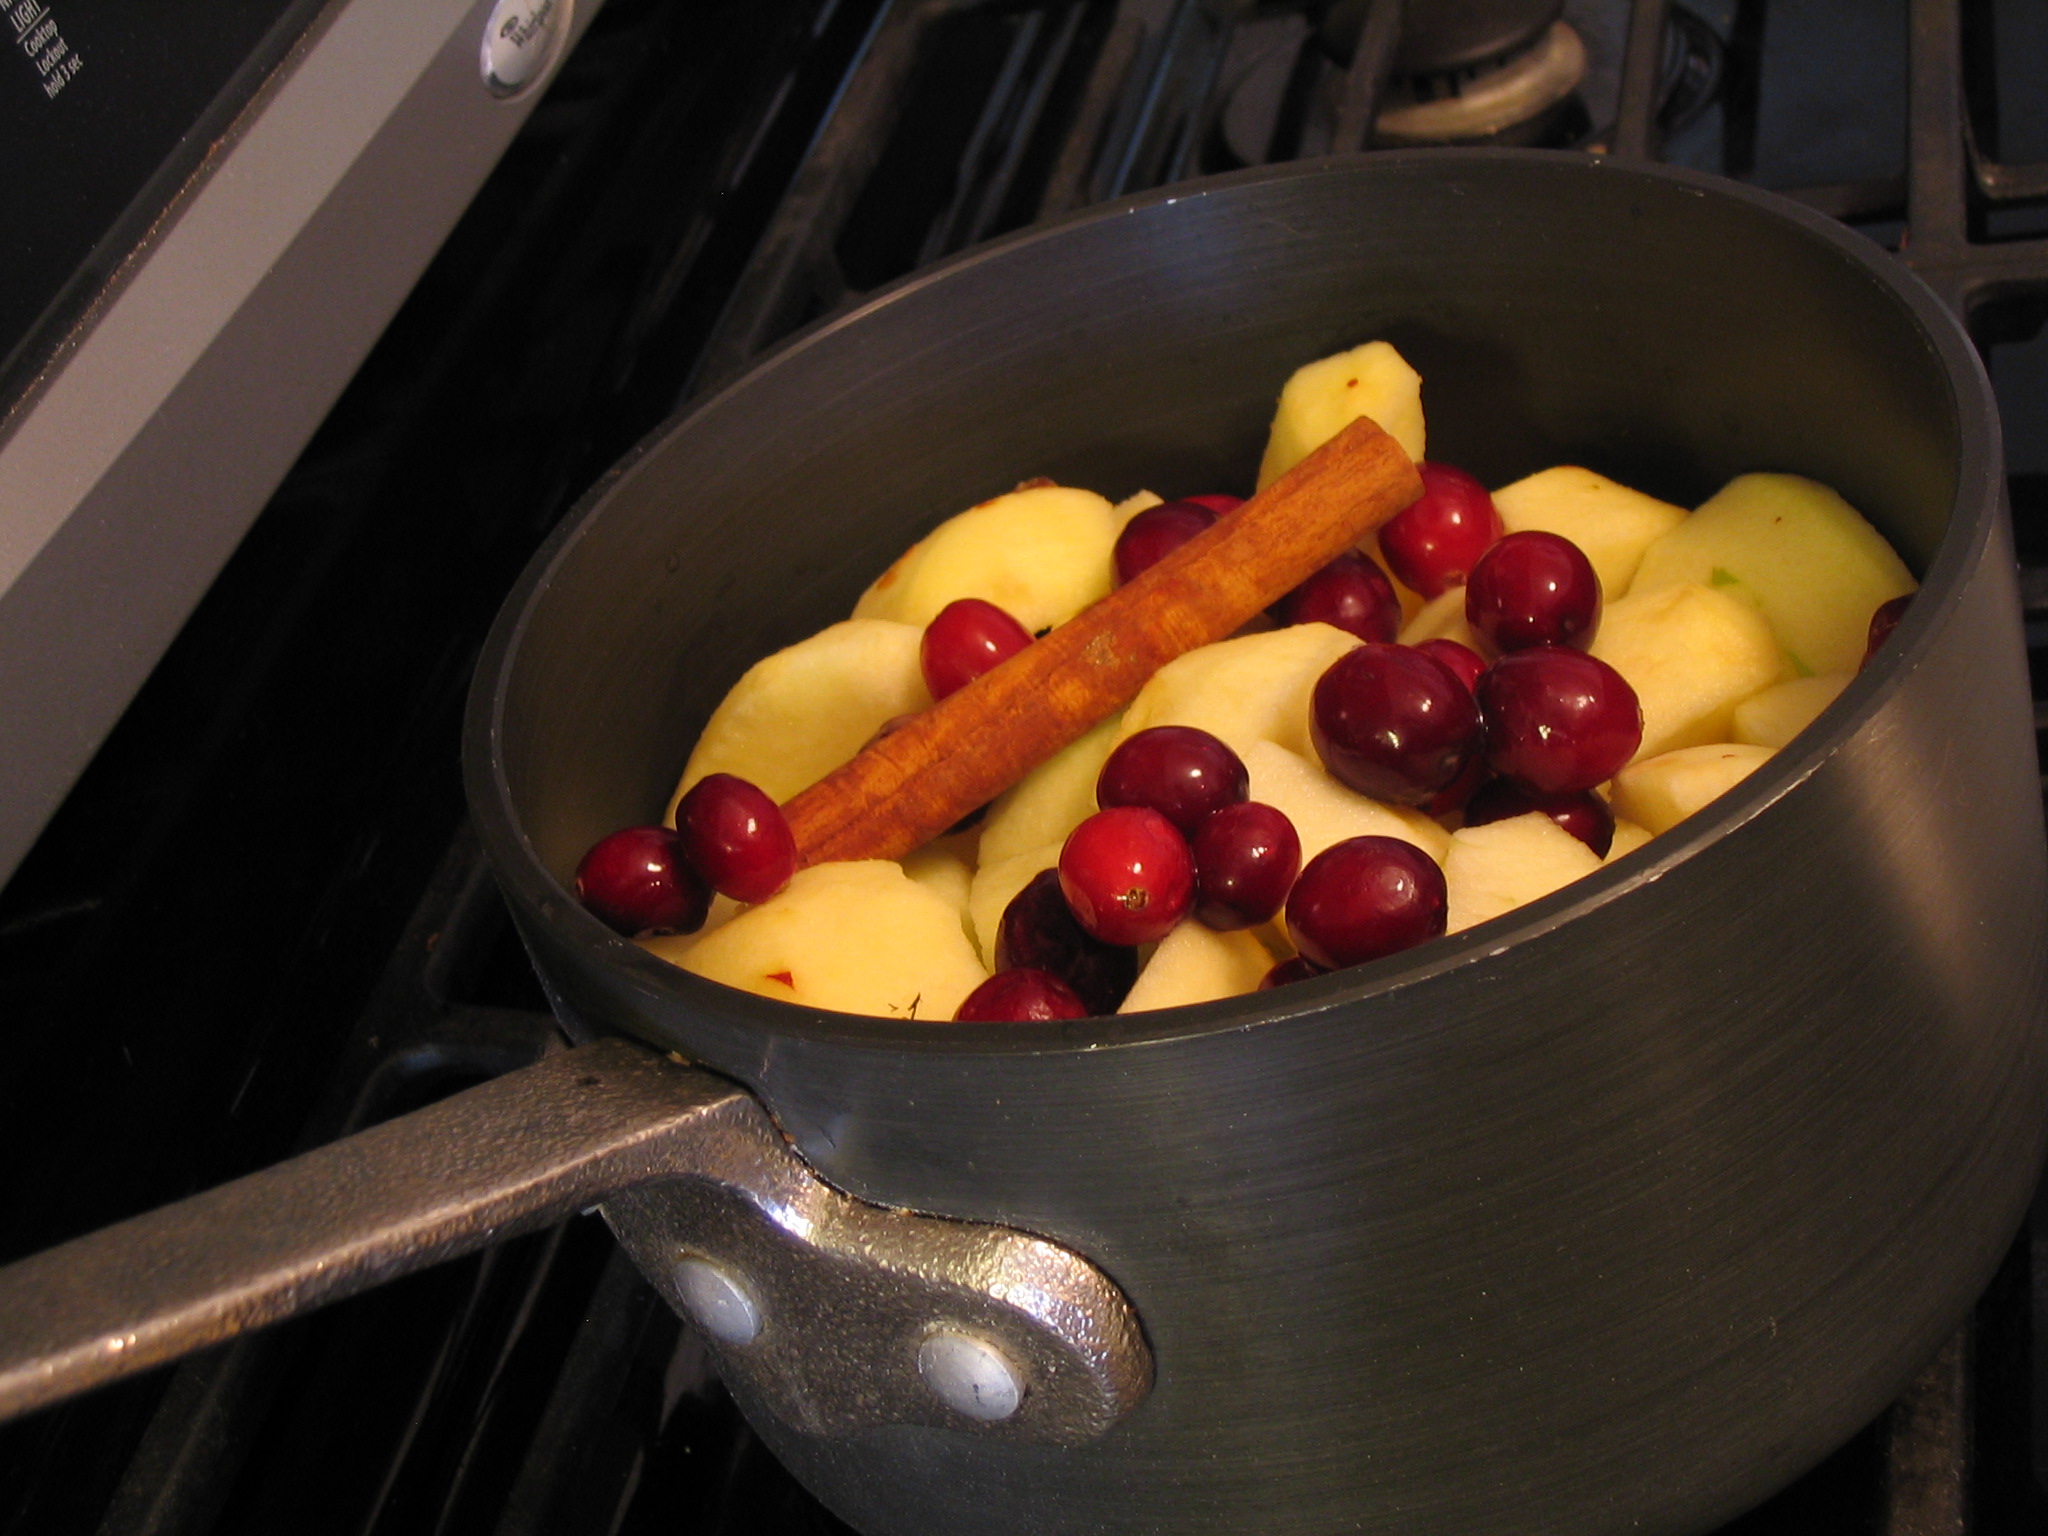
Start it on medium heat, and when it begins to simmer reduce heat to low or medium-low. Cover, but stir every couple of minutes. Simmer 20-25 minutes. Timing depends on how large the apple chunks are and which varieties are used.
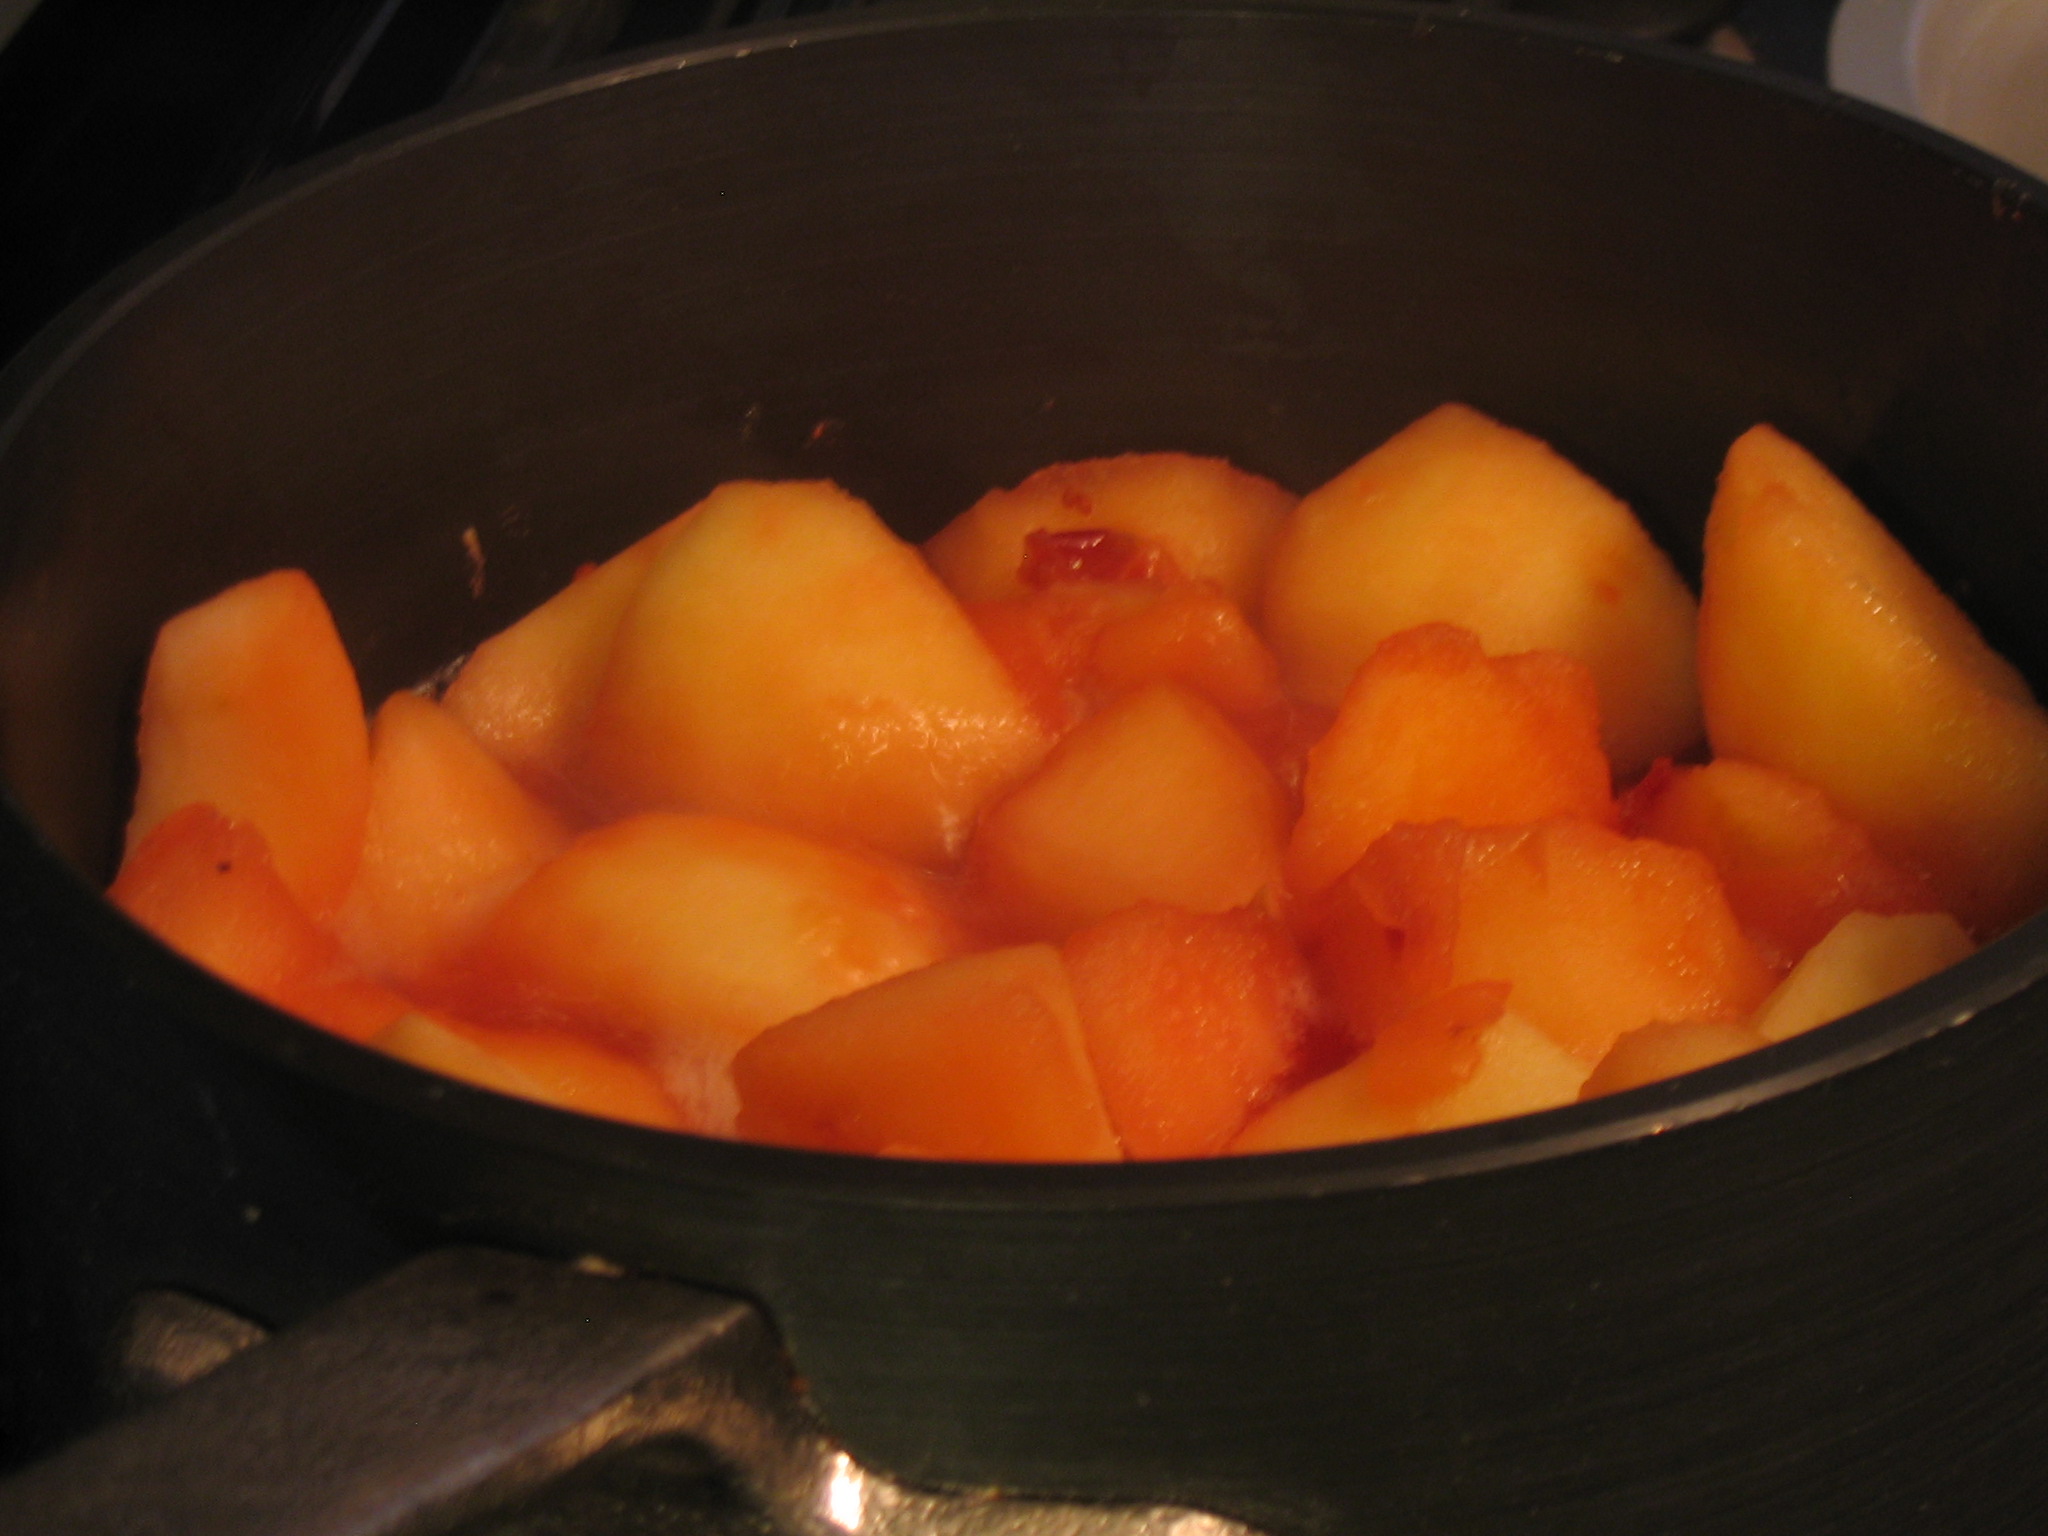
About half cooked.
The cool thing about adding cranberries? They pop when cooked, which turns the applesauce pink.
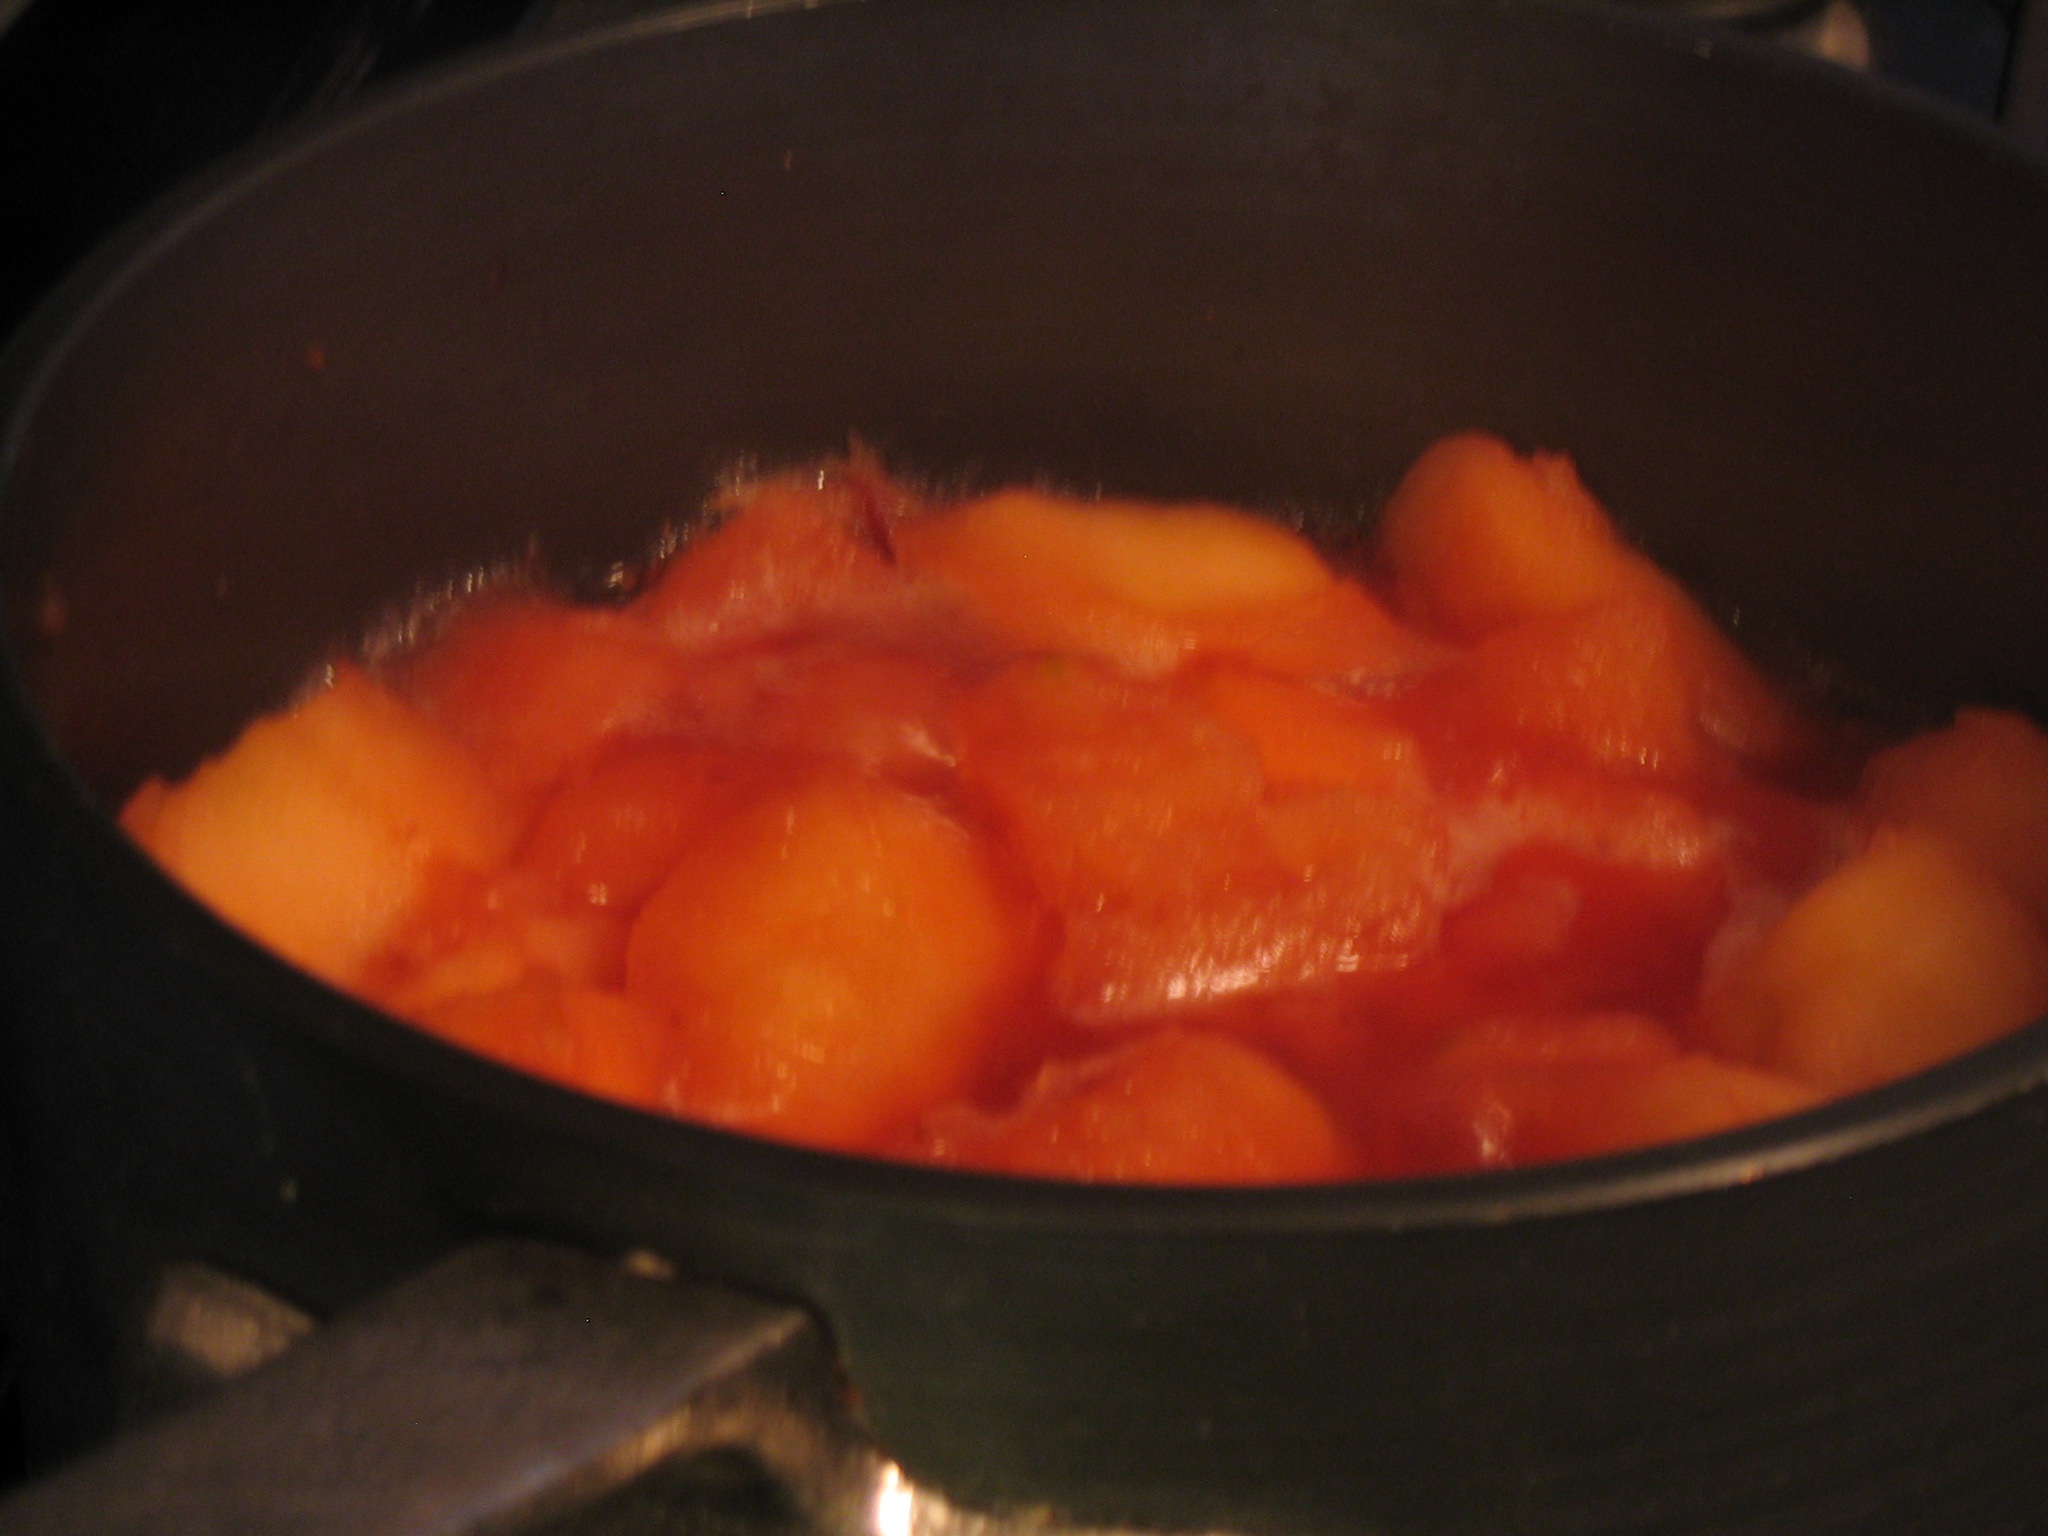
Once the apples are tender it’s time to mash them up a bit with a spoon and taste the sauce.
You might want to add a little sugar, a lot of sugar, some honey, or no sweetener at all. You can also add dried ground ginger, nutmeg, even a dash of vanilla if you like. I added:
- 1/4 teaspoon dried ground ginger
- about 1/3 cup of sugar
- a few grinds of freshly ground nutmeg (a little nutmeg goes a long way)
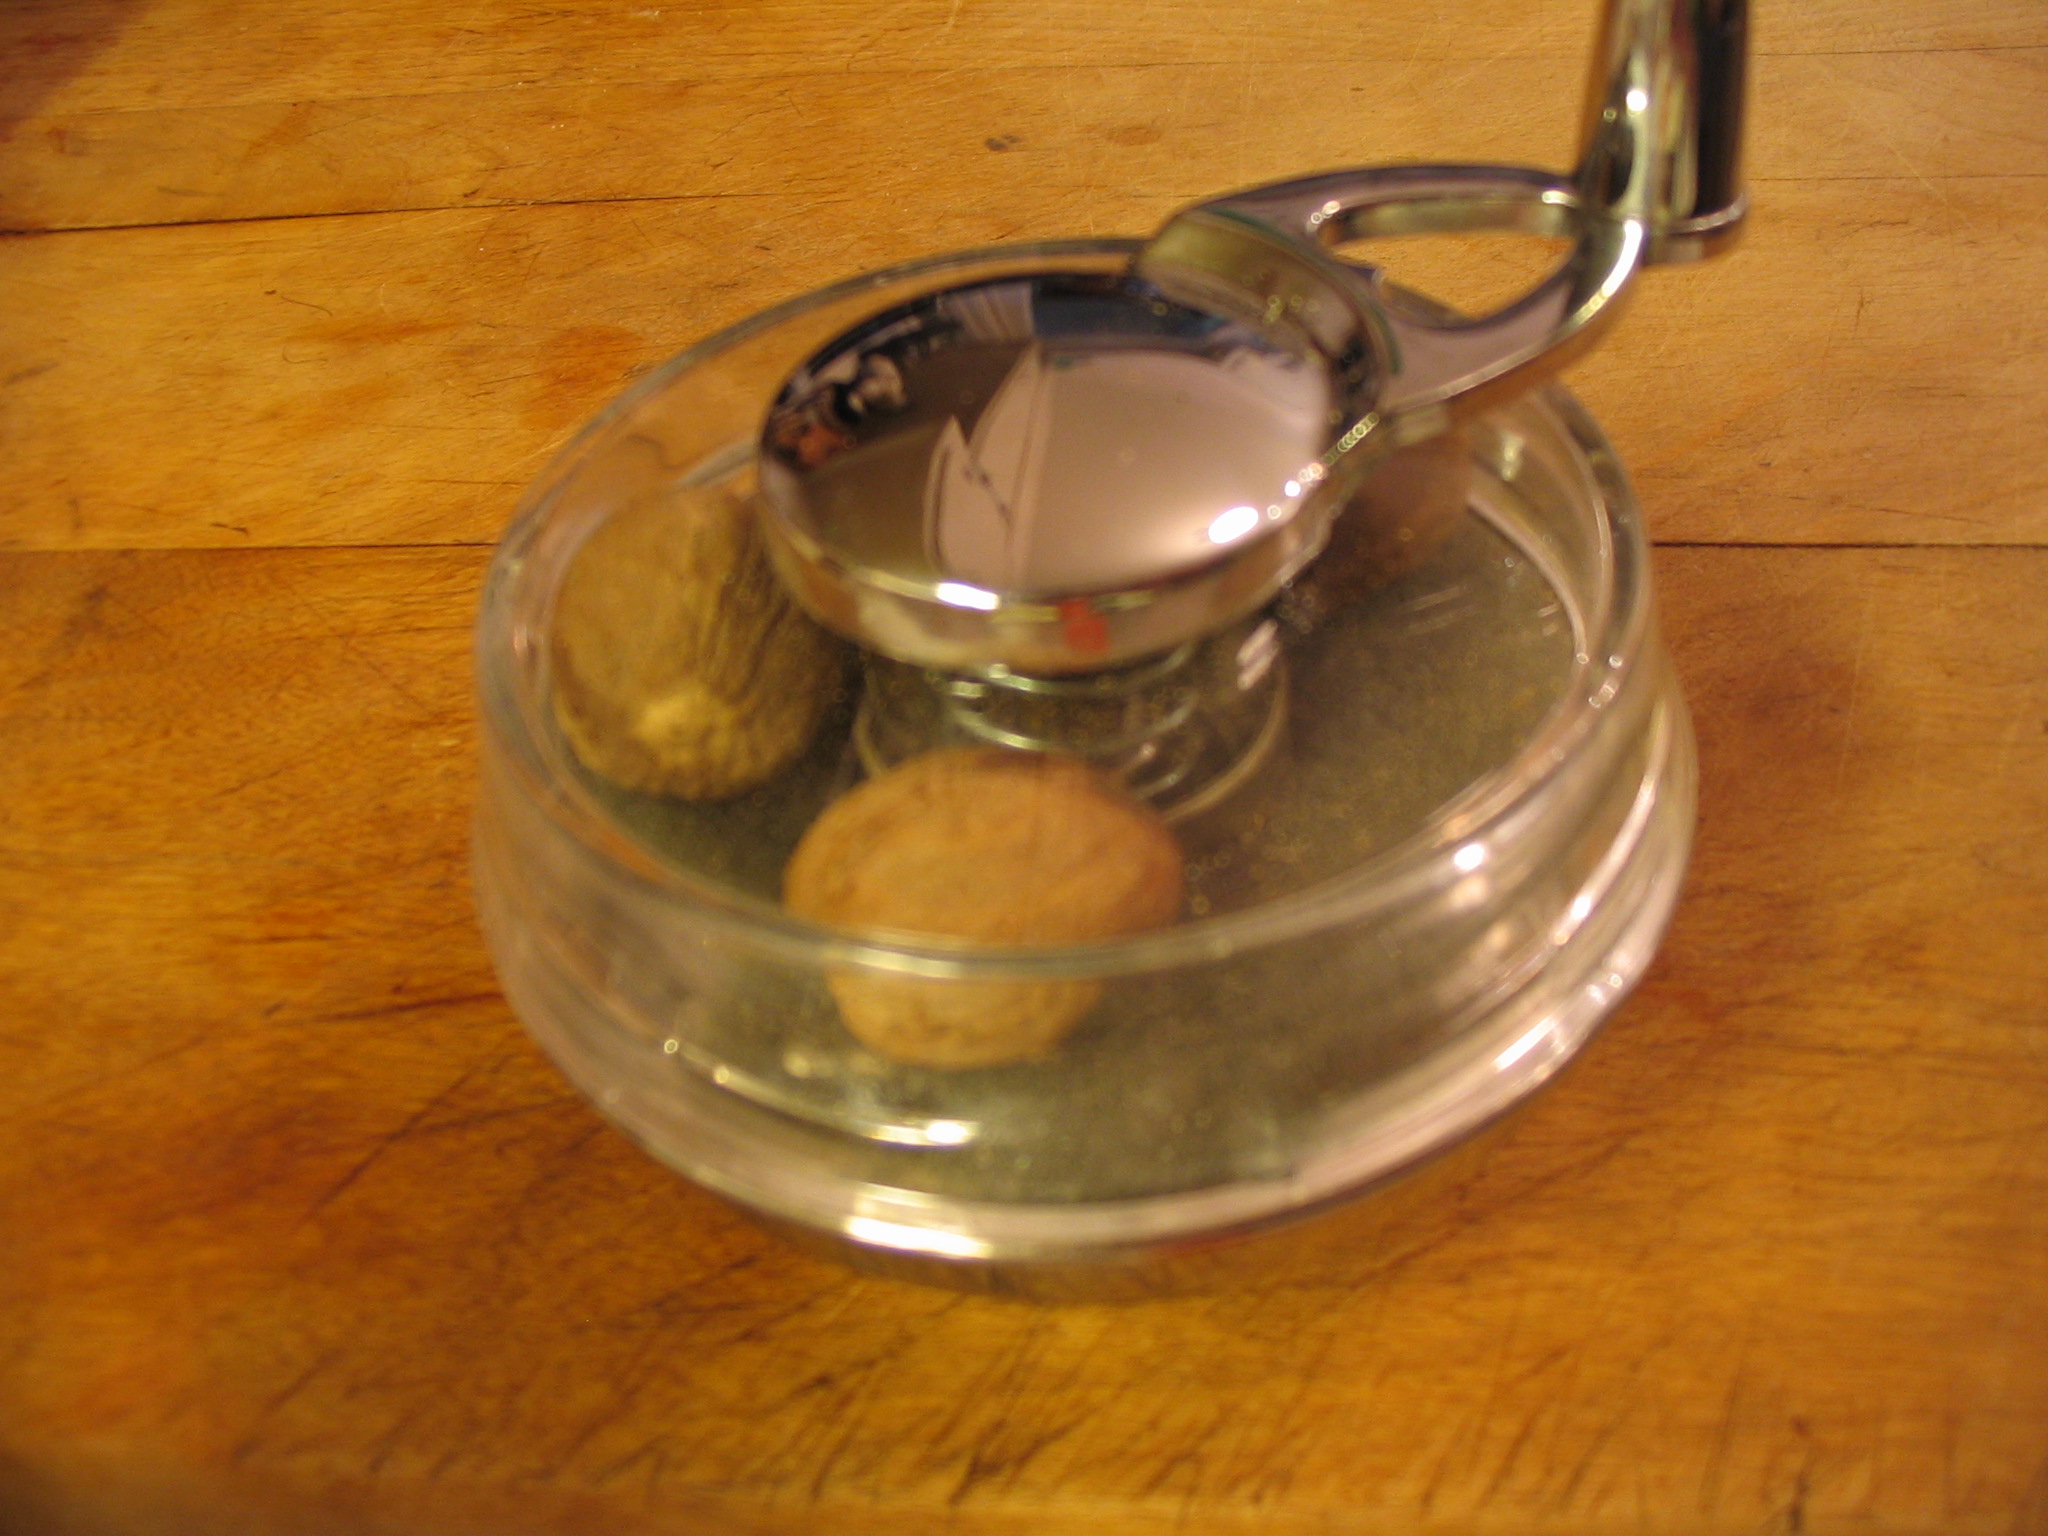
Quick aside: I was never a nutmeg fan until I got this cool nutmeg grinder for Christmas.
The types of apples you use — and whether or not you add cranberries — will make a big difference in what you decide to add. That’s why tasting is so important. If it’s too tart, add a small amount of sugar or honey and taste. Repeat until you like the flavor.
If you add sugar or honey, continue to simmer another minute or two so it cooks in. Remove the cinnamon stick.
I like chunky applesauce so I used a wooden spoon to break up the apples. Potato mashers also work well, especially if you prefer smoother sauce.
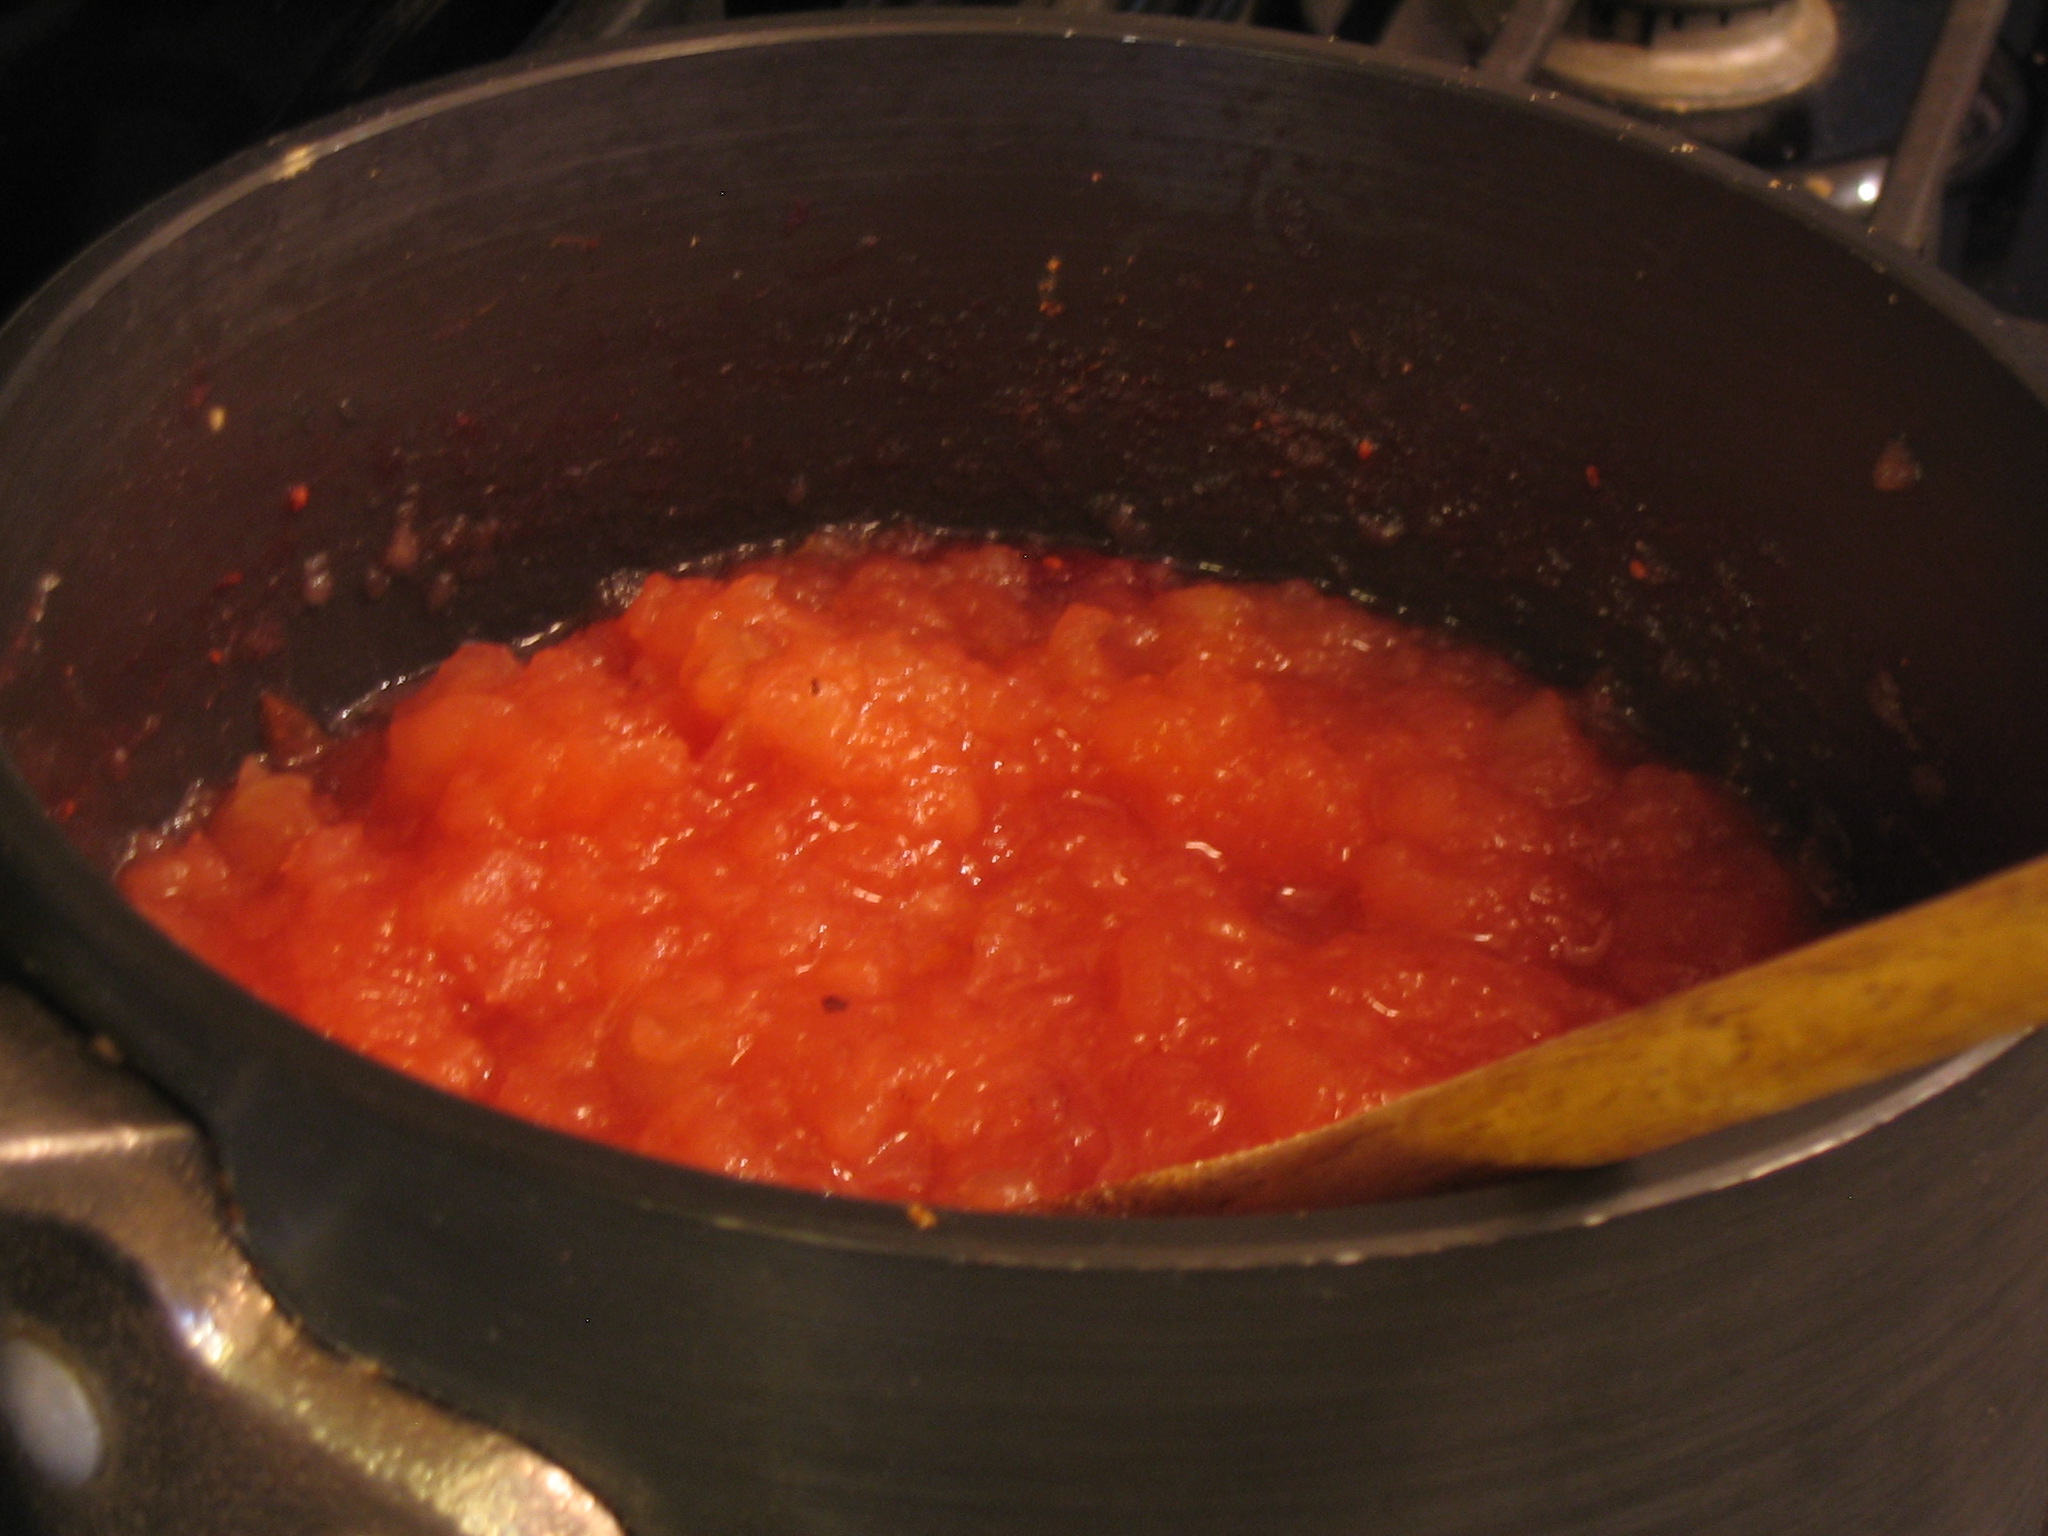
All that’s left is to dish up a nice bowl of fresh, homemade apple sauce and enjoy. It’s perfect warm or cold!
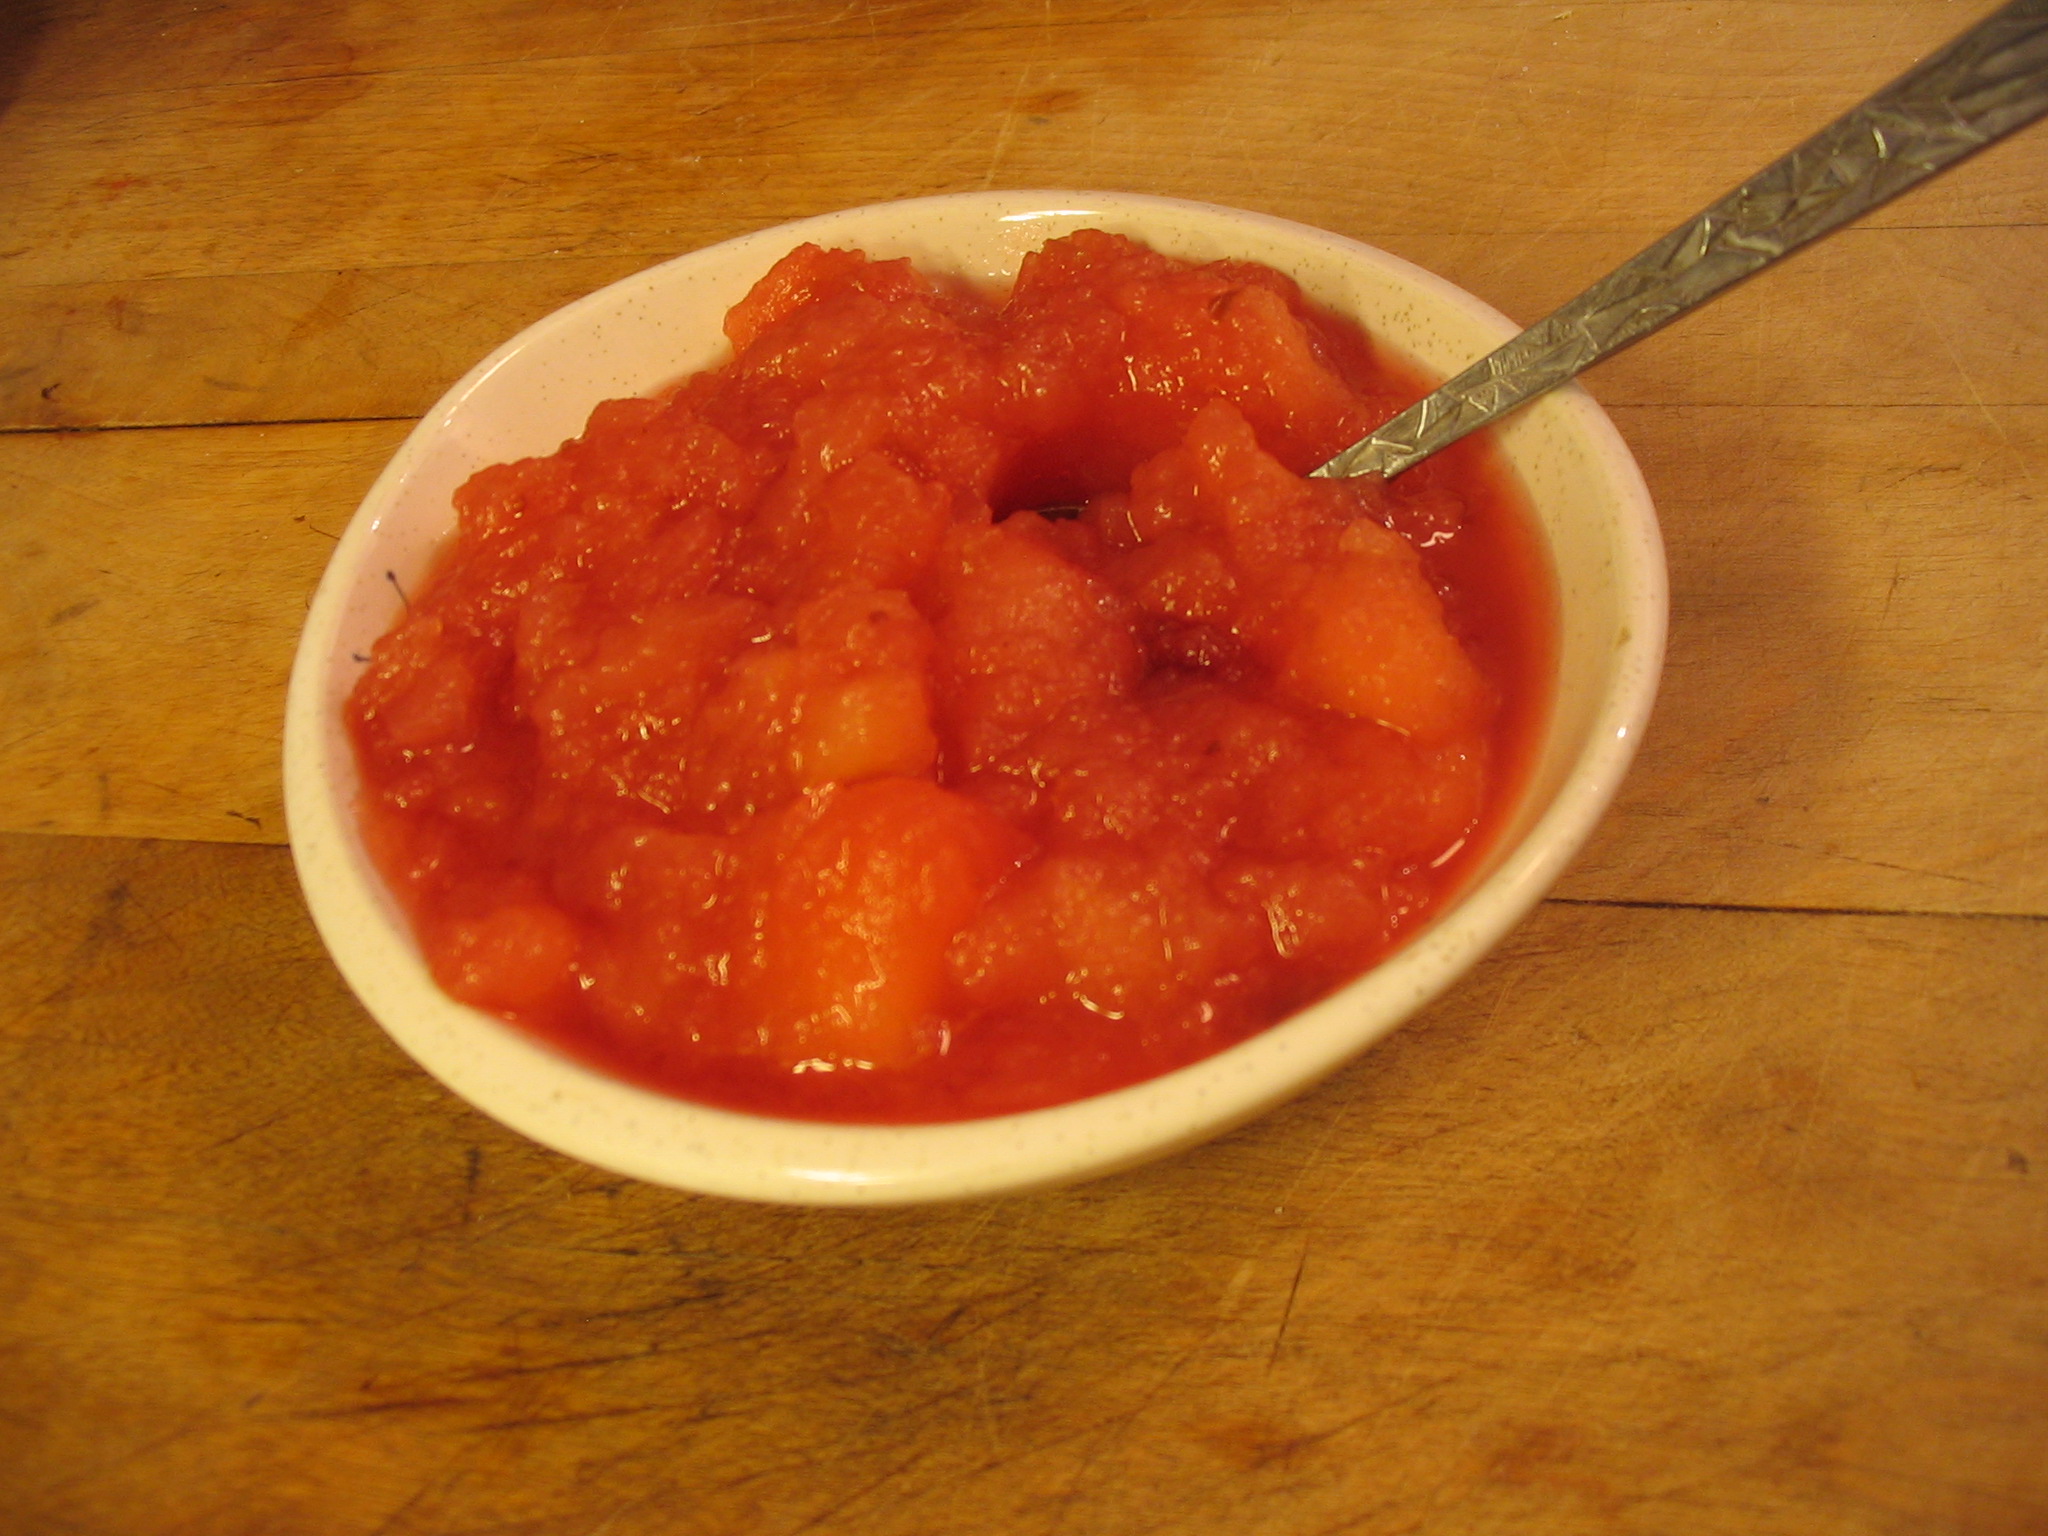
I’m obviously not a food stylist. Luckily this tastes much better than it looks!
Pumpkin what?
No guesses on what I planned to make from my homemade pumpkin puree? Not one of you? Then it looks like I’ll have to show you.
I used it to make a big, delicious pot of pumpkin chili.

Yes it sounds weird, but it’s really good. I promise! The secret recipe I used came from one of my cousins, but you can turn almost any chili recipe into pumpkin chili simply by replacing some (or all) of the tomato sauce or puree with the same amount of pumpkin puree. You don’t have to make your own pumpkin puree, canned works just as well.
Not only does substituting pumpkin for some of the tomato products add nutritional punch to an already pretty healthy dish, it lowers the acidity of chili, making it a nice alternative for people who have problems eating acidic foods.
The recipe I used is particularly colorful since it uses red kidney beans, black beans and pinto beans and has red, green and yellow peppers – plus lots of jalapenos.
I’ve heard of people adding anything from chocolate to whiskey to chili, so pumpkin really isn’t that strange. What’s the most unusual ingredient you’ve added to chili, and how did it turn out?
Homemade pumpkin puree
I loathe pumpkin pie, but that doesn’t mean I hate pumpkin.
Pumpkin bread, pumpkin bars, pumpkin cookies. All good. It’s the slimy texture of pumpkin pie that I can’t stand.
You might remember this cute little pie pumpkin that adorned my dining room table this fall.
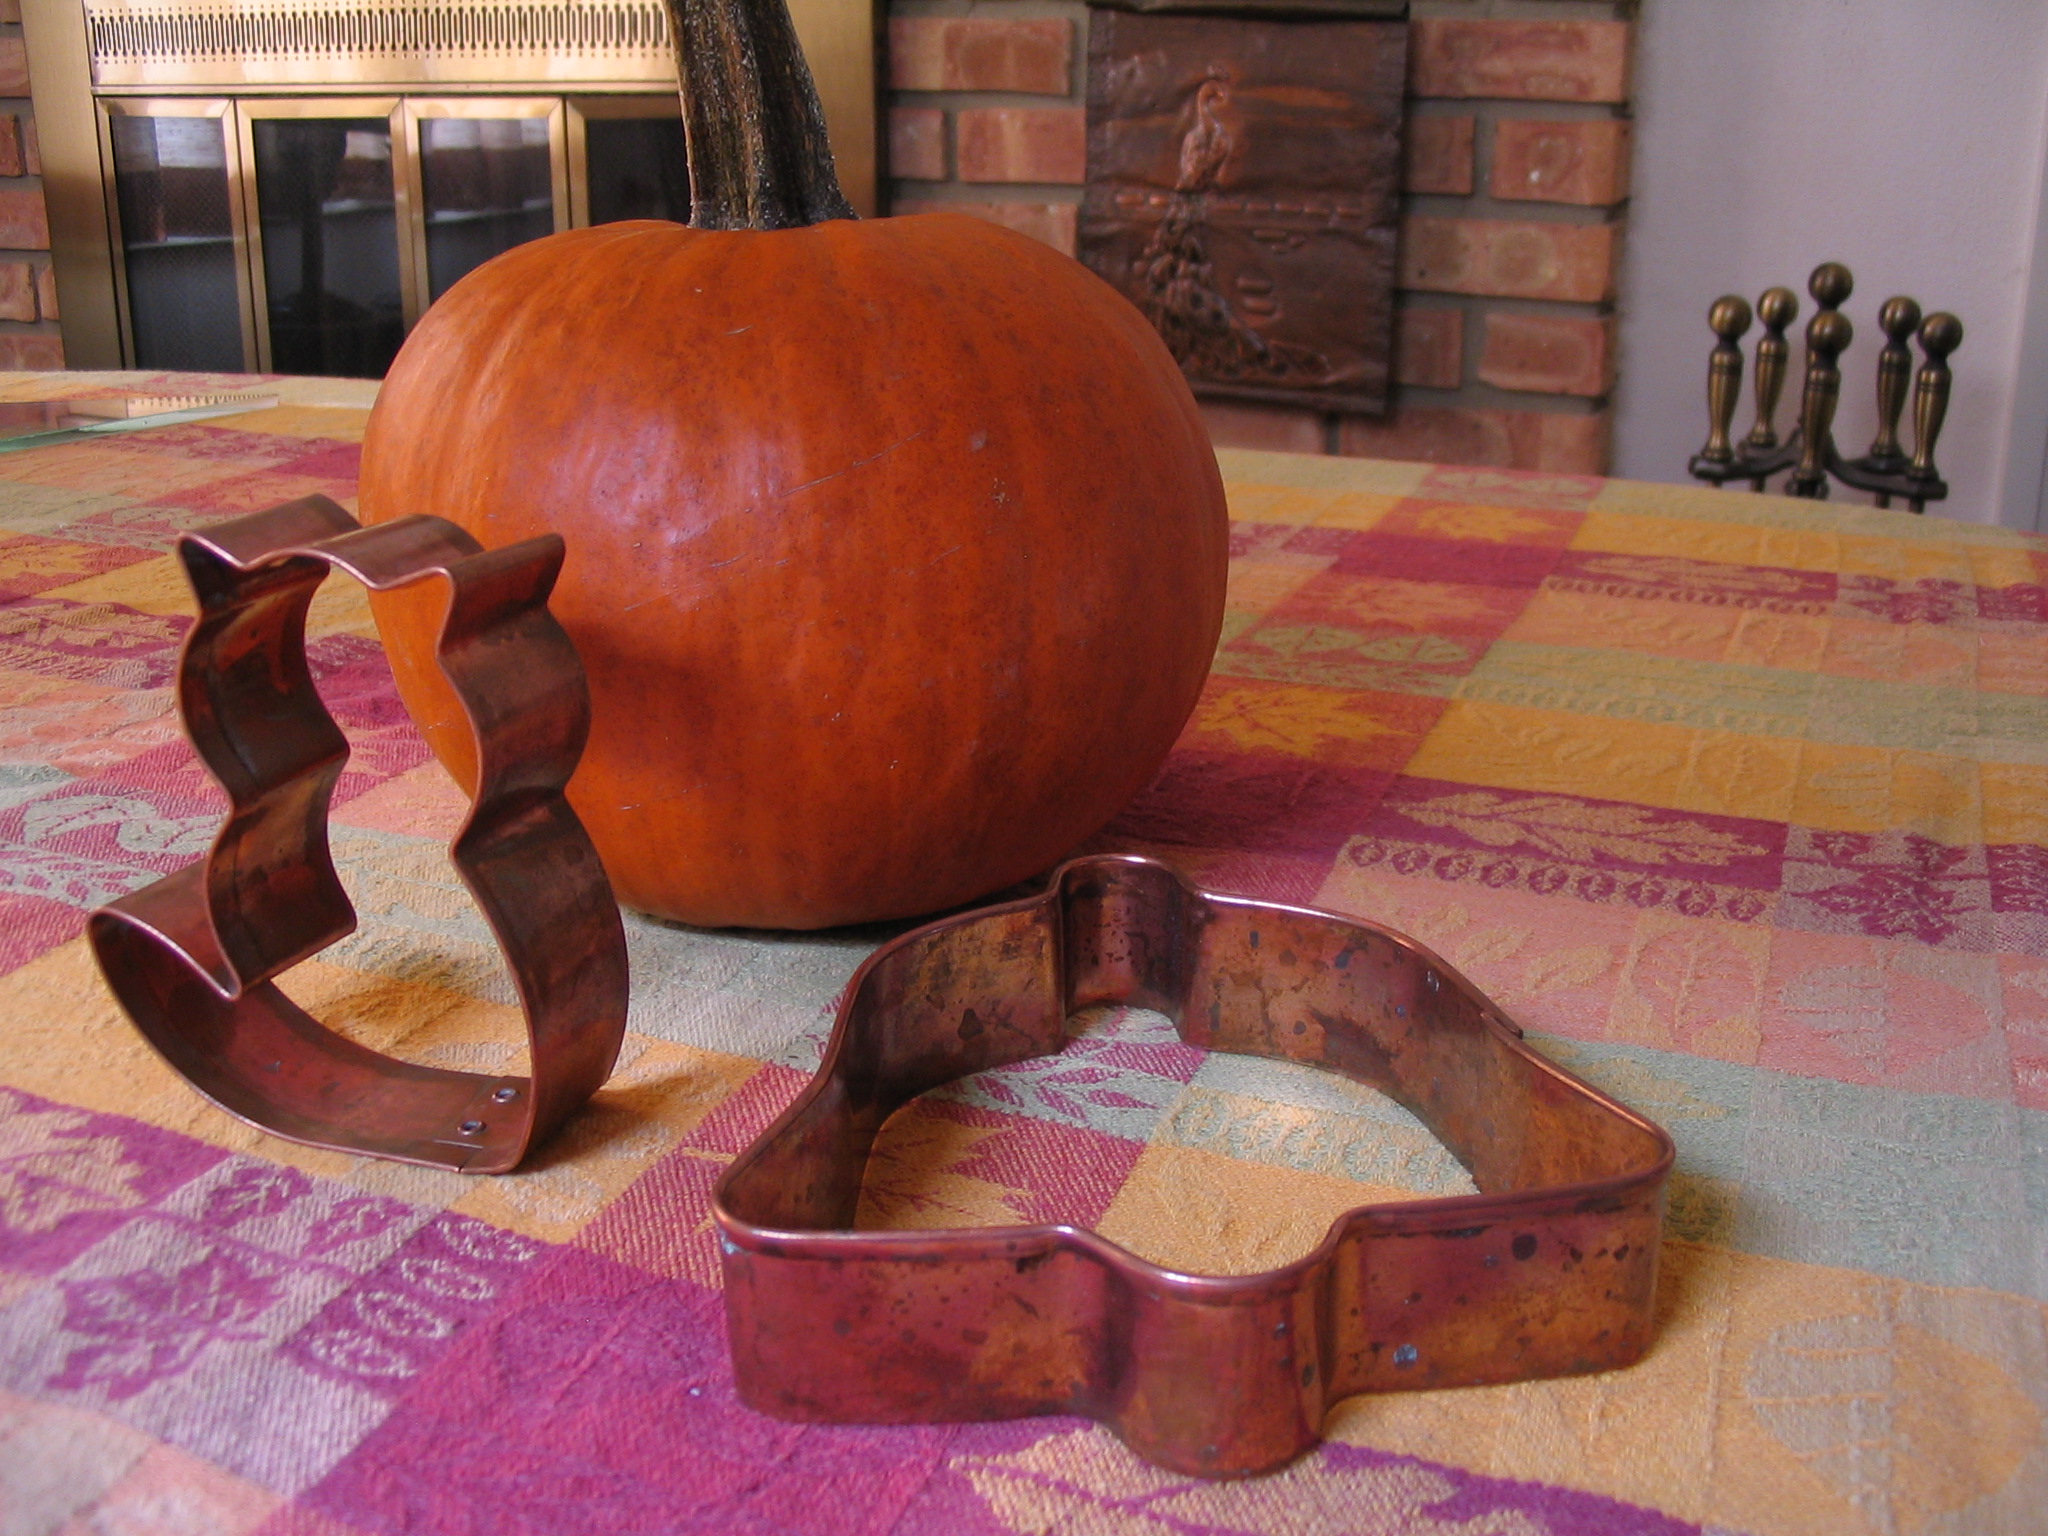
I kept it out through Thanksgiving. As long as the skin isn’t damaged, pumpkins will last a long time. Once the Christmas decorations went up, my intention was to cook and puree the pumpkin and freeze it for future use. I was a bit busy making Christmas gifts, so I didn’t get around to it until now.
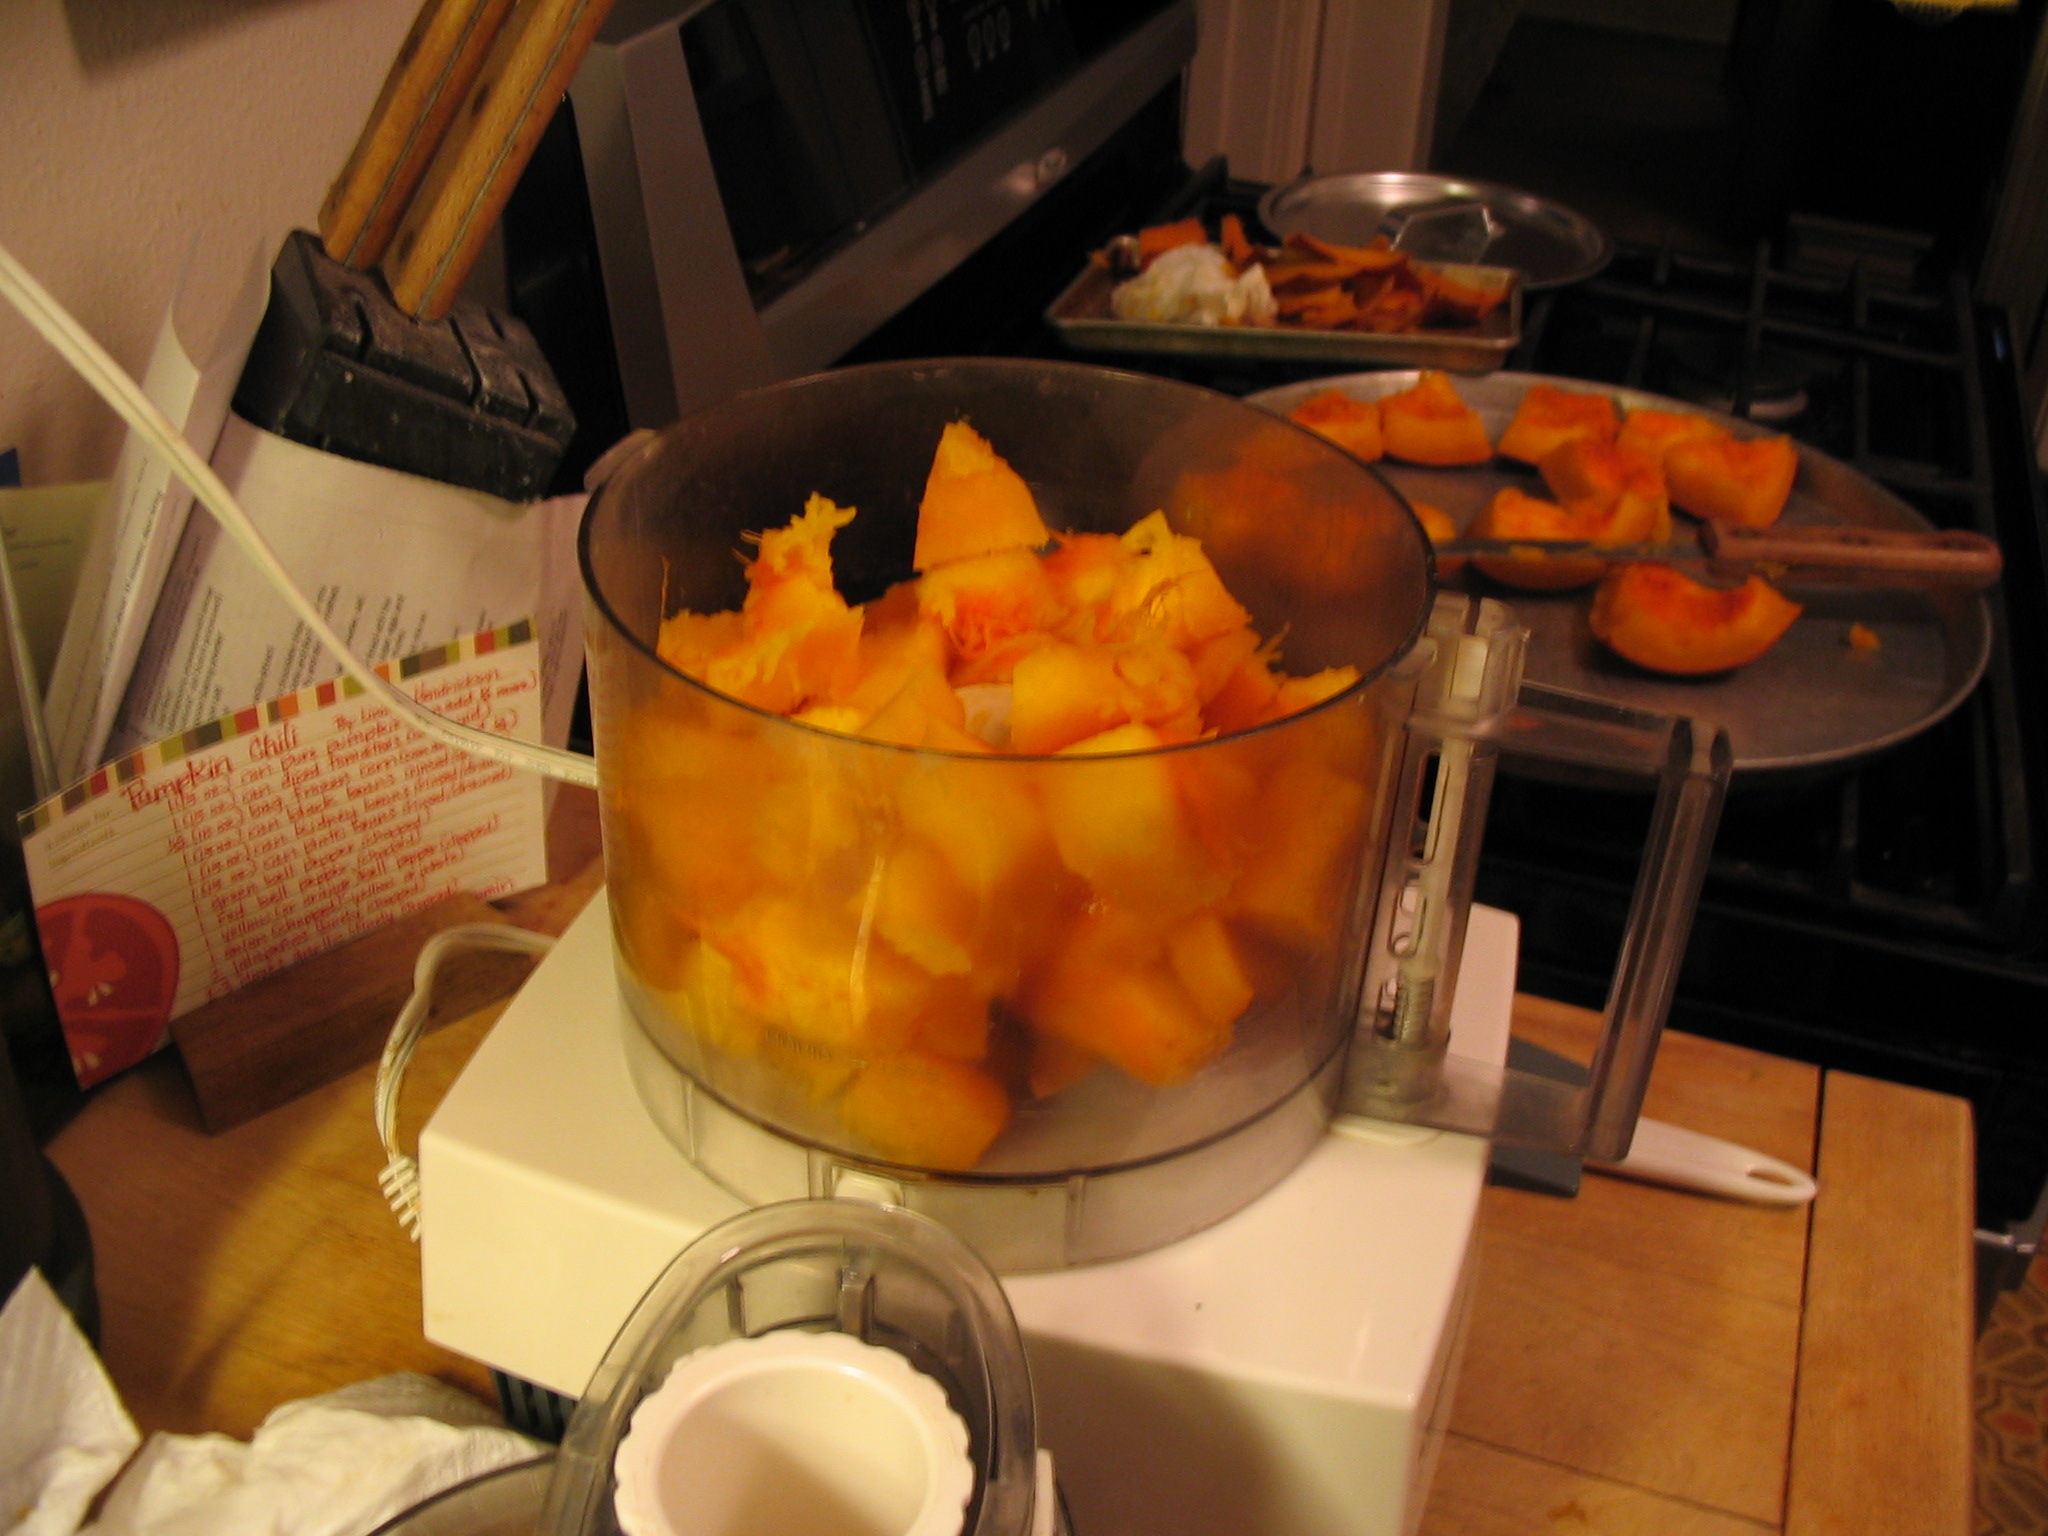
Here’s how simple it is to turn your decorative pie pumpkin into a healthy puree ready to use in your favorite pumpkin recipes. (This works with pretty much any type of winter squash, too.)
- Wash the pumpkin.
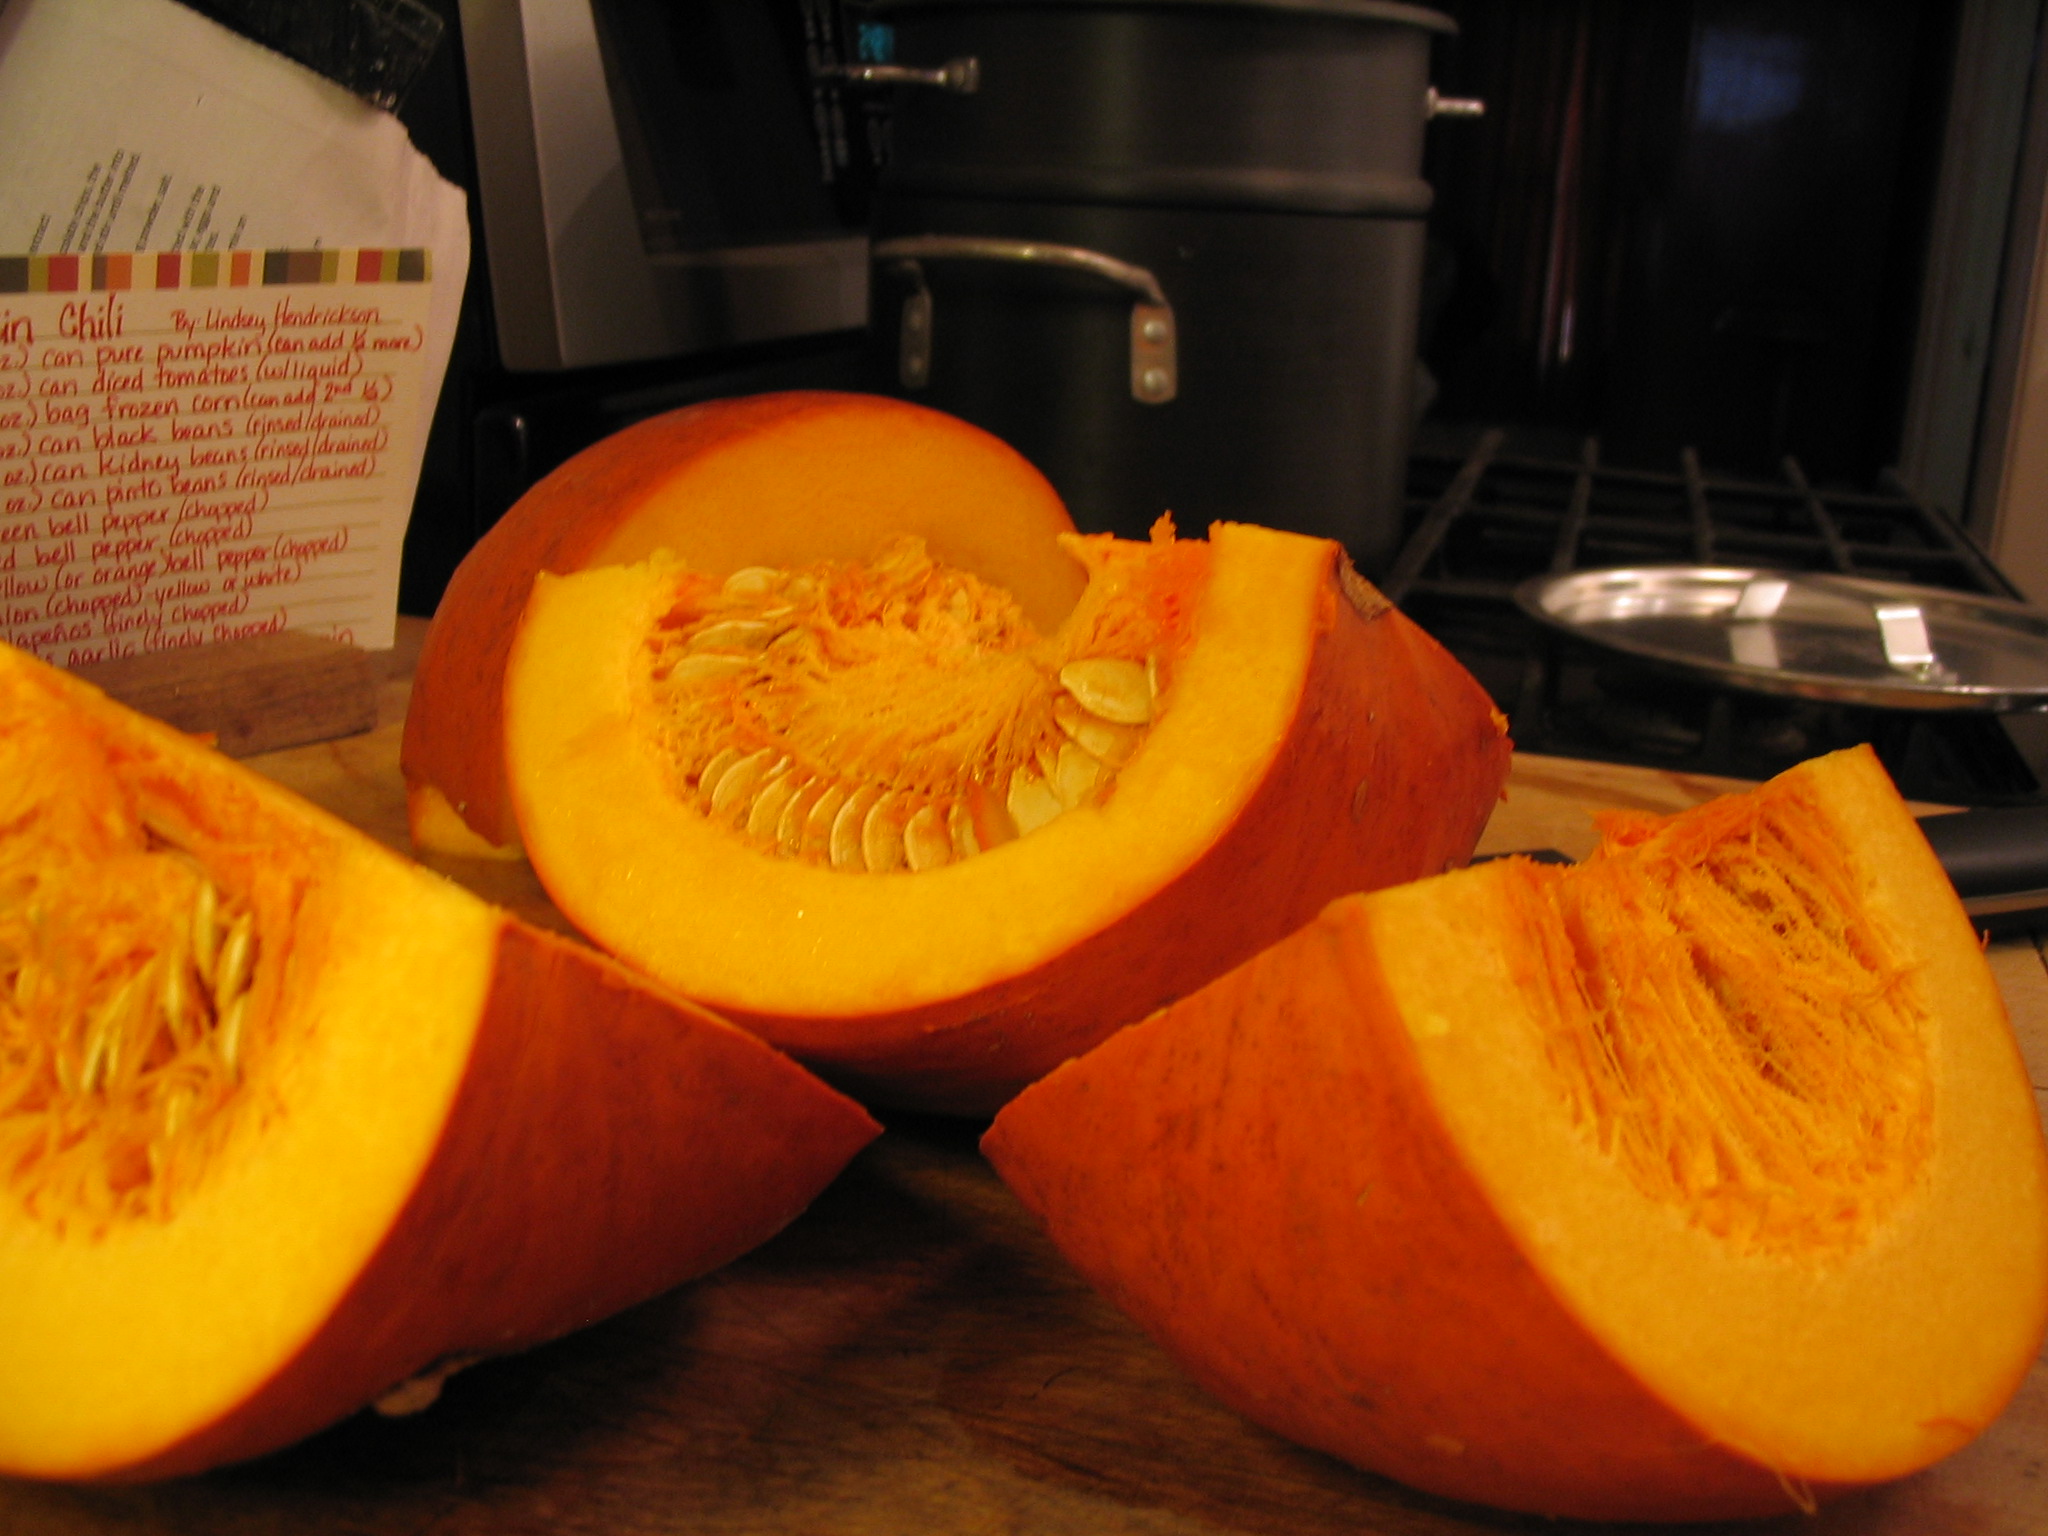
- Remove stem and cut pumpkin into quarters.

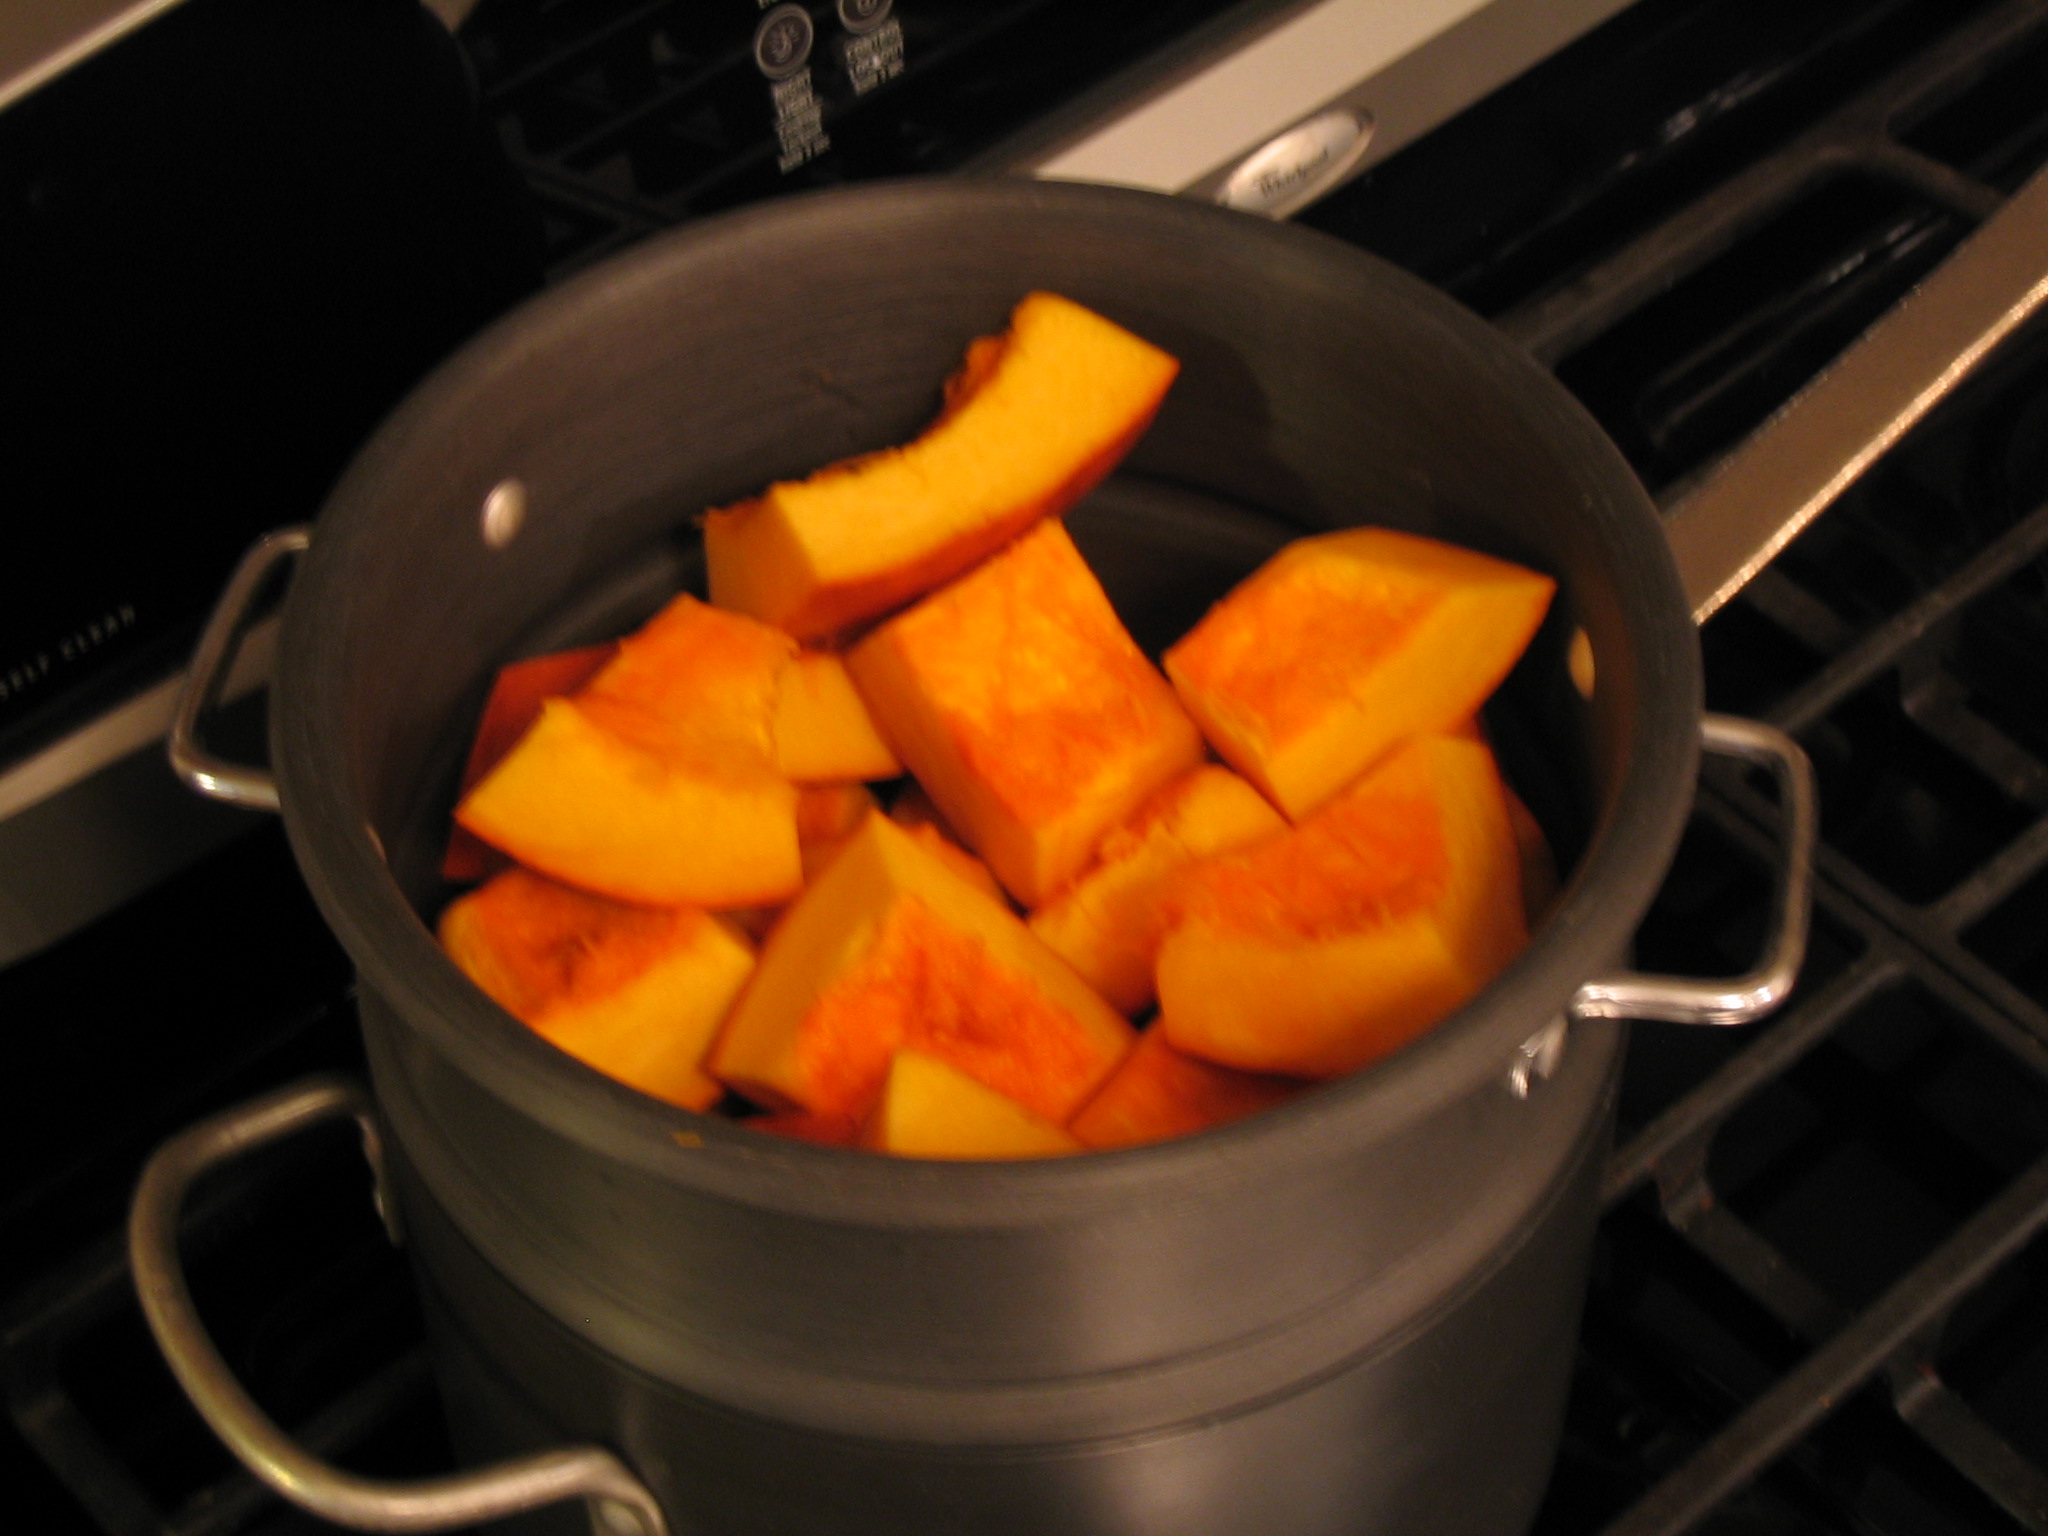
- Remove seeds (you can save those to roast) and cut pumpkin into large chunks.

- Steam for about 15 minutes or until easily pierced with a fork. (Roasting is another option.)

- Cool slightly and remove skin.
- Puree in food processor or blender until smooth. Add a little water if the machine seems to struggle to start processing. I added about 1/4 cup of water to this batch.


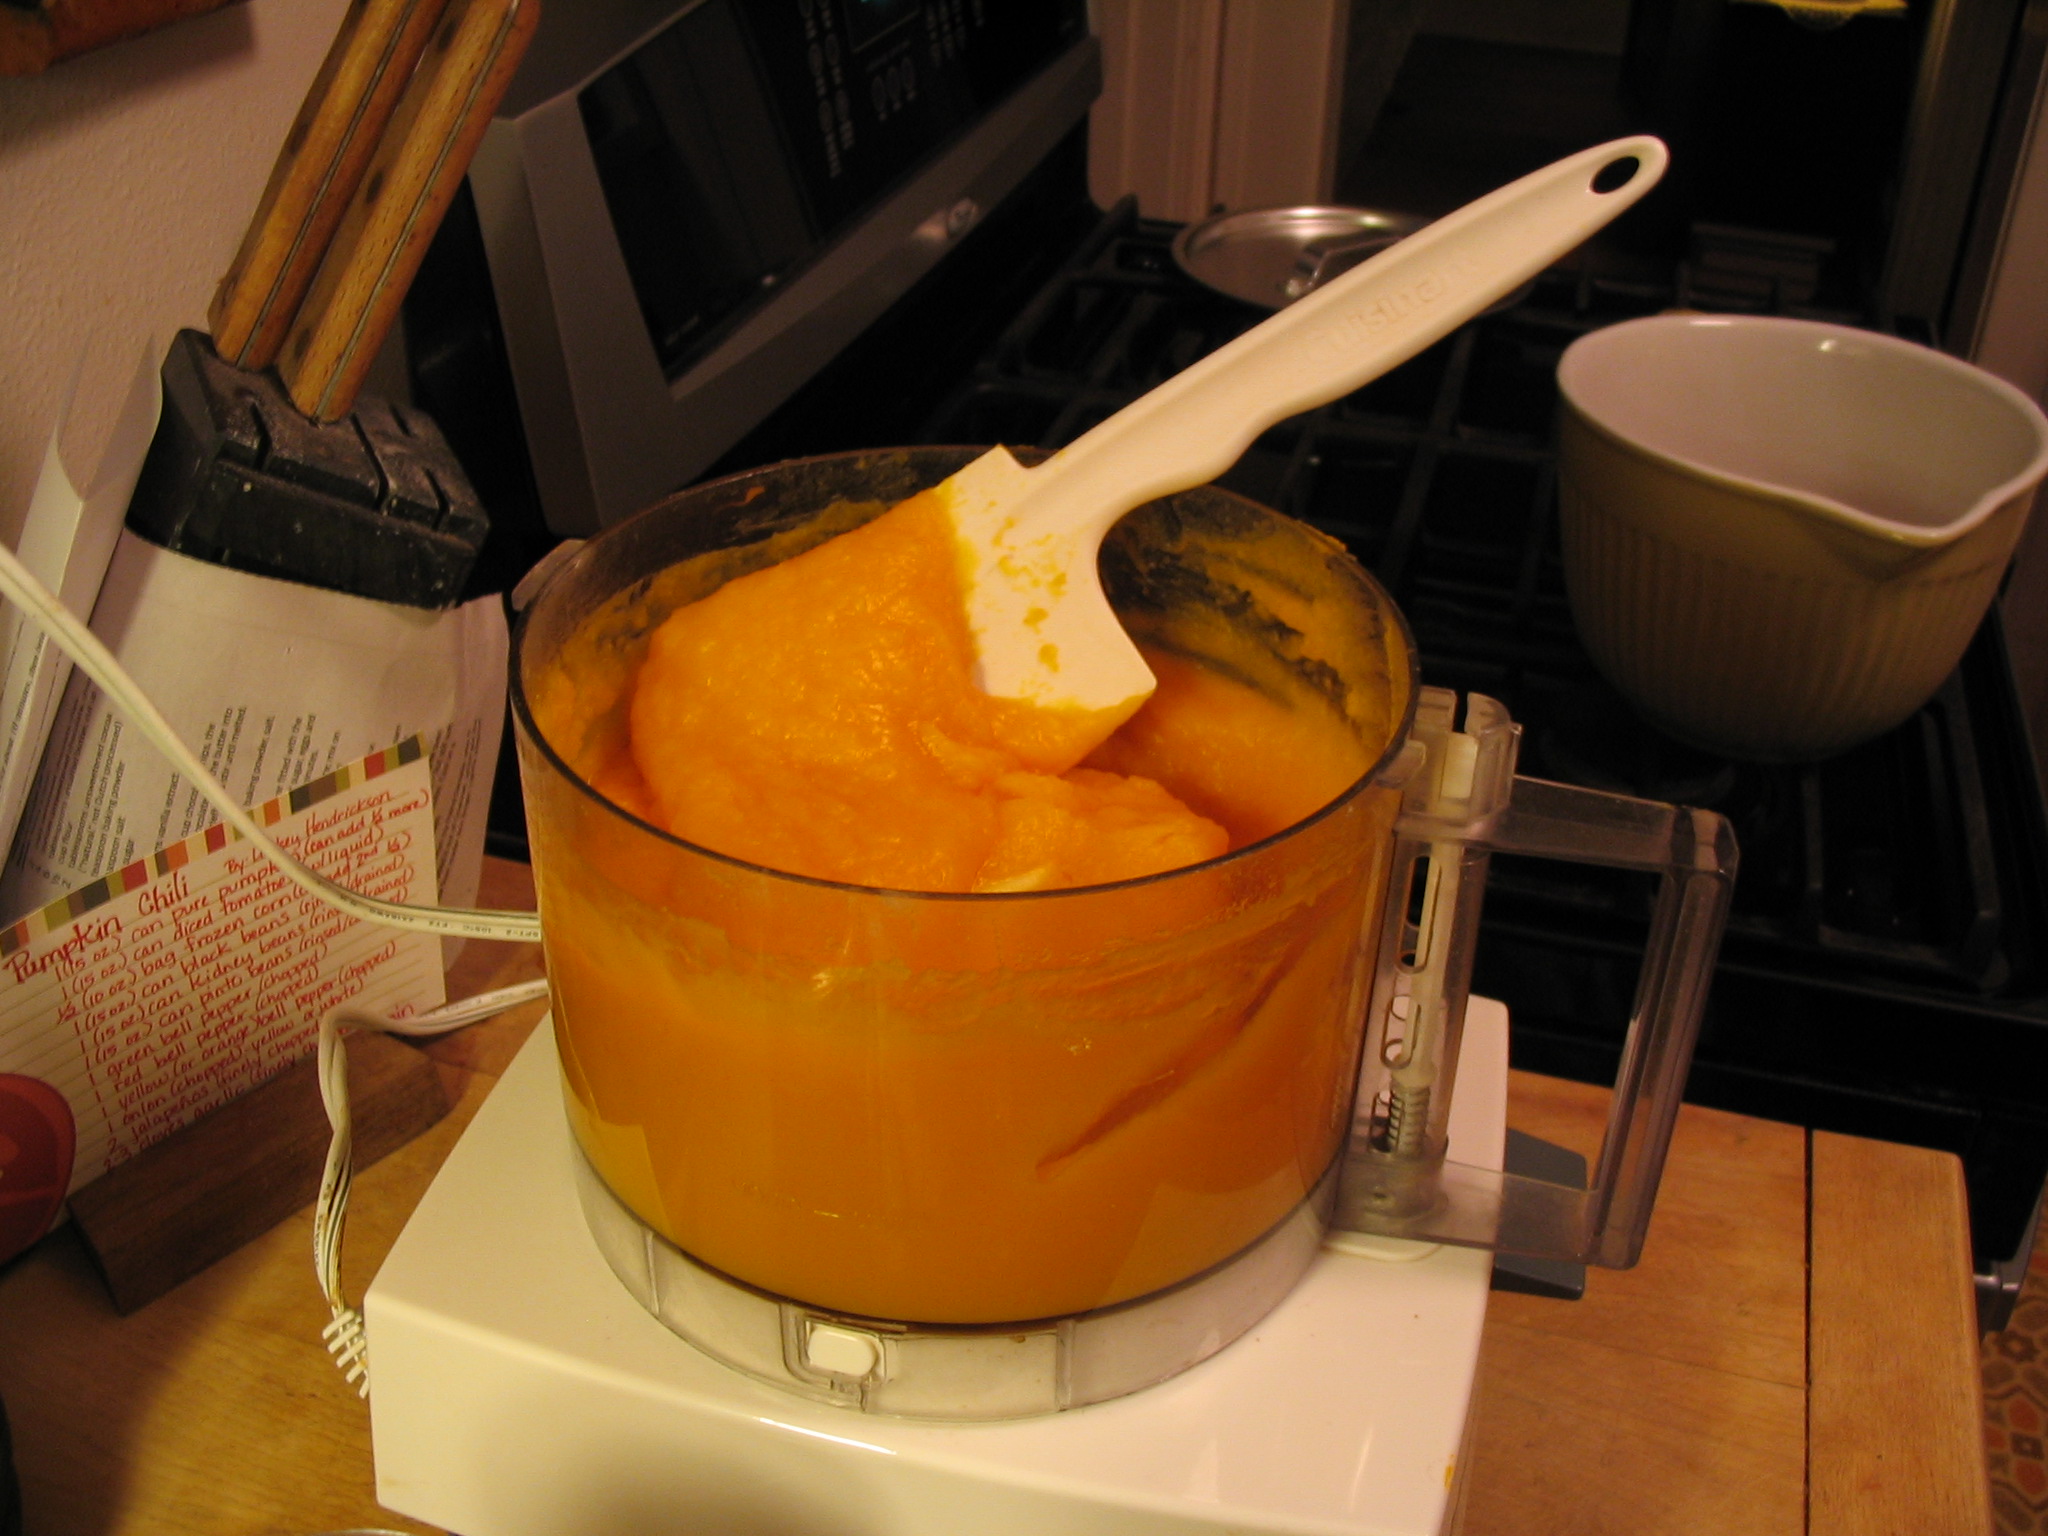
Since I’m not always sure what I’ll use the pumpkin for, I measure it out before freezing.
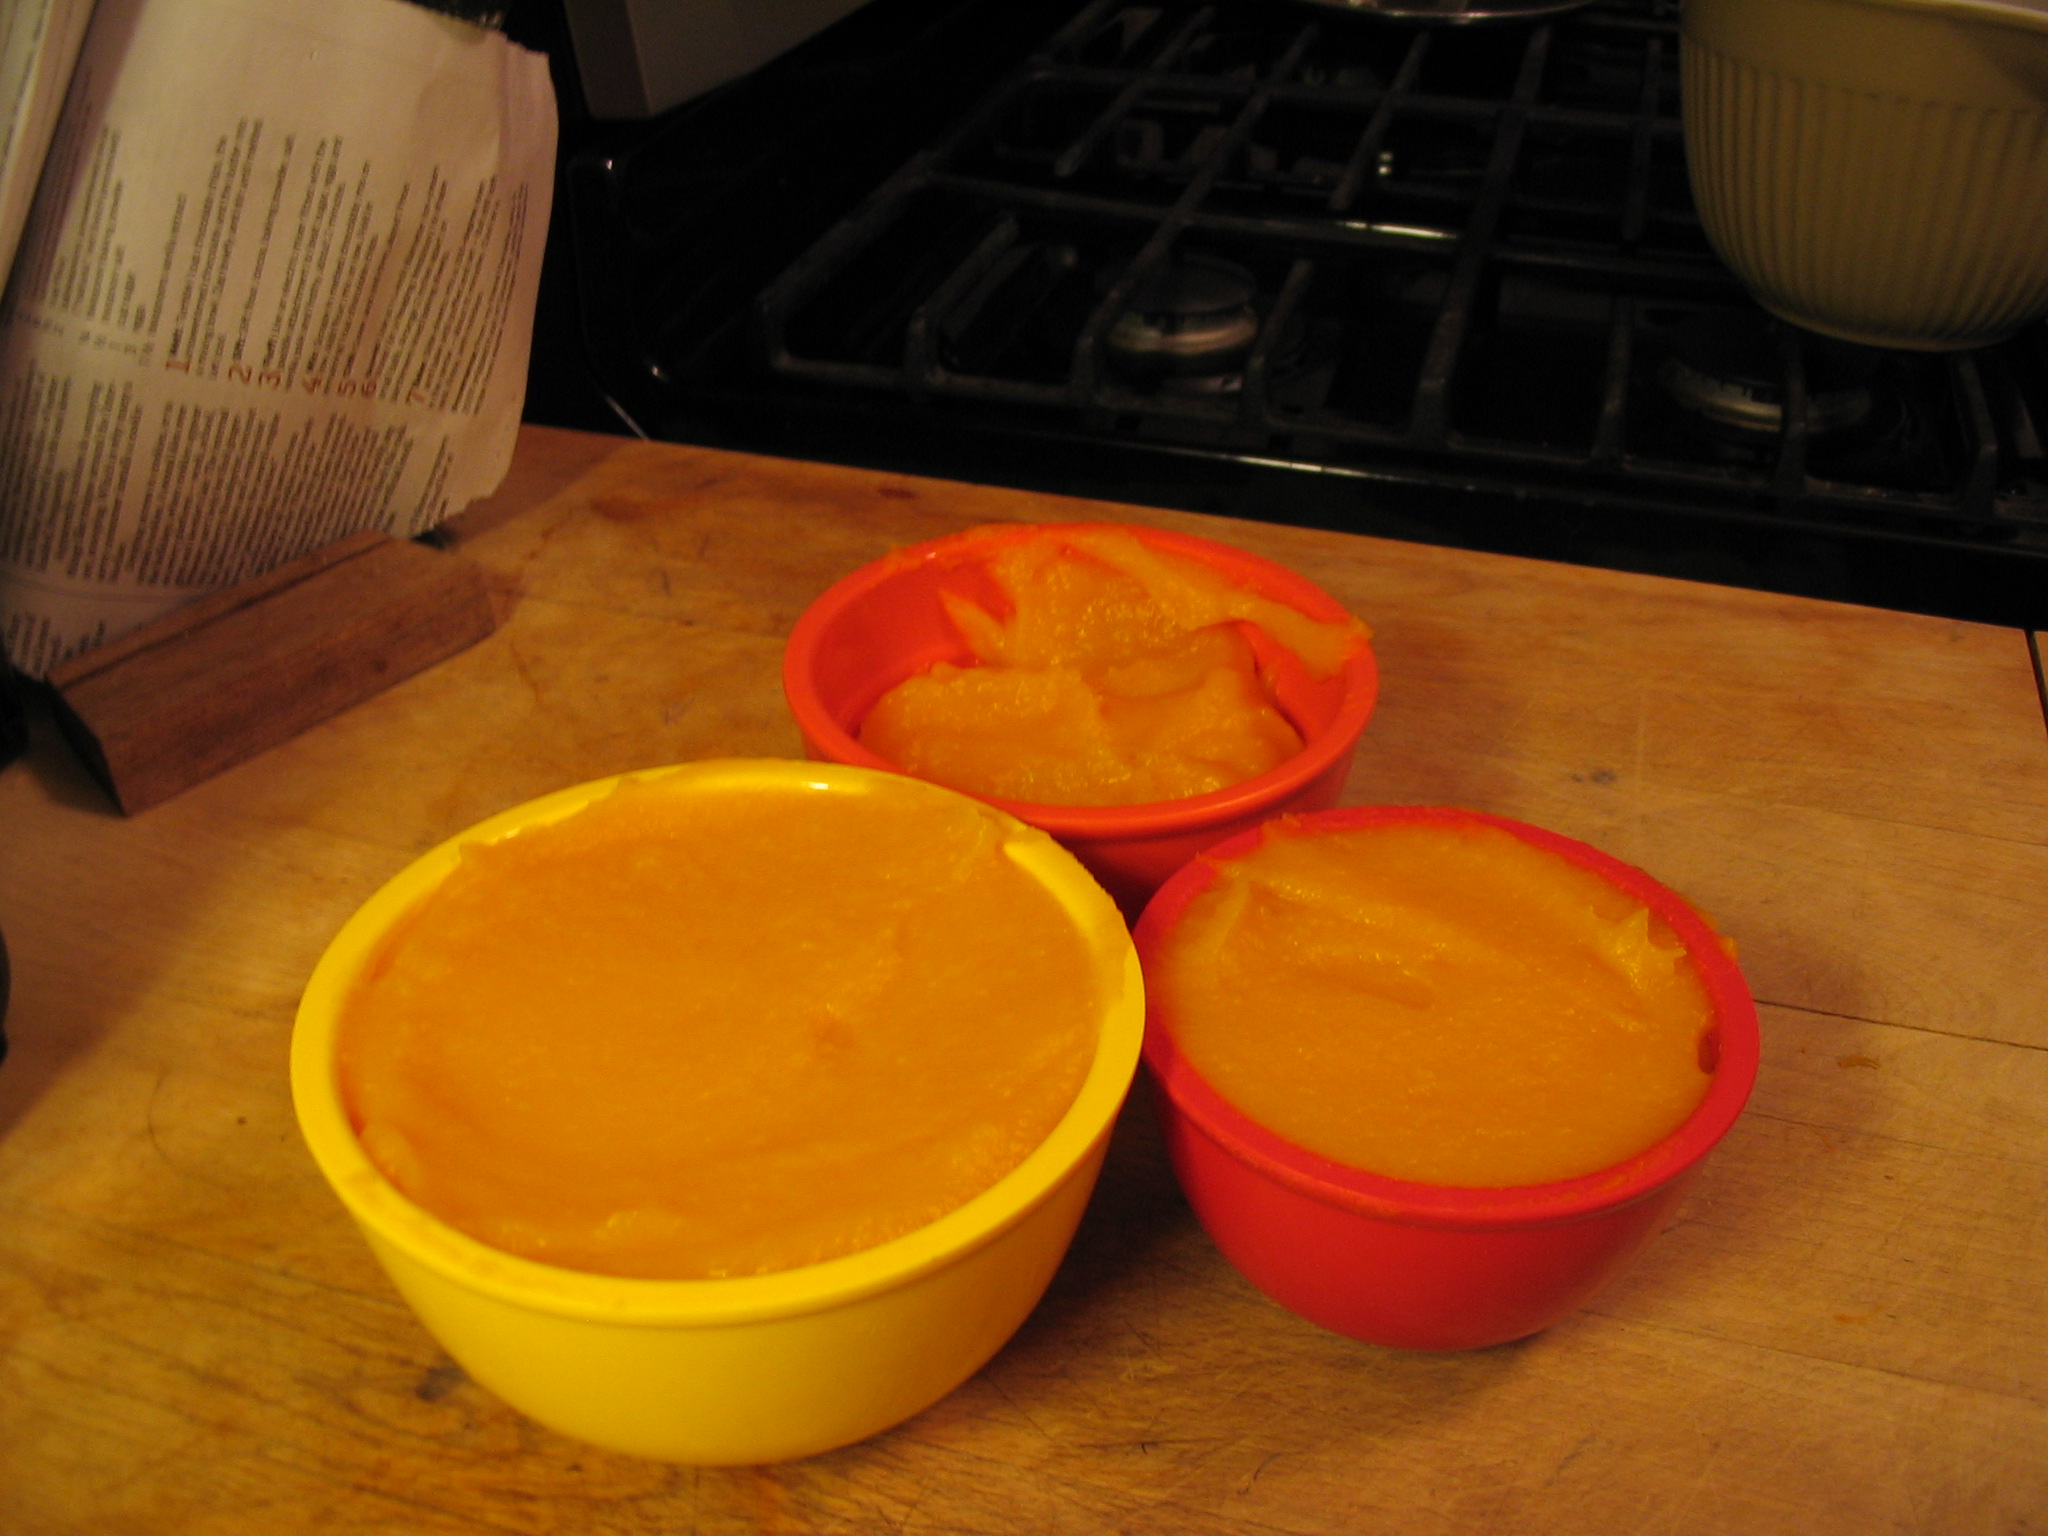
This pumpkin yielded roughly 4 cups of puree (the yellow dish holds 2 cups, the red one holds 1 cup and the bowl in back holds 1-1/2 cups when full) .
The recipe I’ll be making calls for 2-3 cups of pumpkin, so I’ll freeze the remainder for future use. When freezing puree, I always note on the container the date it was made and how much there is.
Care to guess what I plan to make with my pumpkin puree? One hint: It won’t be pumpkin pie!
What’s your favorite pumpkin-flavored food?
Pick A Peck of Peppers
Okay, so it’s not exactly a peck of peppers, but my one little jalapeno plant has been producing like crazy. I’ve already picked five peppers, and look how many are ready, or almost ready to pick.

I can spot the peppers amid the leaves. Can you?
(Immediately after taking the photo, I picked four more peppers.)
The first cucumber is ready for picking, and a smaller one is growing a bit higher on the vine.

Cuke #1 a few days before harvest.
The cucumber plant is loaded with blossoms, but so far just two cukes. They grow quickly, so I’m hoping for more.
I’ve already mentioned how well the tomato plants are doing – I’ve already lost track of how many tomatoes I’ve picked, and those plants are still loaded. The only plant I’m concerned about is the red pepper plant.

Pretty leaves, but where are the blossoms?
It’s beautiful, but I haven’t seen a single blossom. Any idea why it’s not blooming? Last year’s red pepper plant did so well that it wasn’t until a month or two ago that I finally finished up the leftover red peppers I chopped and froze last fall.
How are your gardens growing? Which crops are doing best for you this year?
How to make quick, simple and healthy hummus
Hummus is one of my favorite snack foods. It’s delicious as a dip with simple crudités (I like it best with carrot or red pepper sticks), but it’s also a nice sandwich spread. It’s great with cucumber slices, pretzels, pita bread – even straight off a spoon. It’s a little addictive, so no wonder people spend $3 or more on a tiny tub of pre-made hummus.
When I ask people why they buy something they can easily make for a fraction of the price, they usually say it sounds too complicated. They’re wrong.
Hummus is one of the simplest things you can make – if you have a food processor. Recipes vary a lot. I probably tried 10 recipes before realizing you really don’t need one as long as you have the basic ingredients. Just play with it until you’ve found the consistency and flavor you prefer. Hummus is really hard to mess up.
These are the basic ingredients:

Canned chick peas (aka garbanzo beans), tahini, lemon, olive oil, garlic, salt, pepper, cayenne pepper and sumac powder if you have it. (Yes, tahini can be expensive, but one jar will go a very long way.)
Now the simple part.
Drain one can of chick peas and place in food processor. Empty the second can of chick peas (liquid and all) in as well.
Tahini tends to separate, so mix it up and add approximately 2 generous tablespoons of tahini to the chick peas. (Some people like a stronger tahini taste, so add more or less as desired.)

Tahini is like oily, unsalted “natural” peanut butter, only made from sesame seeds.
Add 1 or 2 cloves of garlic (substitute roasted garlic if you want to avoid the overpowering bite raw garlic can have).
Drizzle in a couple tablespoons of olive oil.
Squeeze in the juice of one lemon, being careful to remove any seeds that fall into the mixture. Sometimes I’ve used one-and-a-half or even two lemons depending on how juicy they are, but hold off on adding any more lemon until you’ve processed and tasted it.
Process until fairly smooth. You want a nice dip-like consistency.

If it seems too thick, add a tablespoon or so of water or olive oil to thin it out.
Now the fun part. Taste the hummus to see if you like the flavor. Add salt and pepper to taste. I add a dash of cayenne pepper for a subtle kick, but that’s optional. Taste it again. Does it need more salt, pepper, lemon or tahini? One time the tahini taste was so strong that I added another can of chick peas and a little more lemon to balance the flavors.
It’s tempting to eat the hummus immediately, but the flavor seems to improve after an hour or so in the refrigerator.
Hummus isn’t the prettiest food in the world, so sprinkle a little sumac powder on for both flavor and garnish – I like to add a bit of parsley, too.

Once you’ve made hummus a few times you should be comfortable enough to experiment with other flavors – roasted red pepper, cilantro, kalamata olives, whatever you like. Just have fun with it.
Now that you know how simple it is to make, there’s no excuse for buying pre-made hummus anymore – unless you don’t have a food processor.
Let me know if you give it a try!
